How to Carve a Pumpkin
Learning how to carve a pumpkin isn’t hard to do at all. There are actually several tips on how you can carve pumpkins so that they’ll last longer – and make less of a mess!
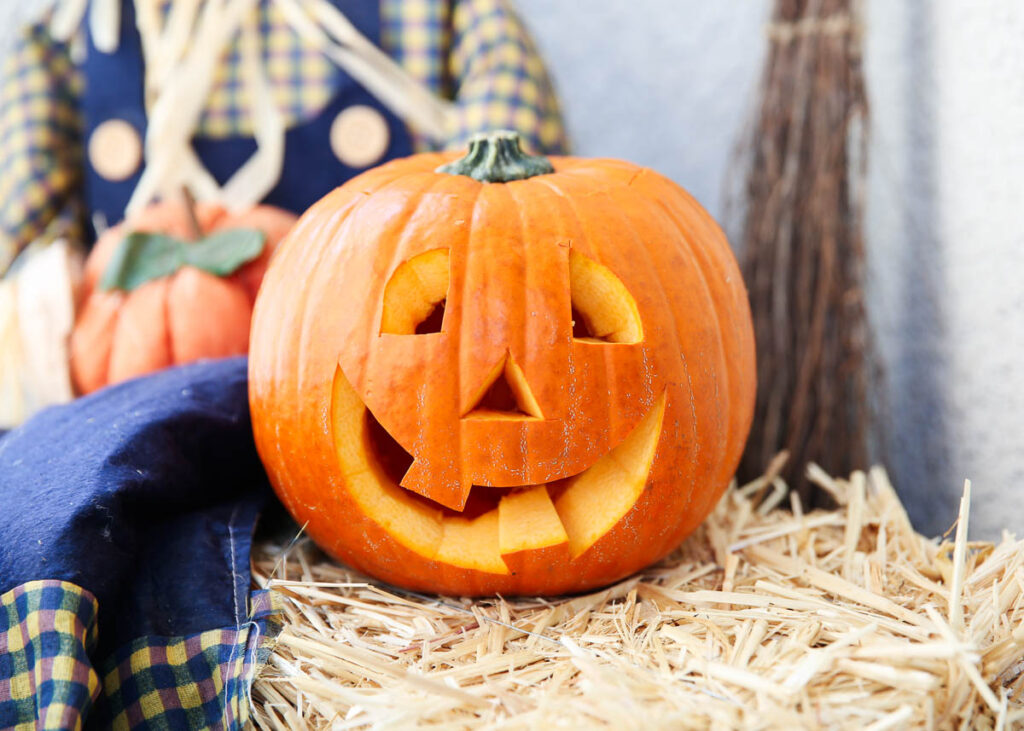
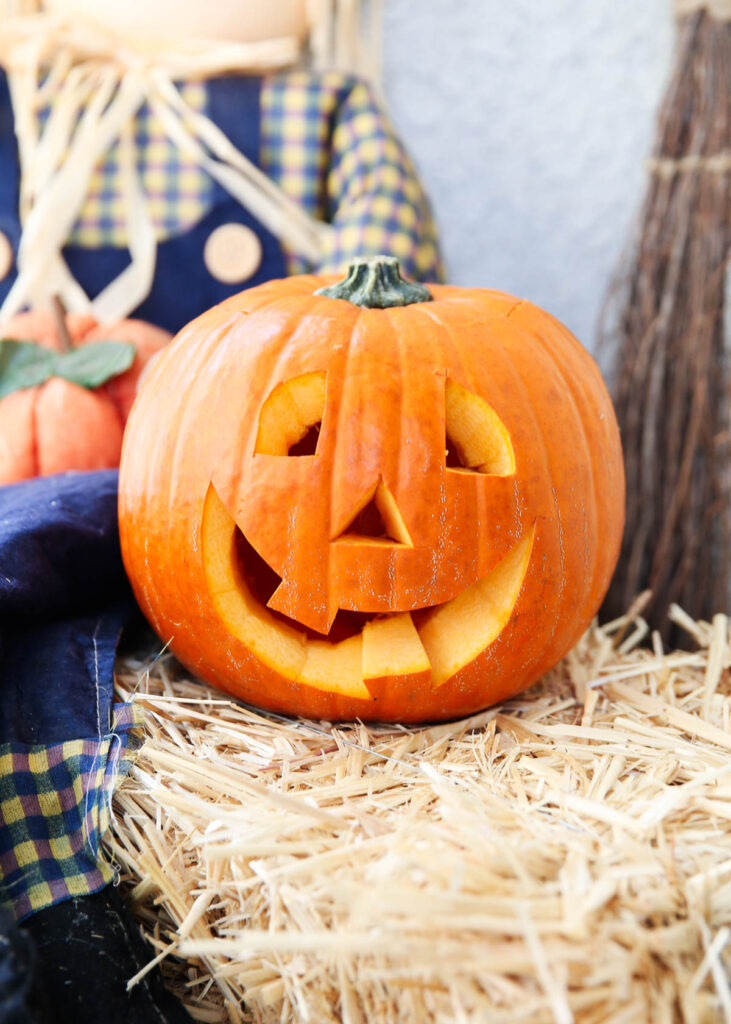
Carving Pumpkins for Halloween
While you might have the urge to paint all your pumpkins, don’t forget that carving pumpkins is a lot of fun as well. You can easily decorate your front porch with some of the best-carved pumpkins ever!
The truth of the matter is that carving a pumpkin isn’t quite as simple as it looks. There may be easier designs and options out there, but the roundness of the pumpkins paired with an unstable base can create an “interesting” carving time, to say the least.
Learn how to carve a pumpkin like a pro with the simple steps below. And don’t forget to check out these clever pumpkin carving ideas for inspiration!
Find the perfect pumpkin
Is there such a thing as a perfect pumpkin? Maybe so, maybe not. It really comes down to what you’re looking for and what you consider perfect. For ease of cutting, look for the qualities below.
- Nice and round, with a flat bottom that helps it set level.
- Doesn’t have any soft spots on it or bruises of any kind, as this will make the pumpkin ripen faster than you want it to.
What tools do I need to carve a pumpkin?
There are a few tools that you’ll want to have to carve pumpkins. A sharp knife, a spoon to scoop out the seeds, a pumpkin pattern printable (if you’re using one), and an object with a pointed end (like a pen) to poke holes before actually carving.
For the kids, you can get a tool at the store that they can use to cut into the pumpkin without worrying about harming themselves along the way. It’s worth the small investment for safety – plus, you can use it over and over again.
Cut the top off
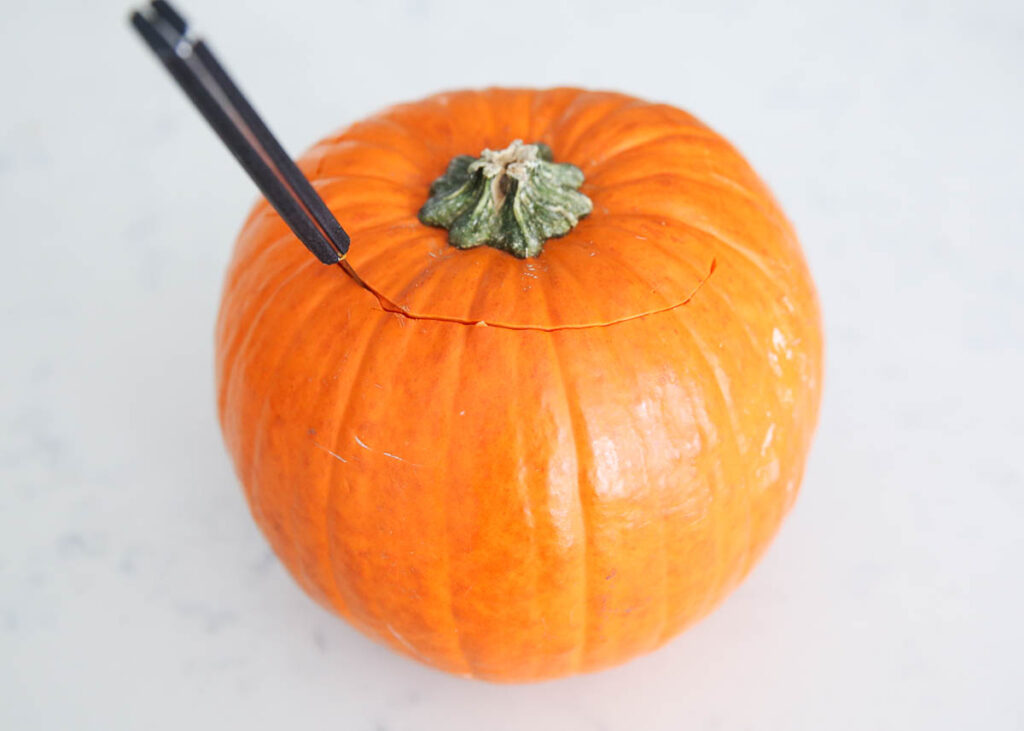
Cut the top off at an angle, so it doesn’t drop in. I typically cut about 1 1/2″ from the stem.
You can also carve the pumpkin from the bottom. Flip your pumpkin over, and cut a circle out on the bottom. This is a simple way to cut on a flat source (unlike the rounded top area) and be able to remove the pumpkin seeds more easily.
Remove the pumpkin seeds
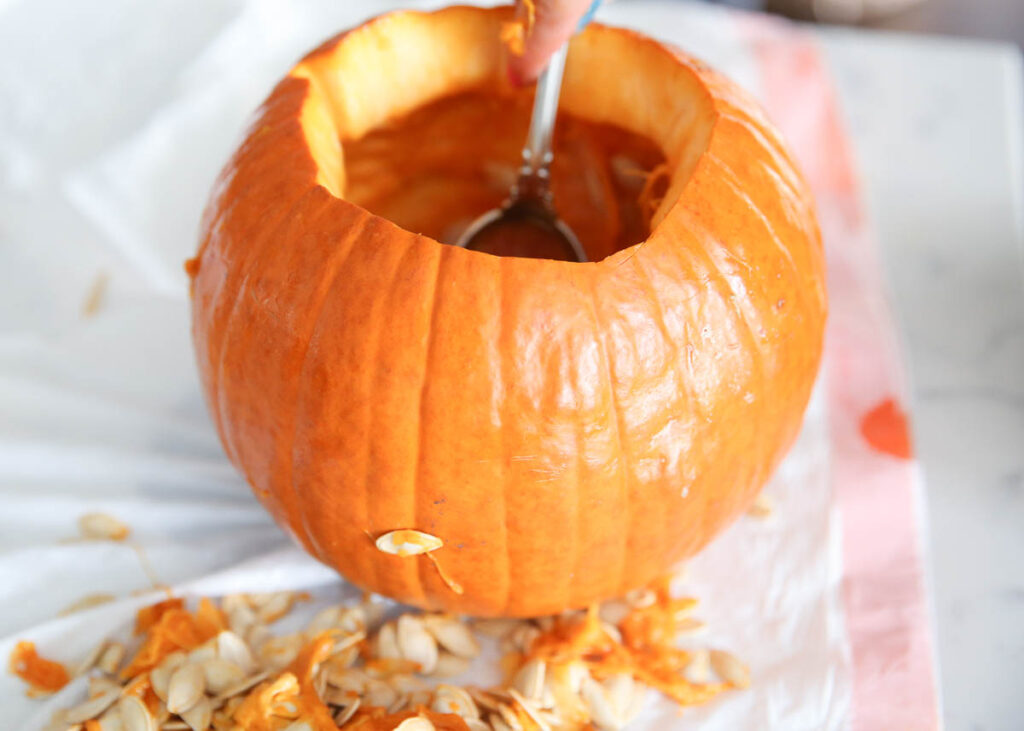
Once you cut the bottom of the pumpkin off, it’s time to take out the pumpkin seeds. You’ll find that cutting the bottom makes seed removal SO simple!
Let the kids scoop out the rest of the seeds on the inside of the pumpkin, as this is just part of the fun. You can get a special tool to help, but we typically just use our hands and a spoon.
Choosing a pumpkin carving design
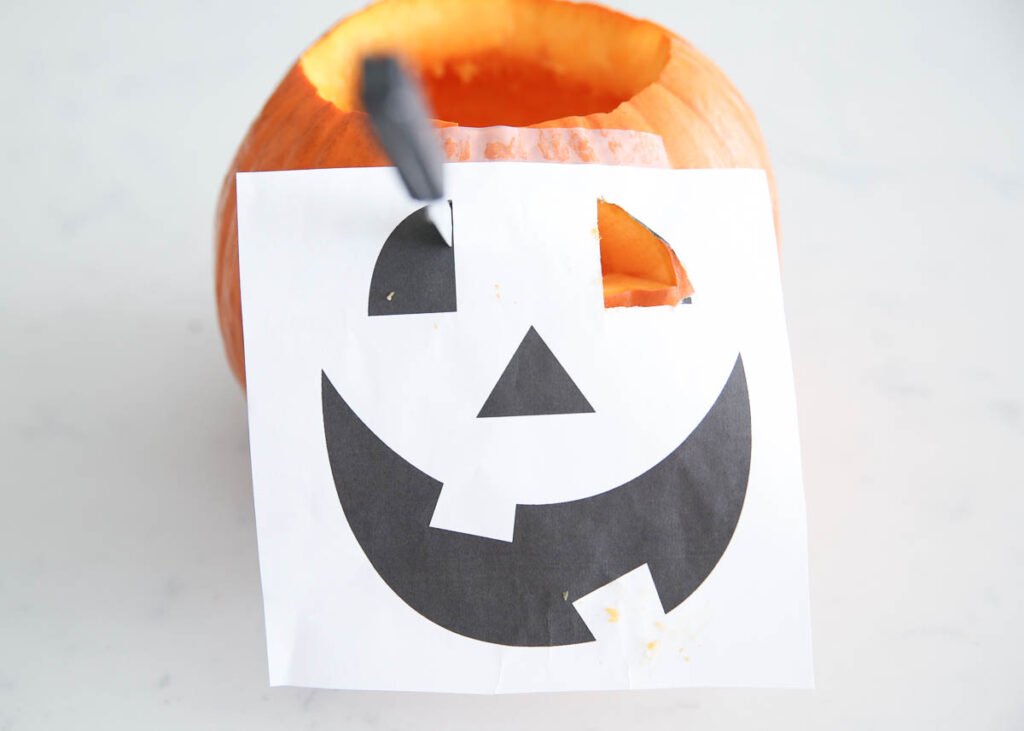
If you have a pattern to use for your pumpkin, tape it onto the pumpkin in the place that you want. But if you’re going to freestyle it, this is where you can shine!
Add dots
Be sure that if the kids are carving, that you’re there for parental supervision. We always start carving our pumpkins by taking a pen or some sharp object and “dotting” out the design on our pumpkin.
This way, we can visualize it first, and then follow the dots when we’re carving.
If you’re using a printable pumpkin pattern, you can dot through the paper if you press hard enough to dot right onto the pumpkin.
Start carving
You will need to use a small and sharp knife to cut into the pumpkin. Make sure that you’re making small cuts and going slow, to stay safe.
Display
Once the pumpkin is carved, display it anywhere that you want! Once you learn how to carve a pumpkin, you’re going to want to put it out for all to see!
Tips for Carving Pumpkins
- Cut from the bottom of the pumpkin, not the top. It’s easier to cut on a flat surface (like the bottom) and remove all the seeds.
- Try not to carve your pumpkins too early. Typically, 2-4 days before Halloween is a great time to carve pumpkins. I also realize that it might not be that realistic. If you do carve them a week or so before Halloween, you can rub petroleum jelly on the outside of your pumpkin to keep it fresh.
- You don’t have to put fire inside your pumpkins! LED candles work great, too!
How long do uncarved pumpkins last?
If you want to have pumpkins for longer than a few days, leave a few uncarved pumpkins scattered among the carved ones. As long as you don’t cut into them, they should last for up to 2-3 months!
