DIY Wooden Garden Signs
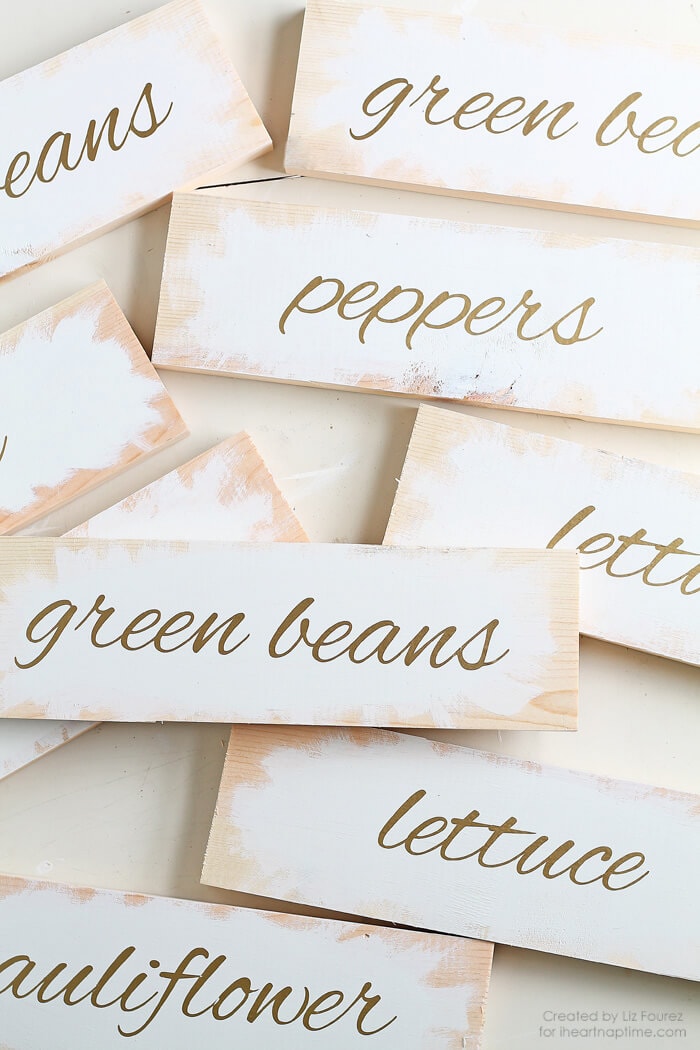
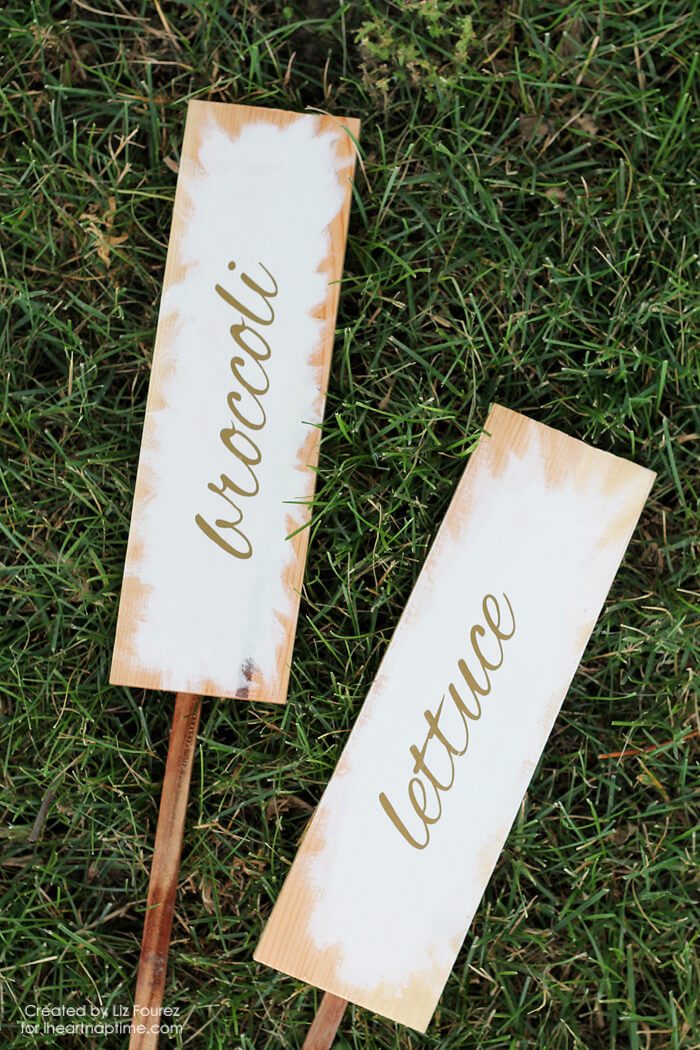
These wooden garden signs are simple to make, adorable, and perfect for helping label plants.
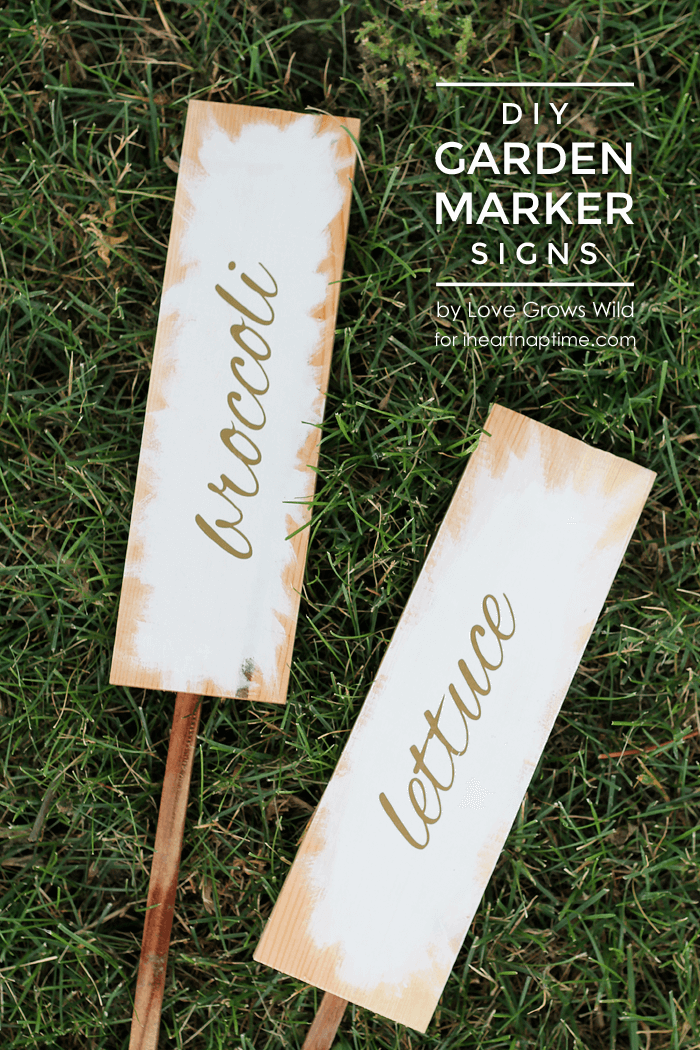
Vegetable garden signs
Whether you’ve got a luscious garden full of various types of vegetation or your just entering the gardening world, this is for you! These stylish label boards will help you differentiate between your plants while giving you a Pinterest worthy garden!
These signs are also very simple to make once you have the supplies. Simply follow the instructions below to transform your garden! Have fun!
Supplies
- wood board
- sandpaper
- white paint & paint brush
- gold vinyl/stickers or gold paint pen
- clear polyurethane
- garden stakes
- screws & drill
Instructions
Step 1: Cut the wood boards to your desired length and sand down any rough edges. I cut a 1×8 board into 12″ pieces, then cut each piece in 1/2 lengthwise.
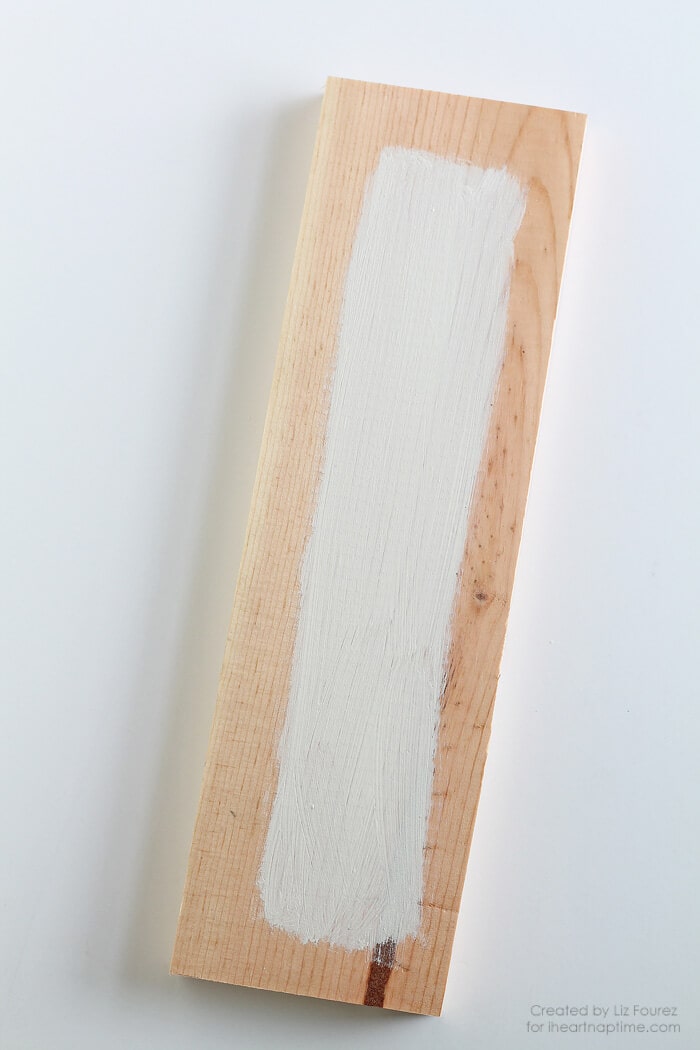
Step 2: Paint a rectangle in the center of your board, leaving about a 1″ border on each side.
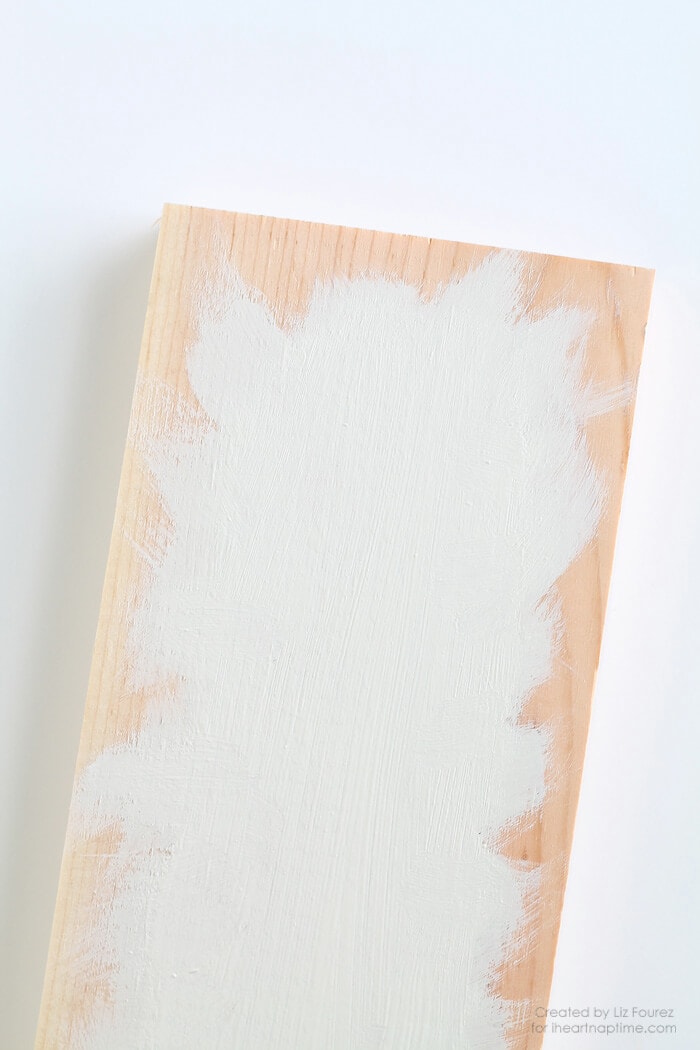
Step 3: Once dry, paint a second coat, feathering the paint outside the rectangle for a messy, paint-splattered look.
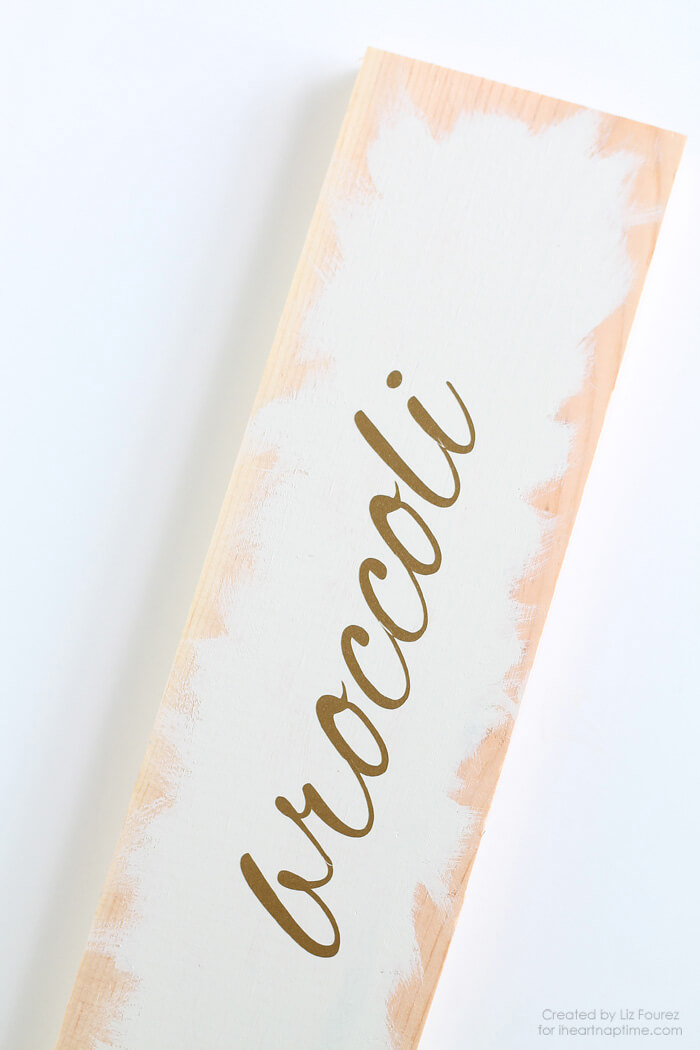
Step 4: Add the lettering for your garden markers, either with gold vinyl, stickers, or using a gold paint pen. I used my Silhouette CAMEO cutting machine to cut these letters out on vinyl using the Alex Brush font.
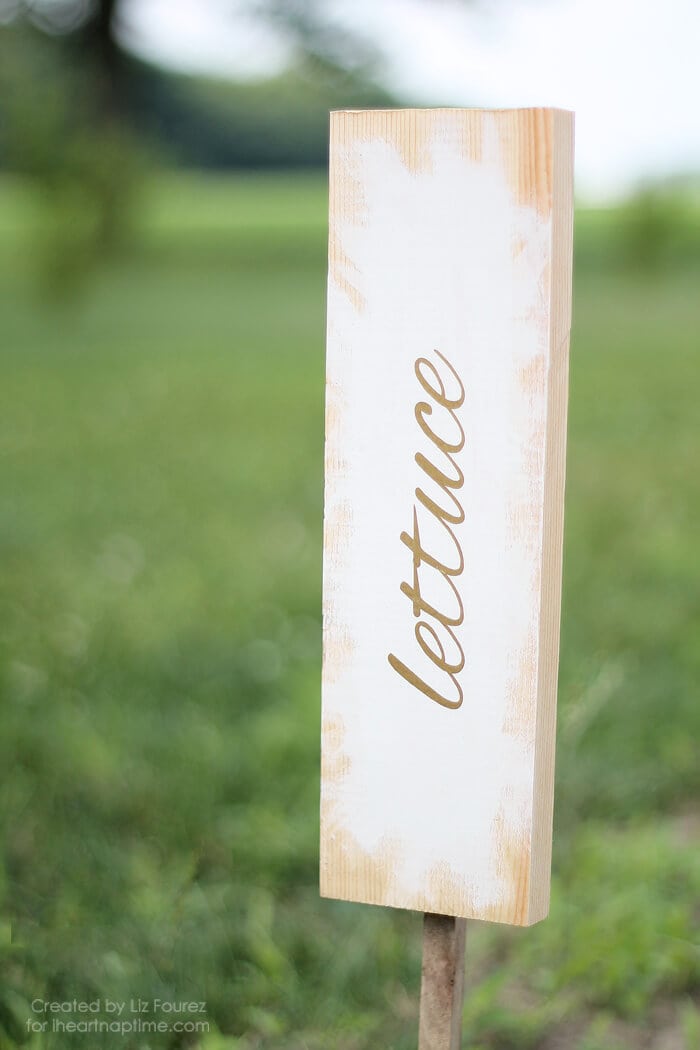
Step 5: Add a garden stake to the back of each sign using screws to attach the two pieces. I used 1″ screws for the small, narrow garden stakes seen in the photo below.
Step 6: Seal the signs with clear polyurethane to protect them from the elements.
Your’e finished! Enjoy your beautiful garden!
More Creative Projects:
This post was originally contributed by Liz Fourez from Love Grows Wild



I love these, but I don’t garden because I kill all green things. Pinned for my friends 🙂
I dream of having a garden in my backyard! These garden marker signs are absolutely darling. Pinned!
So cute! I love the simplicity of these signs!