Wooden DIY Cake Stand
This wooden DIY cake stand is an easy and customizable craft that’s perfect for displaying sweet desserts or your favorite household items!
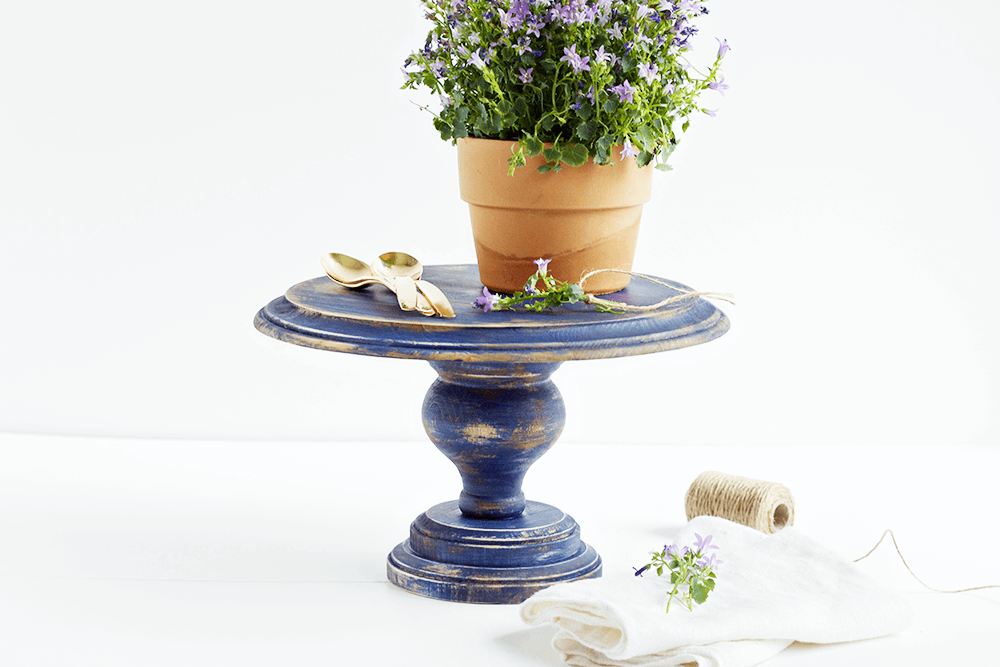
I am really excited to share my latest project with you all today because Mother’s Day is just around the corner and how sweet would it be to make her something special. Here’s a super simple DIY cake stand that she will love!
The best part about this cake stand is that you can really make it your own and in this case, you can customize it to the person you are giving it to. I decided to make mine very rustic and gave it a heavy “distressed” finish since my mom loves the vintage/farmhouse style.
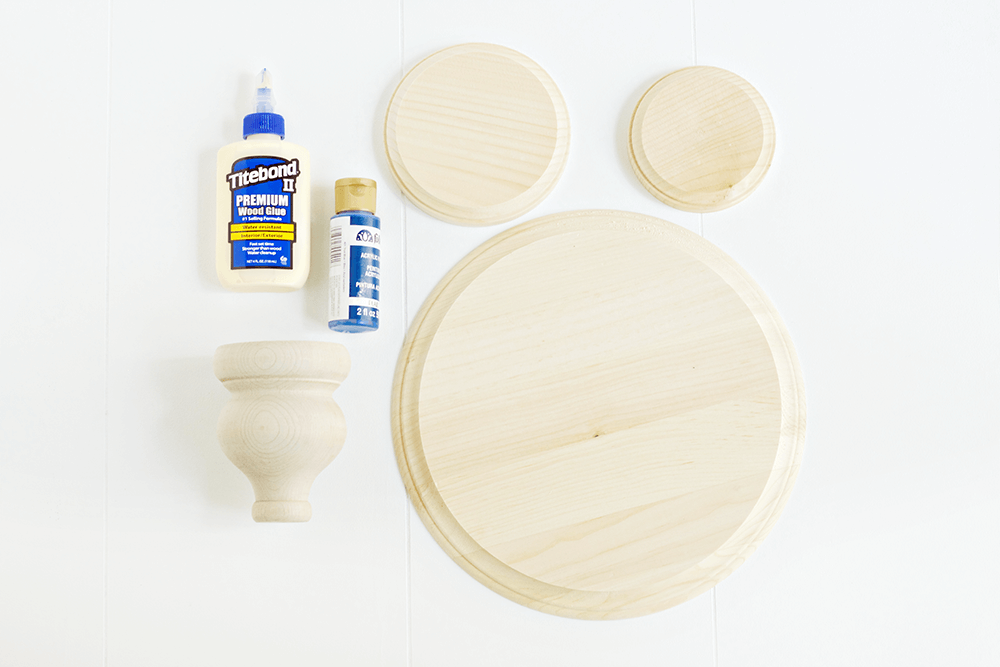
Supplies:
- 4″ Unfinished Wood Round
- 5” Unfinished Wood Round
- 11” Unfinished Wood Round
- Acrylic Paint (I used Apple Barrel “Real Navy”)
- Paint Brush
- Wood Stain (I used Minwax “Dark Walnut”)
- Sanding Block
- Wood Glue
- Turned Furniture Leg (from Lowe’s)
- Food safe sealer (Behandla cutting board sealer found at IKEA)
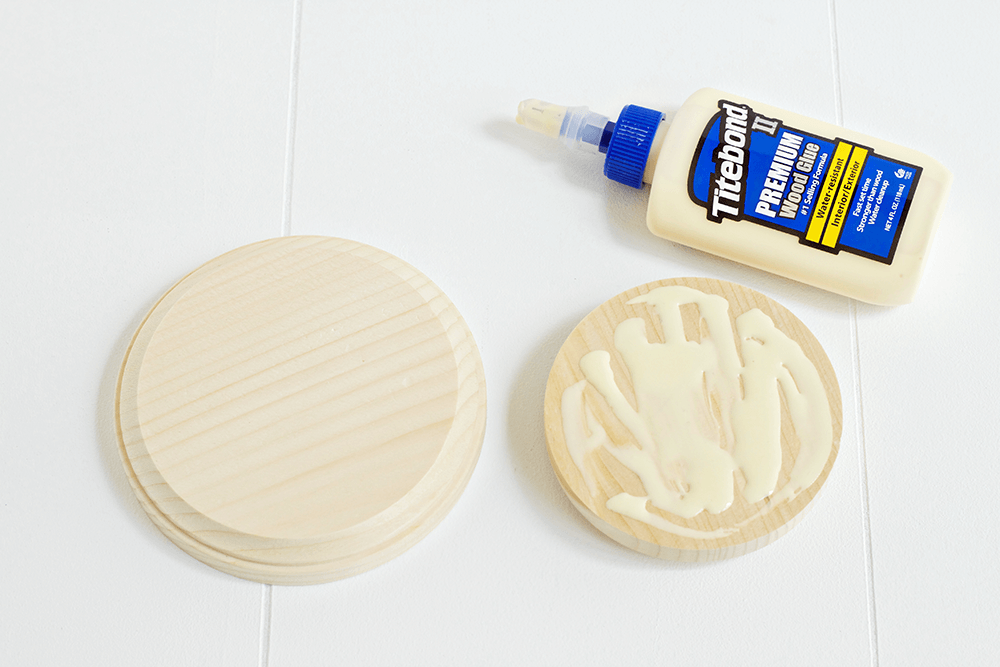
How to make a DIY cake stand
Step 1: Add wood glue to the bottom of the 4” wood round and place it on top of the 5” wood round. If you accidentally added too much and it starts coming out from the sides, just take a baby wipe or a damp cloth and wipe it off before it dries. Let it dry for 10 minutes.
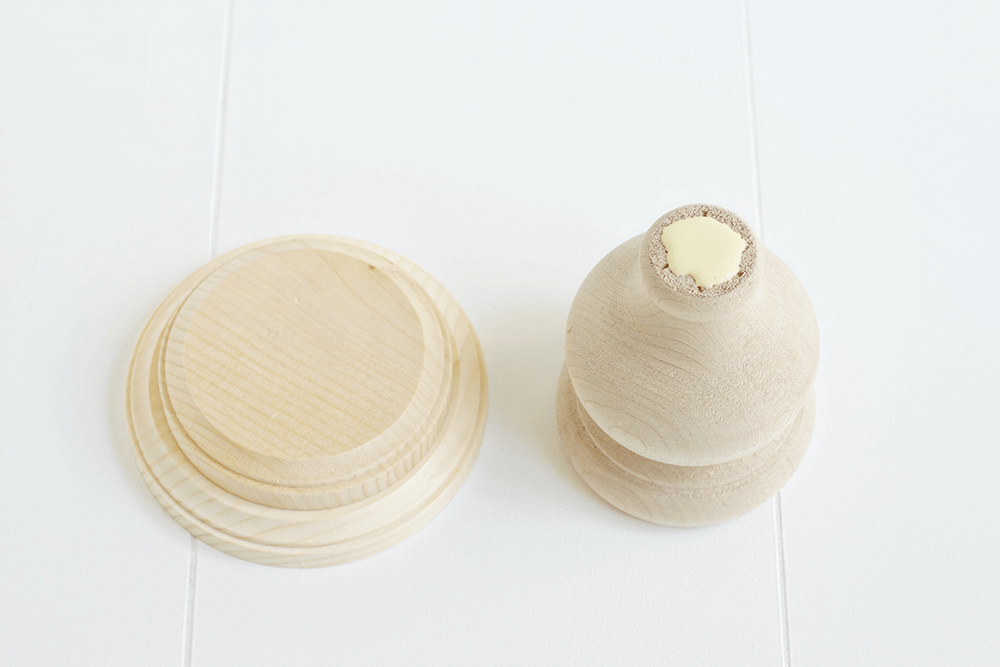
Step 2: Add wood glue to the bottom of the furniture leg and place it on top of the 4” wood round (make sure it’s centered).
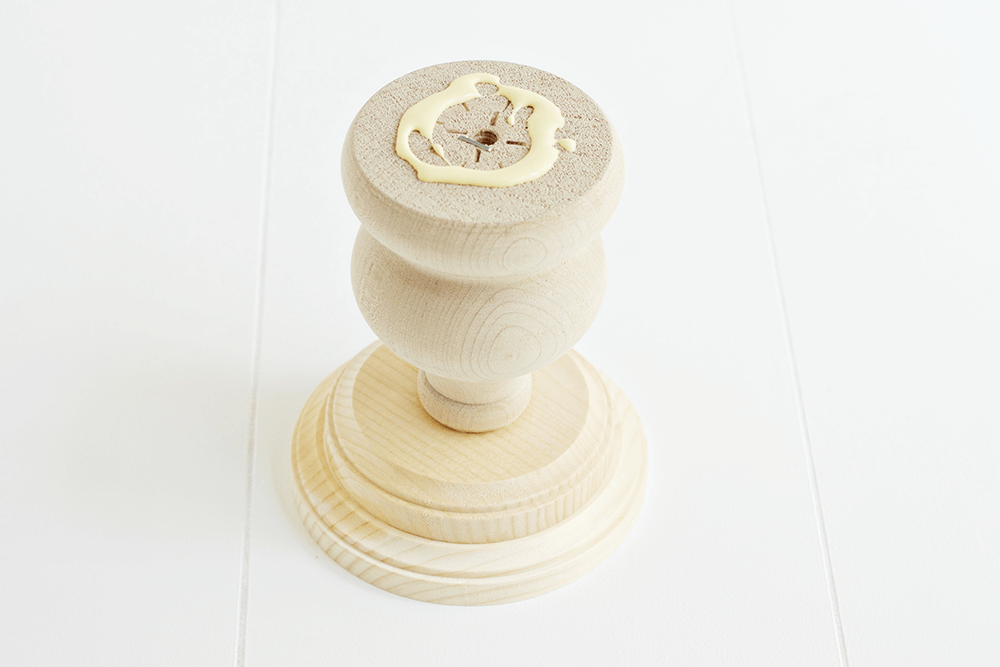
Step 3: After 10 minutes, add wood glue to the top of the furniture leg and set the 11” wood round on top. Add a couple of heavy books on top and let dry for 45 minutes.
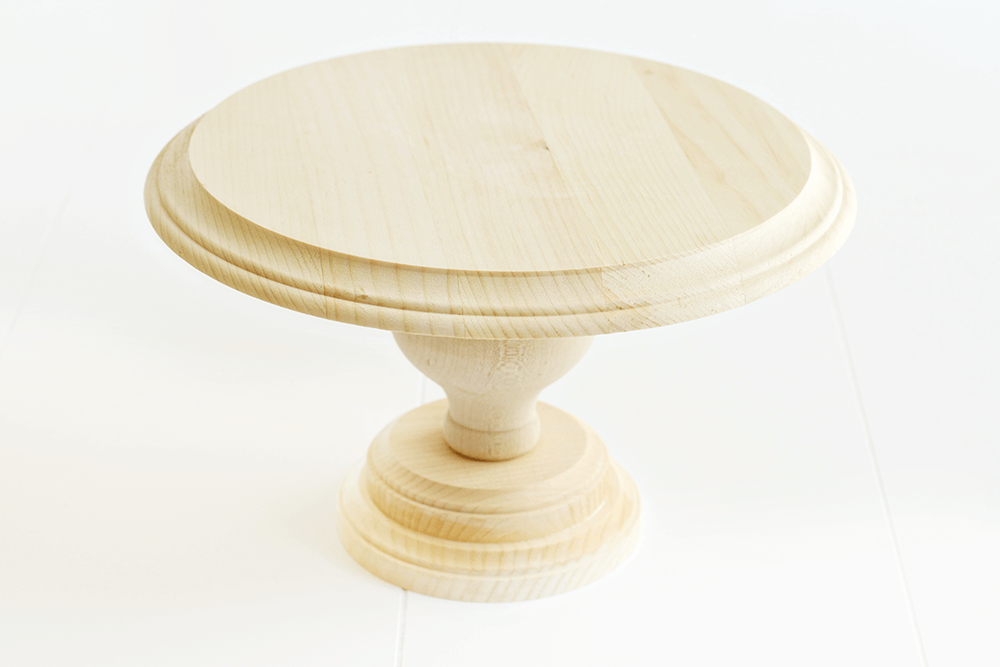
Step 4: Now that the stand is assembled, we can start painting it with a paint brush. Since I was going to do a distressed finish, I left some wood showing through. Let the paint dry for 30 minutes.
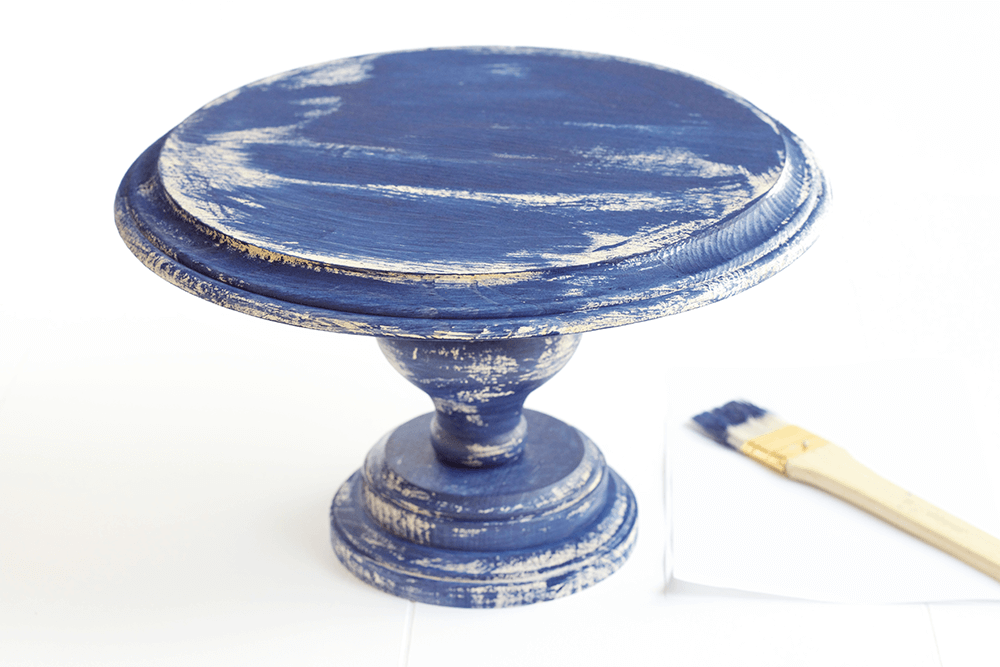
Step 5: With a cloth, add wood stain to the desired areas that you want to darken. This will give it more of an aged look. Let it dry for 1 hour.
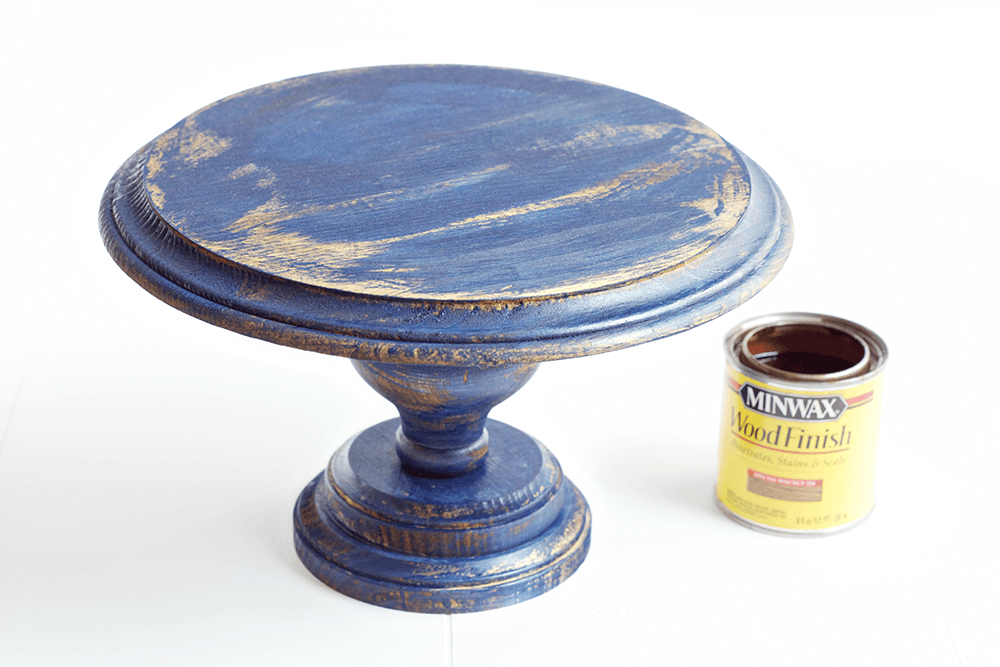
Step 6: Sand it down until it’s smooth and parts of the wood are peeking through.
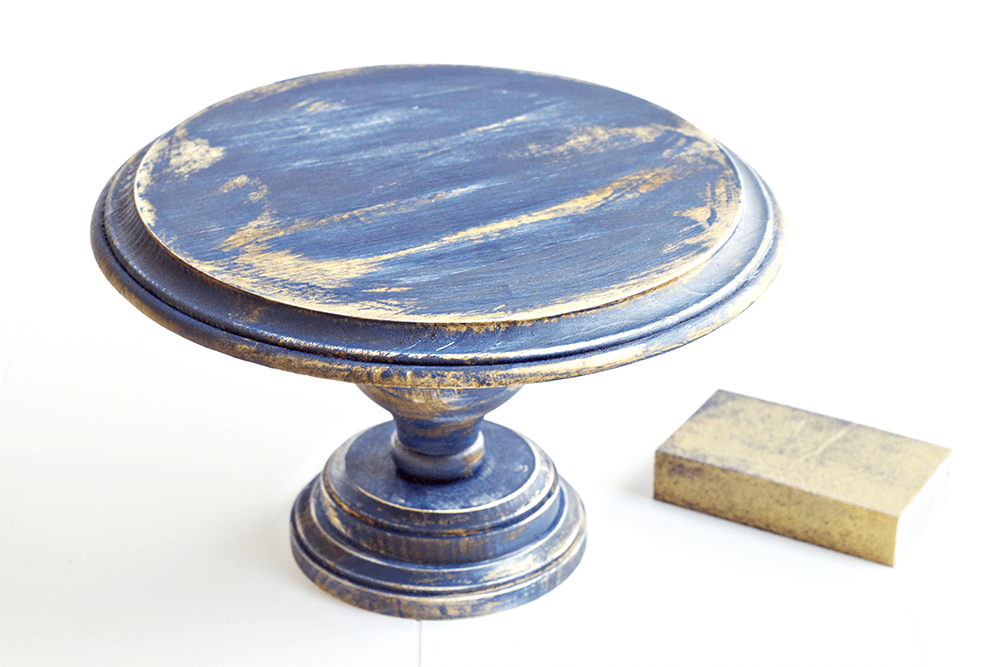
Step 7: Wipe away the dust with a damp cloth and add Food Safe Sealer (Behandla cutting board sealer found at IKEA). Then let dry and you’re done!
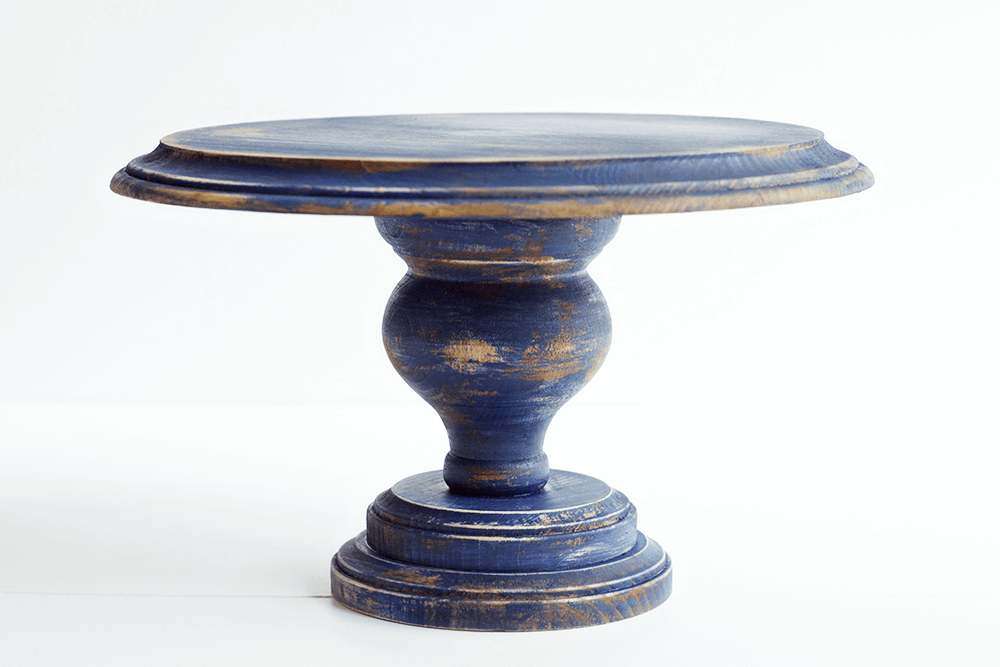
This wooden cake stand can be assembled in so many different ways and colors – the possibilities really are endless!
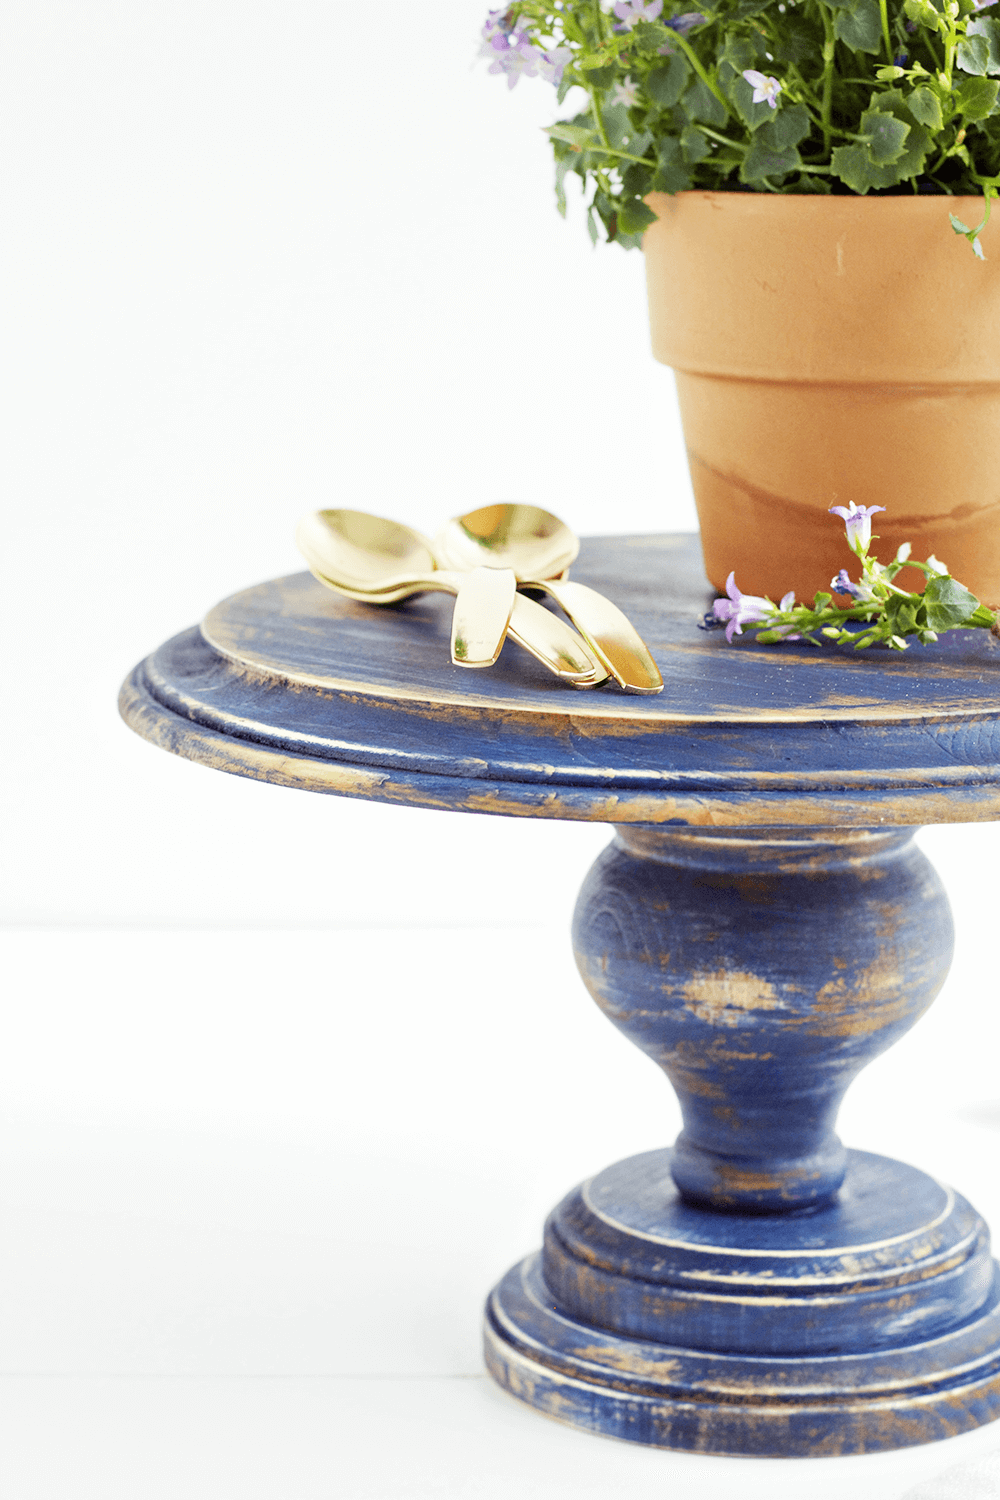
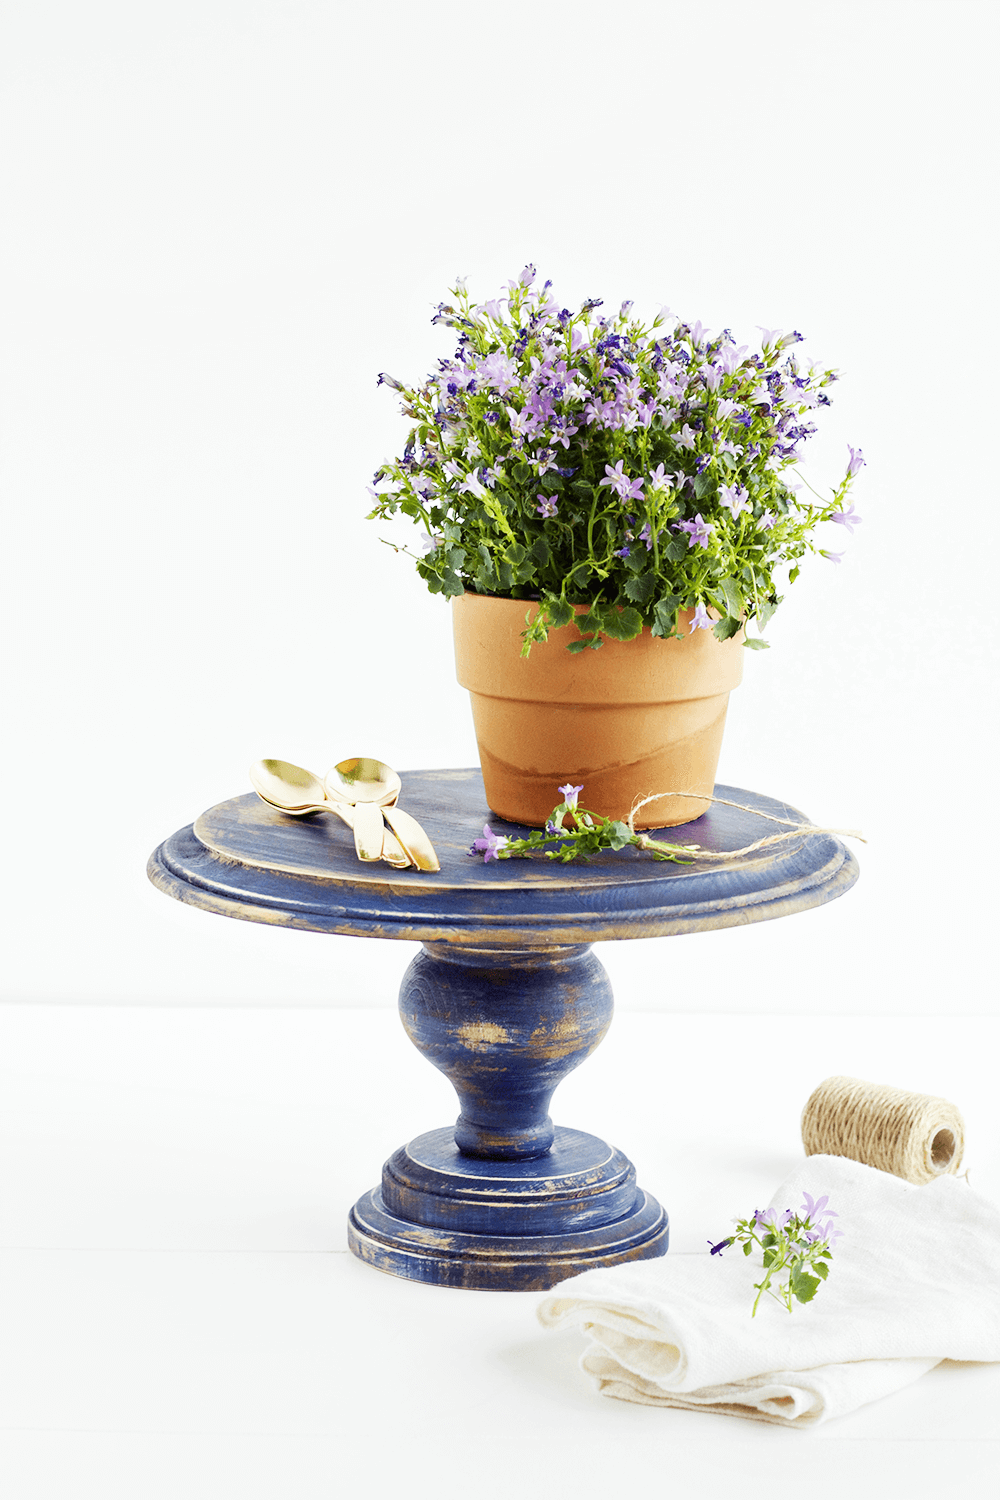
Wrap it in a pretty package and it will make the perfect Mother’s Day gift. 🙂 Enjoy!
More DIY favorites:
- DIY backpack hanger
- Blue chalk paint desk
- How to paint an ombre dresser
- DIY rustic window picture frame
Originally contributed by Norma from Paint Me Pink.


Where do you find the wood rounds? With the edge detailing?
I got those at Joanne’s!
Where did you find the 4 and 5 inch rounds. They did not have them at my Lowes?
Awsome cake stand!! Thank you for sharing your talent 😉
This is the cutest and easiest little stand I’ve ever seen. I love simple projects that make a big impact. Definitely pinning this for later!
I found the 4 and 5 inch wood rounds on line. However, I have looked for 11 inch beveled wood rounds and have been unable to find them. Thanks. Love there and want to make them for our son’s wedding.
Love this. can you tell me where you purchased the 11 inch rounds. Have been unable to find them locally or on line. Thanks!
Hi Debbie! I found this website that has any side rounds you would need: http://www.craftcuts.com/circle-craft-shape-176823.html?material=Baltic%20Birch%20Plywood&longest_dimension=11%20Inch&shape_thickness=1%2F8%20inch&item_image=0%2F517%2F173517%2Fshapesbasiccircle.jpg&price_start=6.68&matchtype=&network=g&device=c&keyword=&gclid=CjwKCAiAweXTBRAhEiwAmb3Xu4aqhyqbxKzSFpa_RwXloEfISTtSecYxcec0s1SOKgJYUN5BsPpFlhoCHmYQAvD_BwE