Apple Fingerpaint Bowls
Apple Fingerpaint Bowls… fun finger paint DIY that you and your kids can enjoy making together! Makes a wonderful teacher gift or autumn decoration for your home.
Back to school is quickly approaching and I’ve started preparing! Brand new school supplies are packed away into new backpacks, new school clothes and shoes that are ready to be worn!
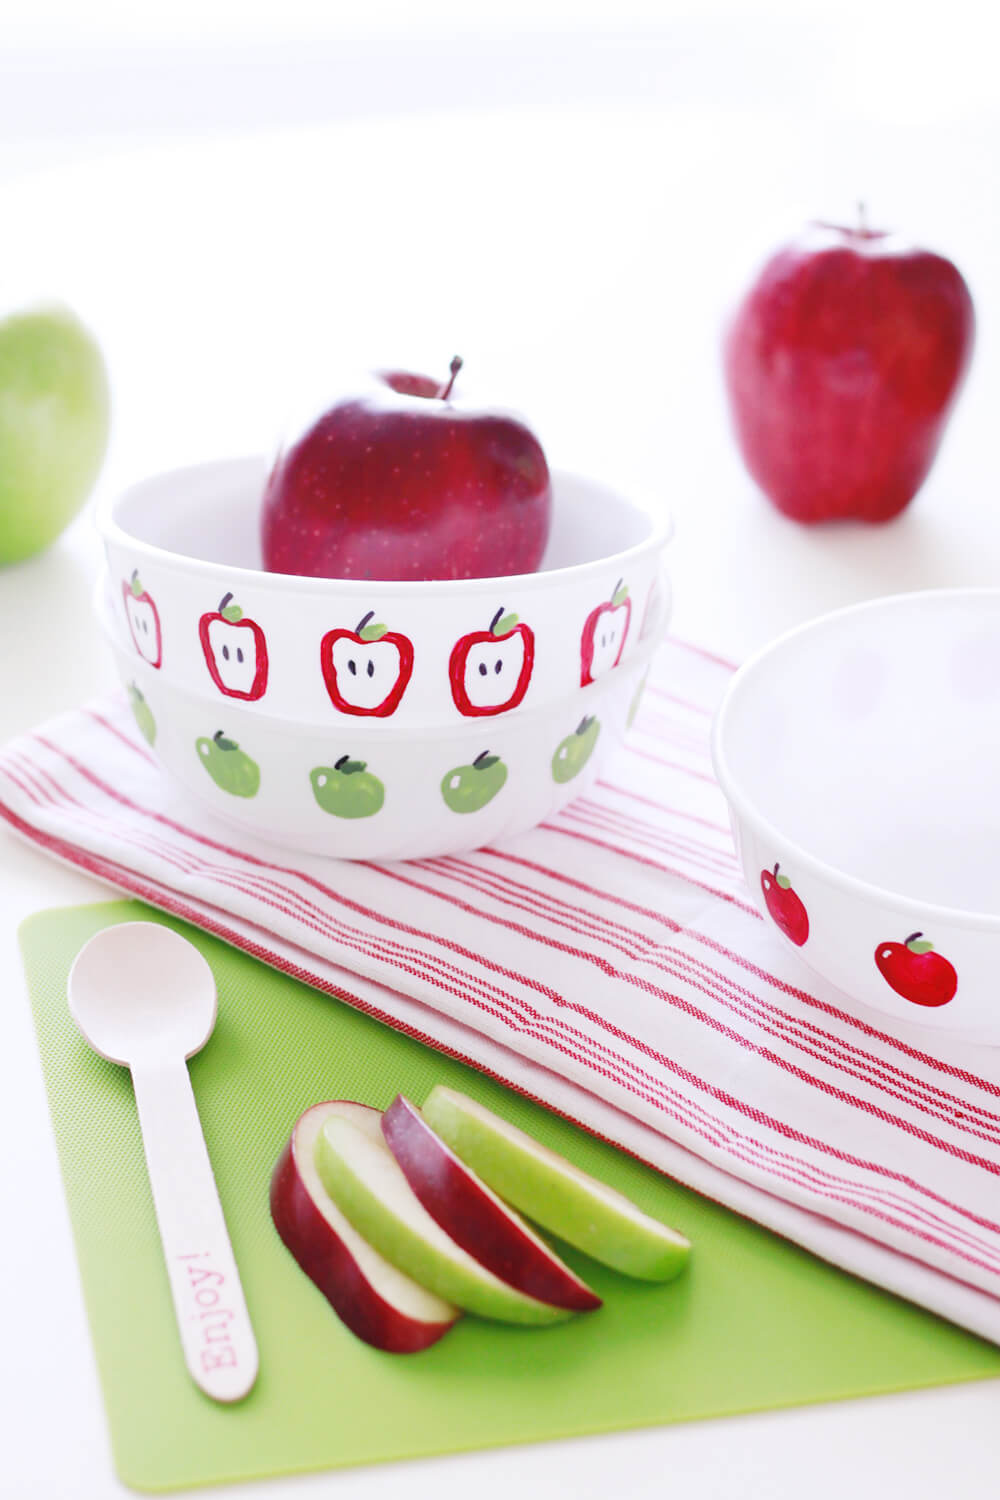
My daughters are so excited, that we’ve decided to make a little something for their new teachers. I believe that the easiest way to transition to a new setting is with a small gift for that first moment of introductions or you can simply use them as fruit bowls.
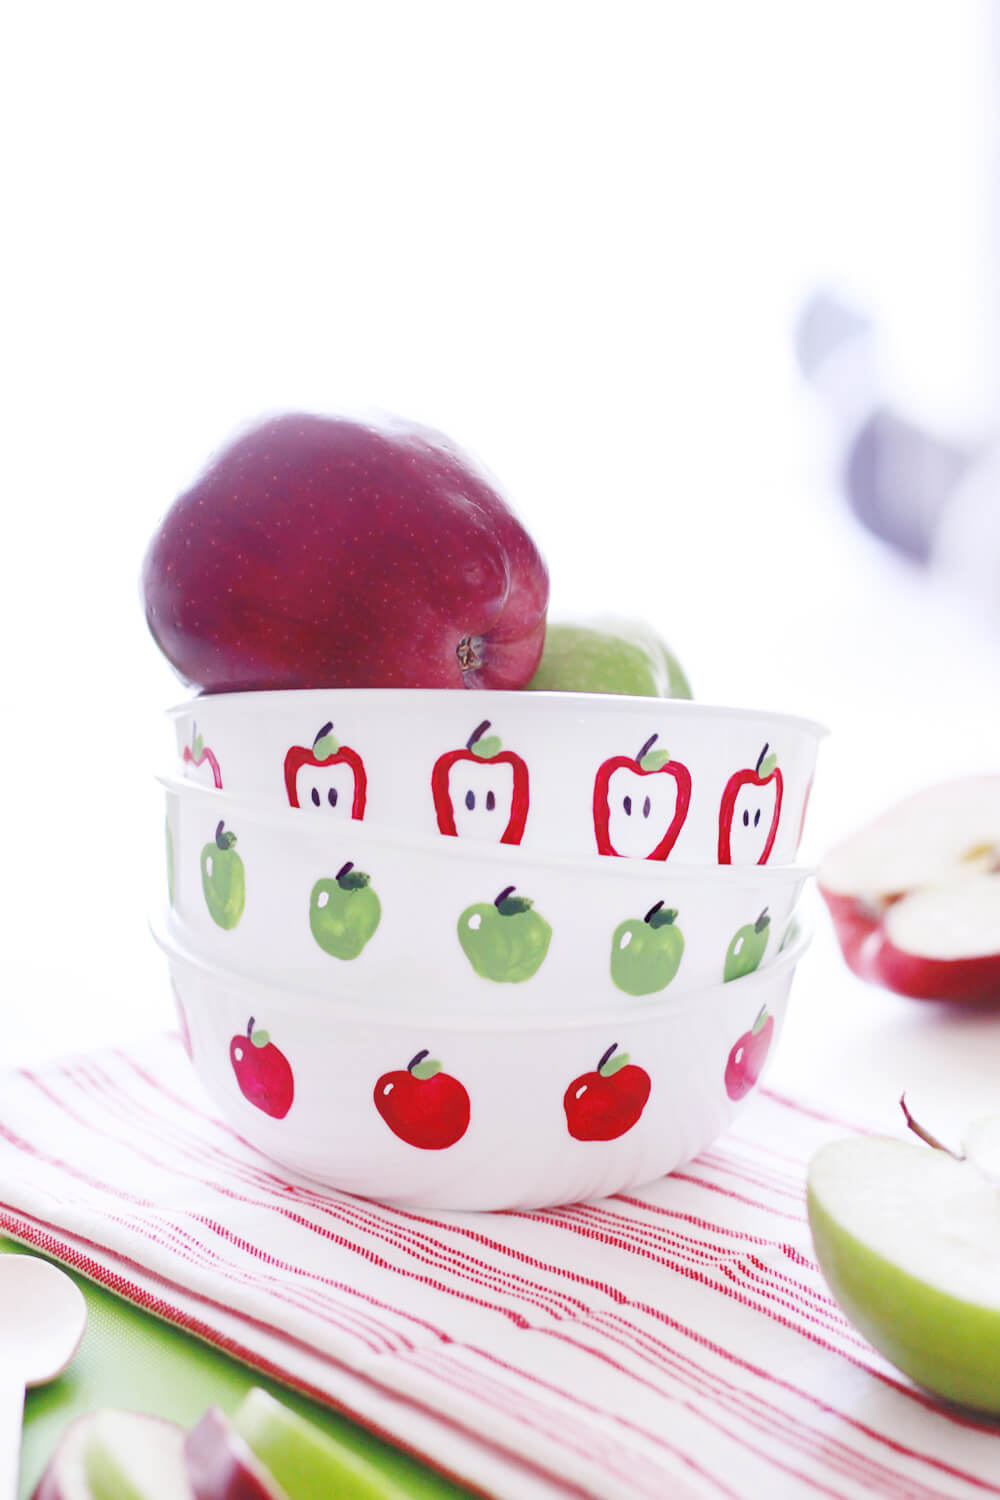
As I started to gather some teacher friendly gift ideas, the first thing that came to mind was handmade clay apple bowls. Then I attempted to make them, but I couldn’t get the shape I had envisioned. As a DIY’er you have to experiment and see what works and sometimes crafts don’t work out like you hoped for.
I had completely given up on the clay apple bowls. Then I saw my daughter finger painting and there it was, a new idea for a back to school gift.
Everyone loves to finger paint.. right? Well here’s a fun finger paint DIY that you and your kids can enjoy making together! These bowls are a great gift idea to give on the first day of school or anytime you really want to make someone’s day.
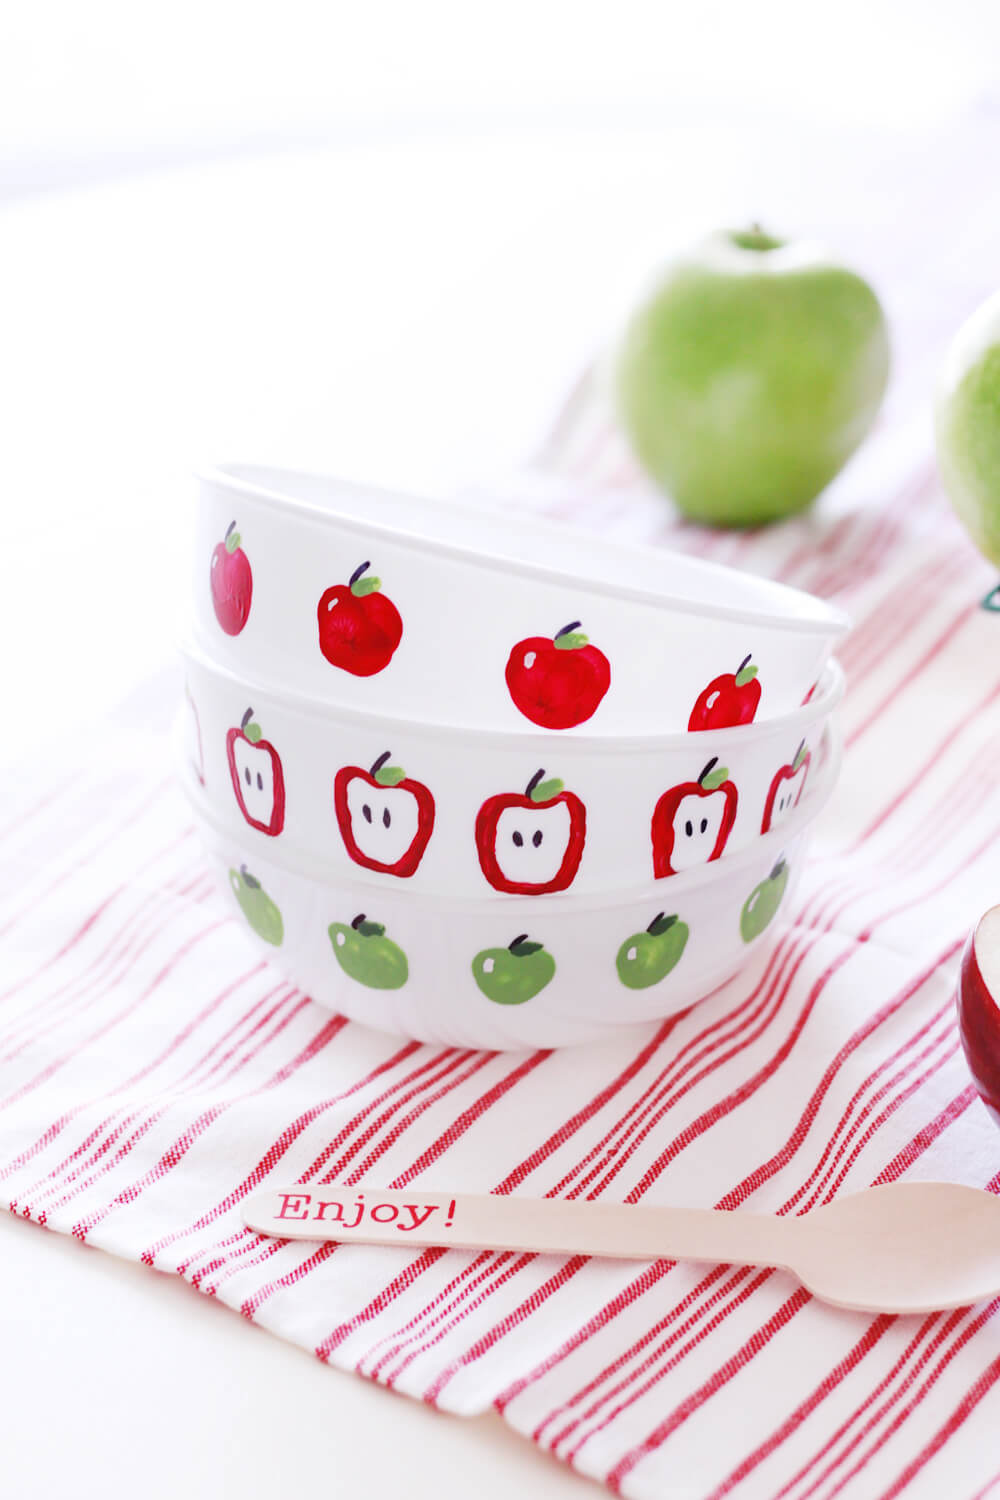
Before we start, I wanted to let you know that I purchased the white bowls at our local dollar store… that’s right the dollar store! And I used Martha Stewart ceramic paints.
Apple Fingerpaint Bowls Supplies:
- White Bowls
- Ceramic Paints
- Black Sharpie
- Q-Tips
- Small Paint Brush
Apple Fingerpaint Bowls Directions:
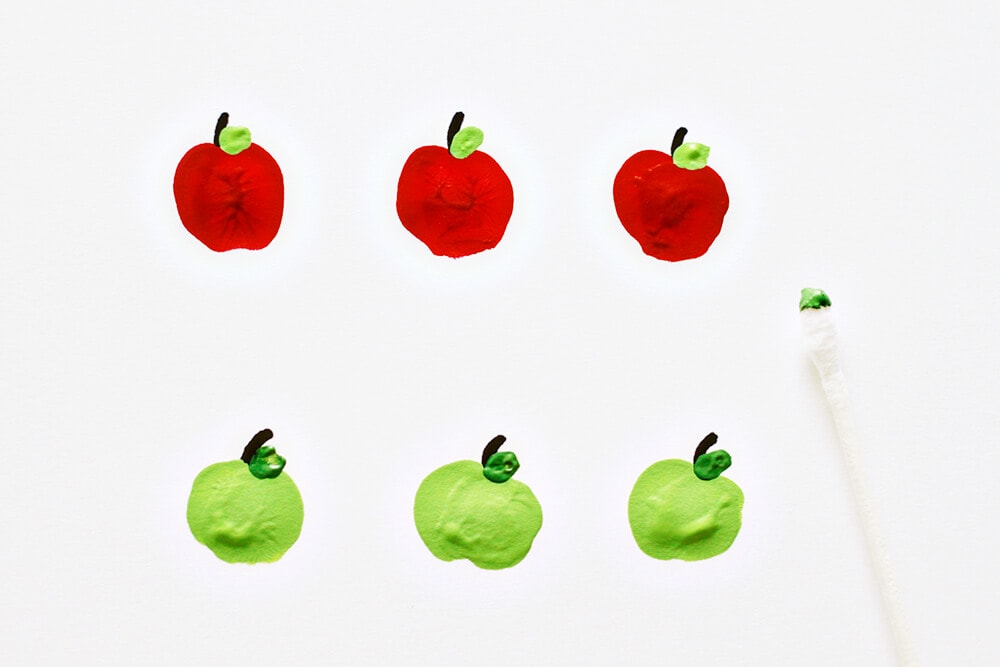
Step 1. To make the apples simply dip your index finger into the ceramic paint and press your finger flat and at a slight angle roll it to the right then lift. On the same spot, press your finger flat and at a slight angle roll it again but this time to the left. This will make the body of the apple. Let dry for 10 minutes.
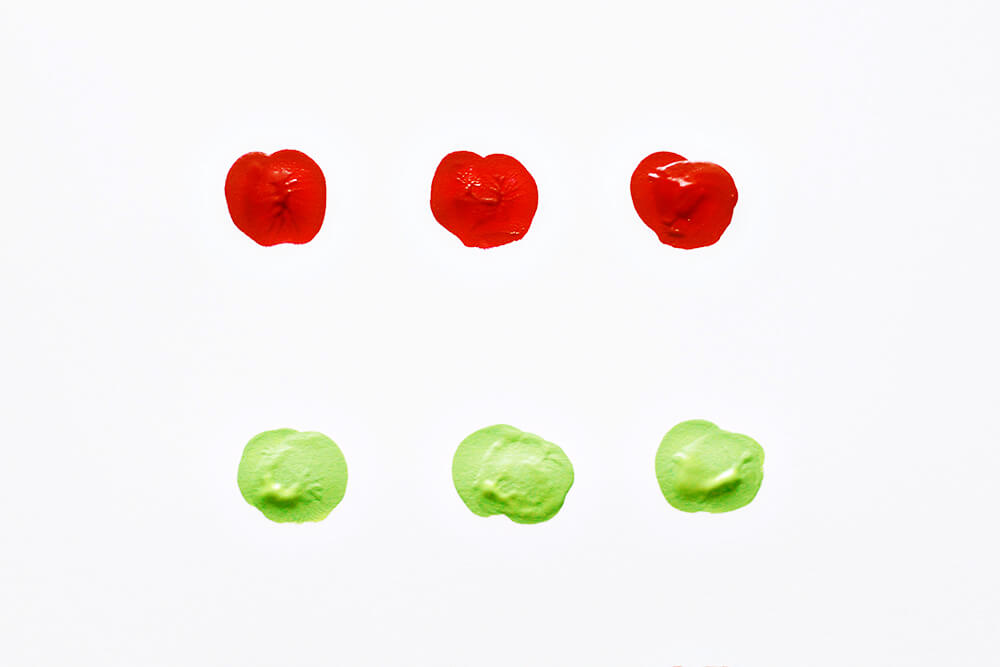
Step 2. With a black sharpie make your apple stem.
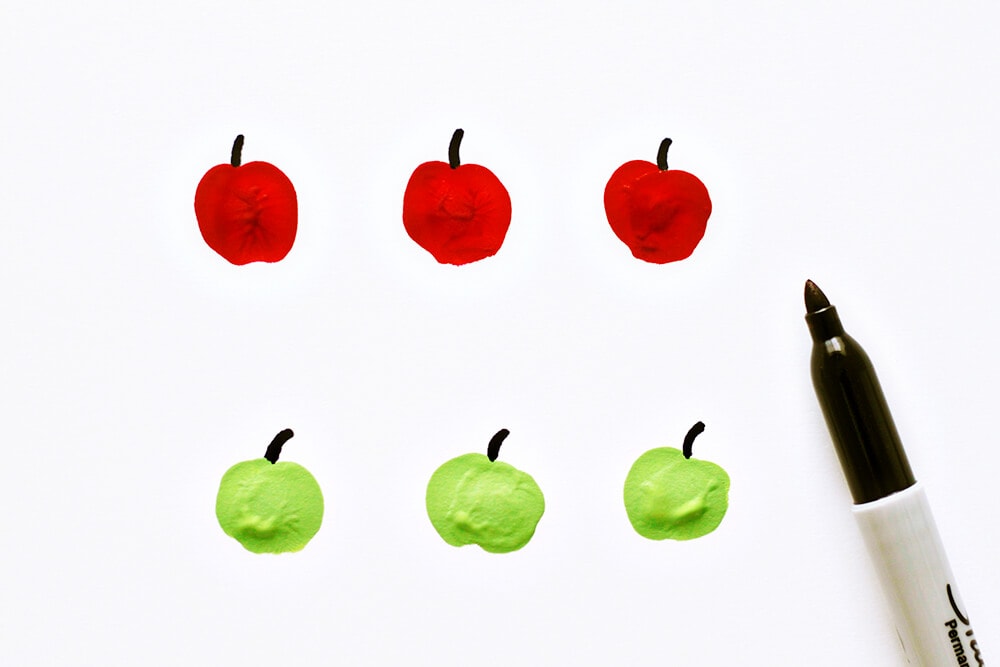
Step 3. Using the Q-Tip dab the tip into the green acrylic paint and make a small leaf next to the stem.
Step 4. With a paint brush add a small white line on the top left corner of the apple. Allow ceramic paint to dry at least one hour. Make sure the ceramic paint is dry to the touch before baking. That’s it! Easy Peasy!
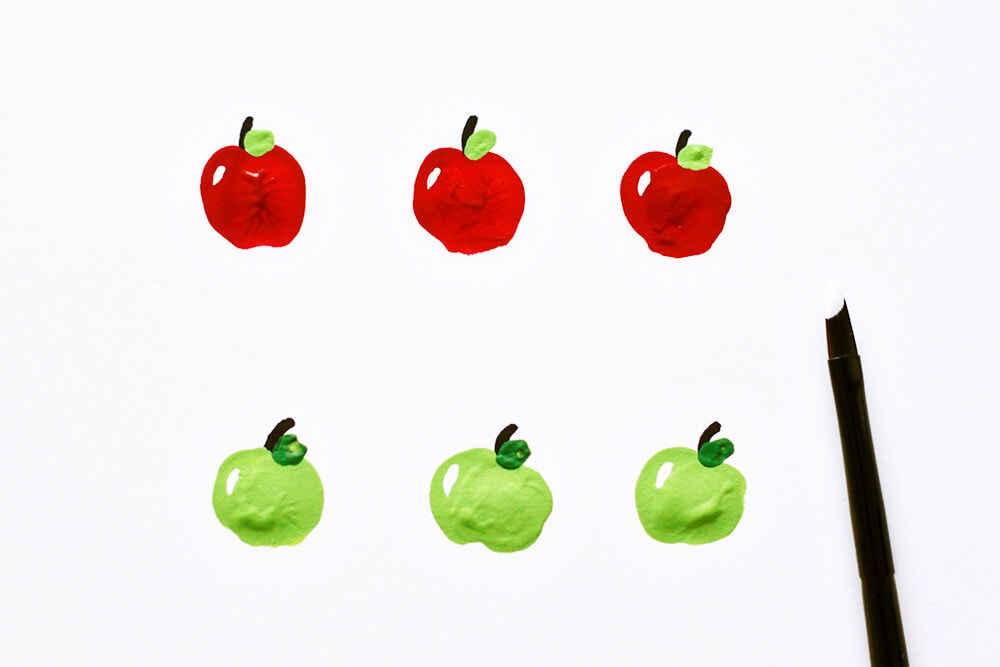
Note: For the half apple slice just outline an apple shape with the paint brush then follow steps 2 and 3 to complete.
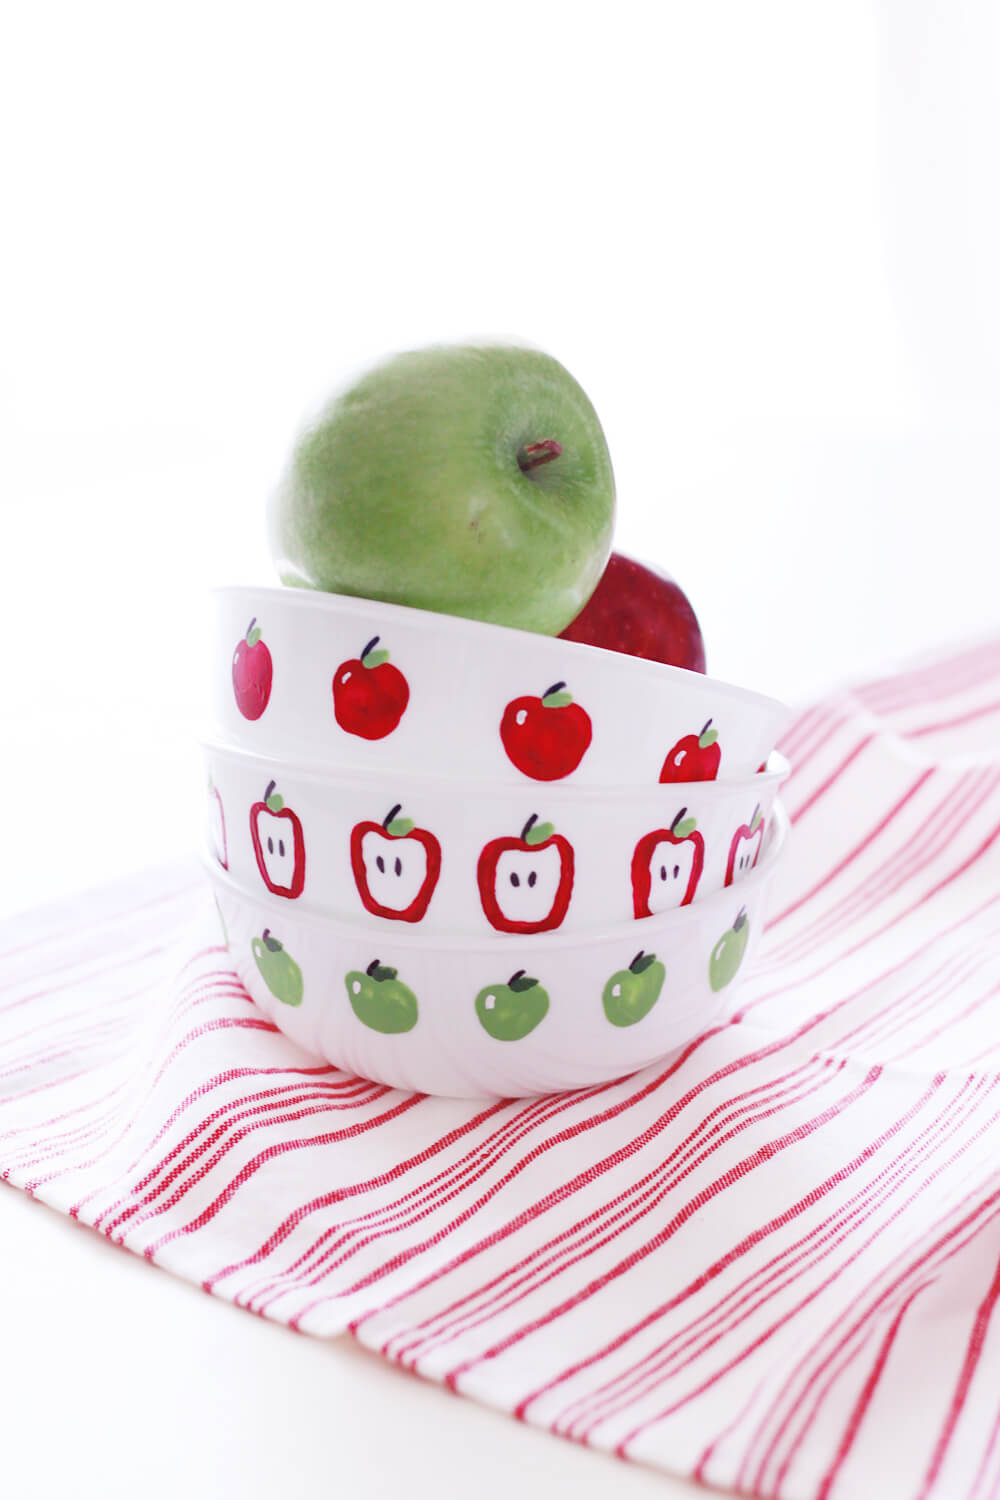
I hope you enjoy this apple finger painting craft as much I as did with my daughters!

Thanks Norma!
If you love this family-friendly craft, you’ll enjoy these too!


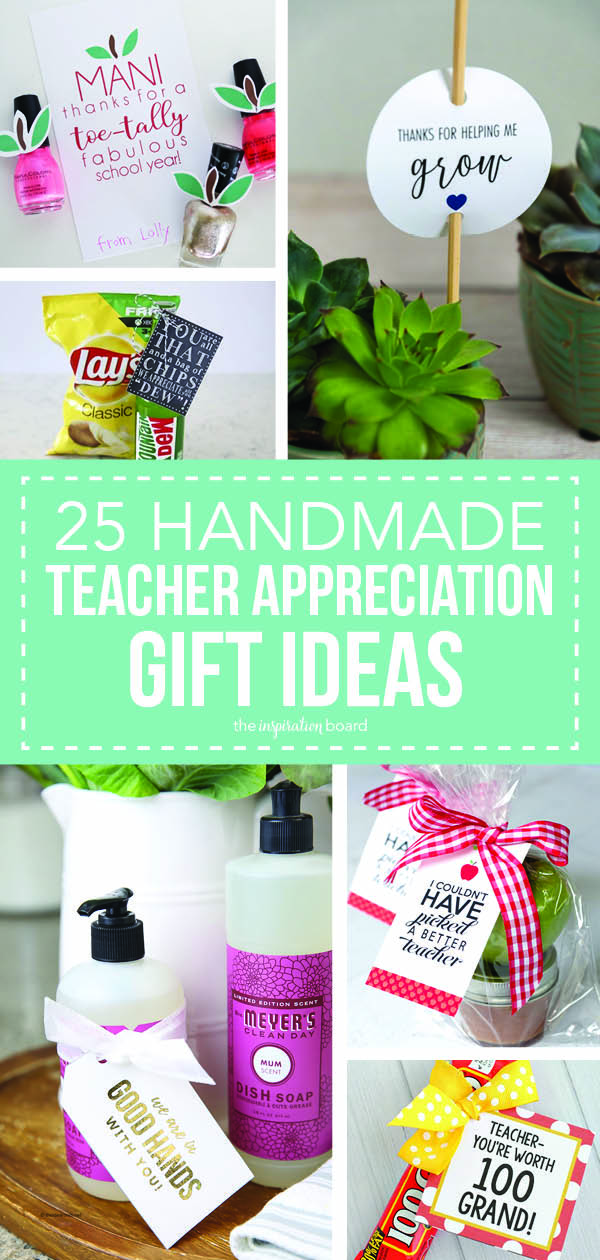
This idea is super cute! I love the story behind the design and love the project! Pinning!
These bowls are so cute! Great project with the kids!
Very good post. Thanks for sharing.
Hi Jamielyn,
This is such a cute and sweet way to have fun with kids still making wonderful gifts for their teachers. Hope your daughters also enjoyed. Eager to know their teachers’ expression!
love,
Debanti
Hi Norma,
This is a super cute way to play with the kids still able to make gorgeous gifts for their new teachers. Hope they like to have fun making these. Eager to know teachers’ expression getting this sweet gifts from the even sweeter kids.
love,
Debanti