Decorated Glitter Pumpkins
These decorated glitter pumpkins add a sparkly touch to your Halloween decor this fall season. Plus they’re super easy and inexpensive to make!
There’s no better way to get into the spirit of Halloween than by decorating a pumpkin (or three) for your Halloween mantel. Instead of making a gooey mess from pumpkin carving, try adding a fun and sparkly touch to your fall decor this season with these glitter pumpkins! I usually crave tons of jack-o-lanterns during Halloween, but this year a wanted to switch it up and create something different, but still fun for the kids.
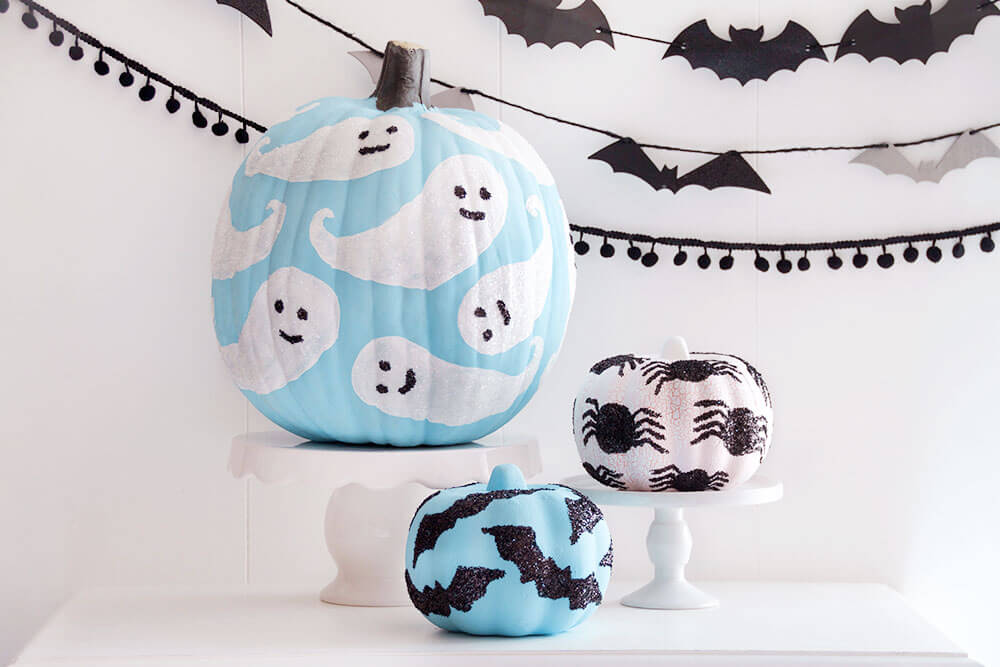
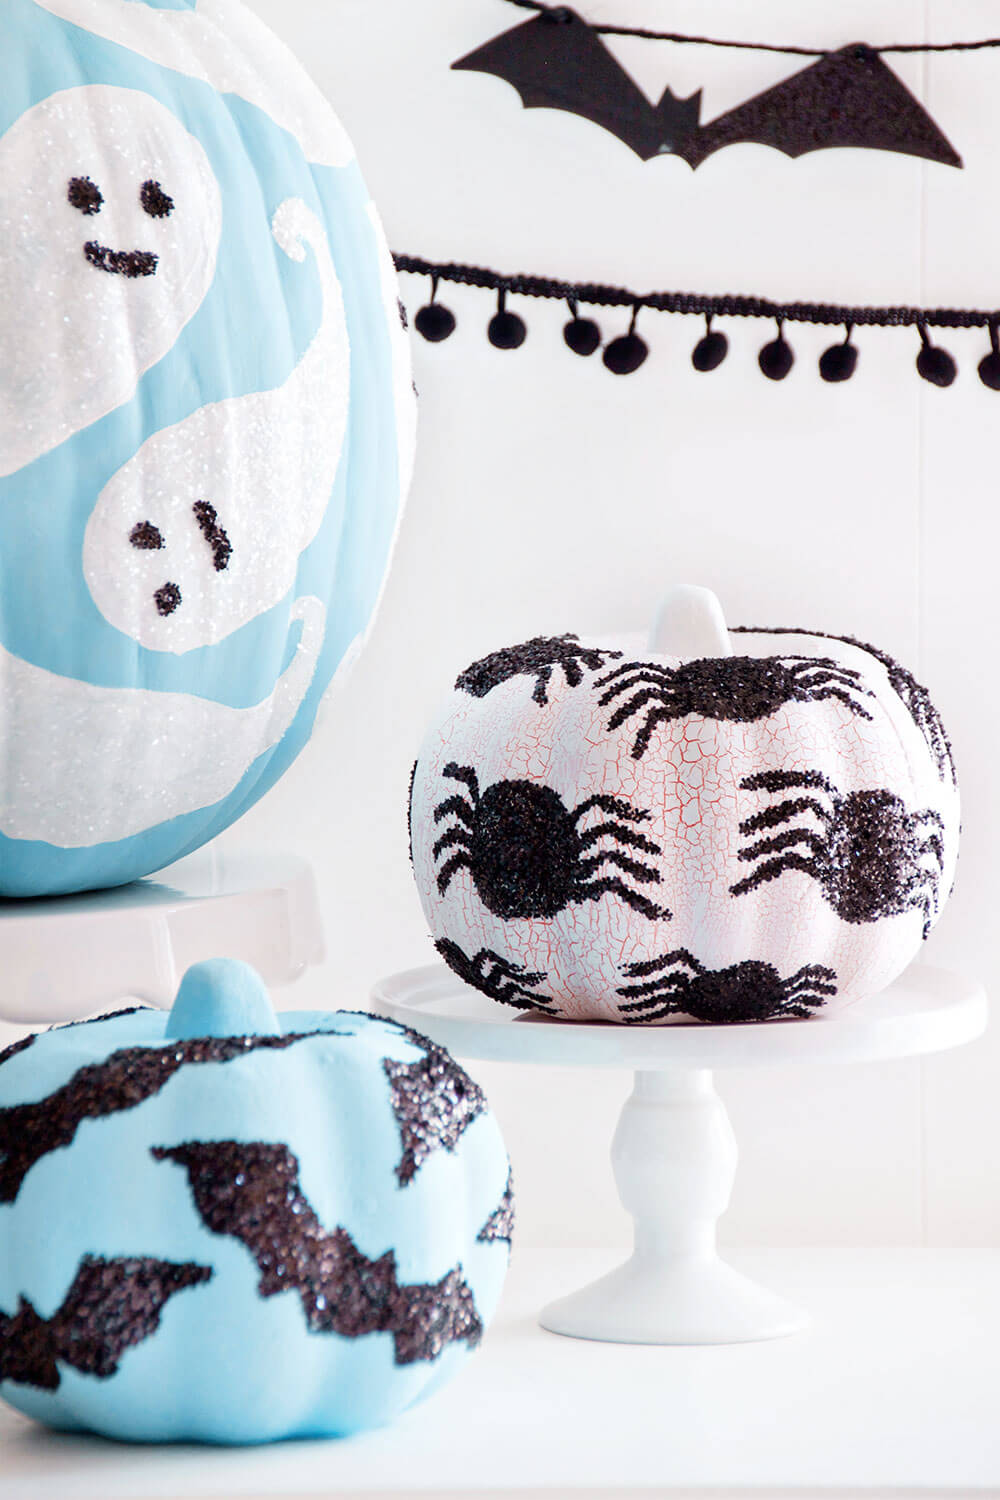
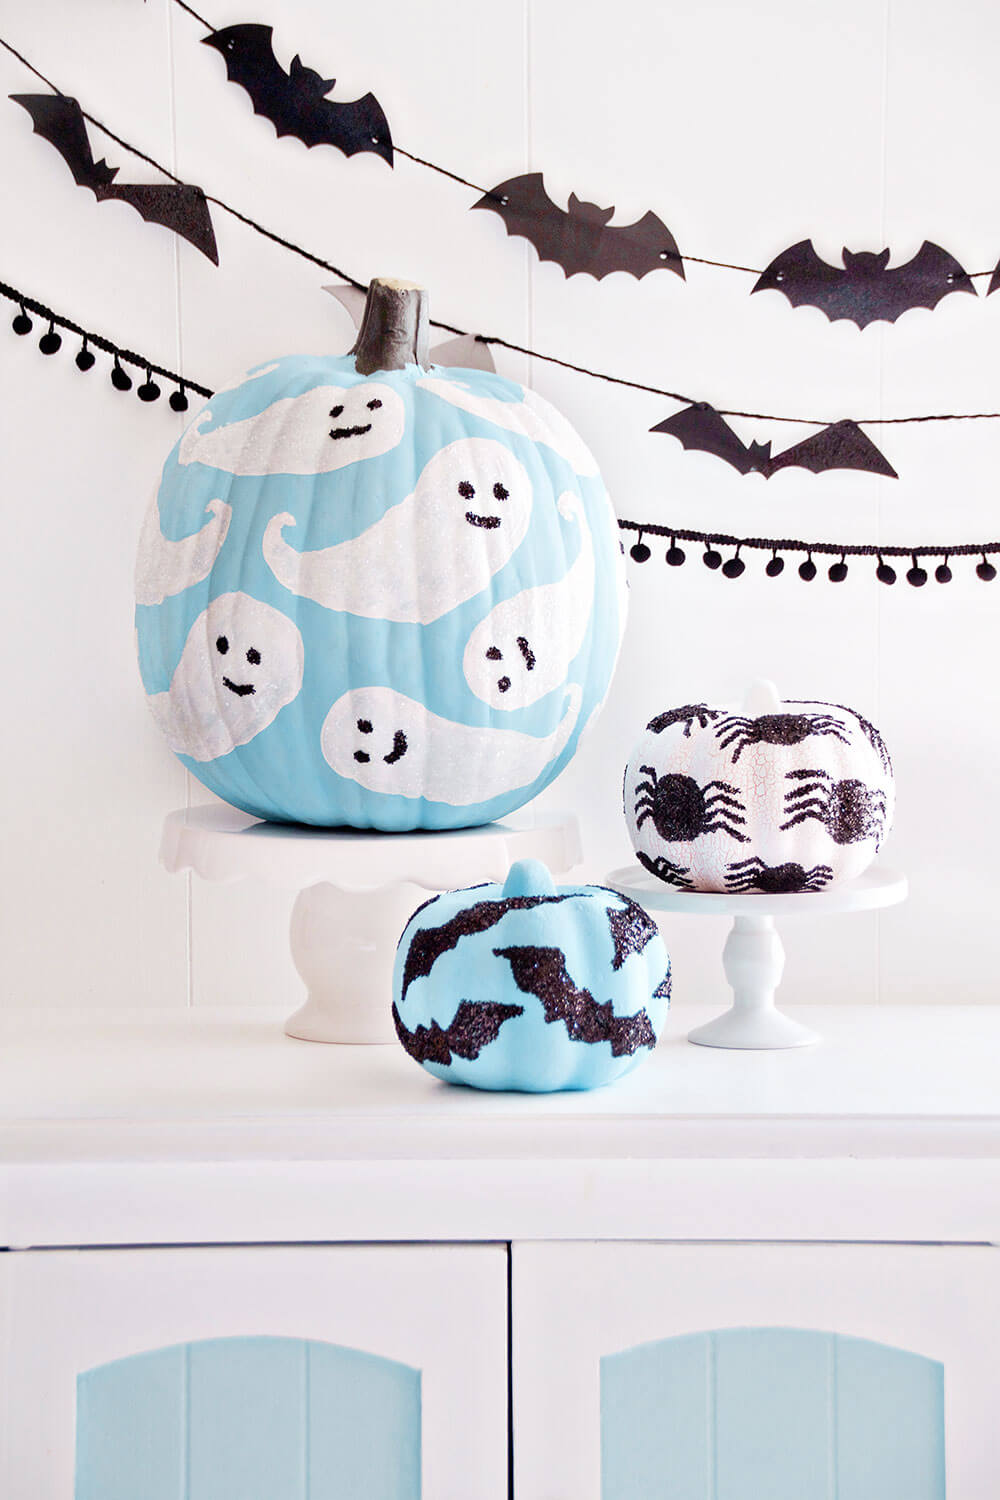
Don’t you just love the new craft pumpkins that are available now? They are very realistic looking and of course, nothing compares to the tradition of carving real pumpkins (then roasting the seeds or making pumpkin pie- yum), but I really like the idea of decorating a pumpkin and then being able to use it year after year. There are truly many different ways you can decorate your pumpkins and this year, I’m giving into glitter! You can never go wrong with glitter.
Supplies needed:
Before you begin this project, be prepared for a glittery mess. But it’s well worth it! You’ll need the following supplies to get started:
- Plastic or Real Pumpkins
- Mod Podge
- Black and White Glitter
- Paint
- Paint Brushes
- Pencil
How to make glitter pumpkins
Step 1: Choose your desired paint colors and paint your pumpkins, then let dry. I decided to paint mine light blue and white. In order to get the crackled look that you see on the white pumpkin, use chalk paint and styrofoam pumpkins (apparently chalk paint cracks when it dries against styrofoam).
Step 2: After the paint dries, draw your desired Halloween shapes. Make sure you draw the shape all around the pumpkin. You can draw ghosts, bats, black cats, witch hats, and you can even write spooky words if you wish!
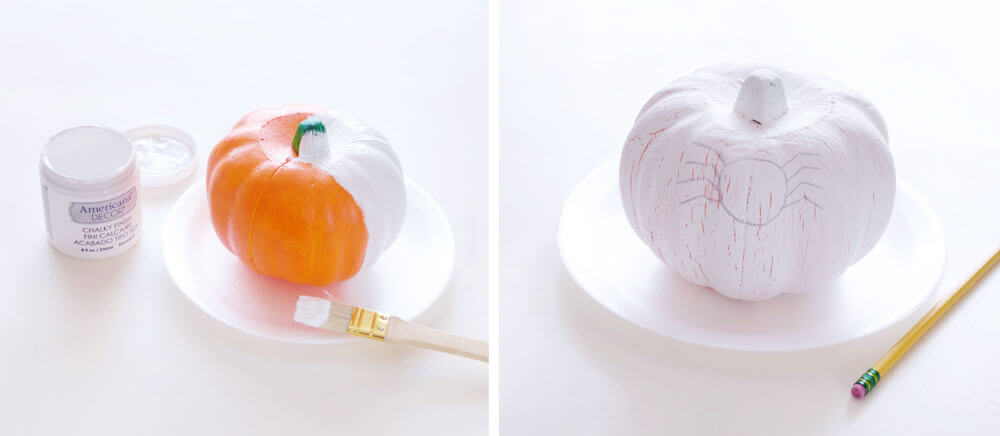
Step 3: With a paint brush, apply Mod Podge over your drawing.
Step 4: Sprinkle on glitter! This step is going to be messy but so worth it. After the glitter sprinkling, give your pumpkin a few taps! Just to shake off the excess glitter.
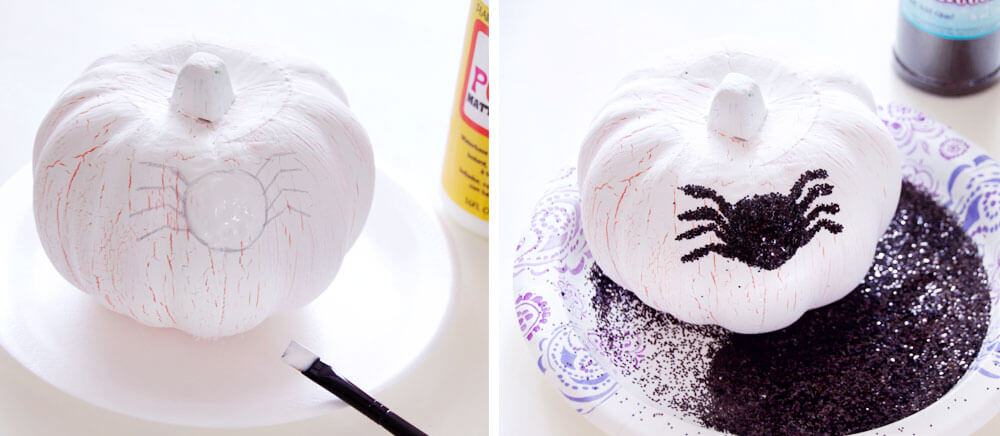
Step 5: Continue this process with different sized shapes for added dimension. Once the glue has dried, use a dry paint brush to lightly brush off any excess glitter.
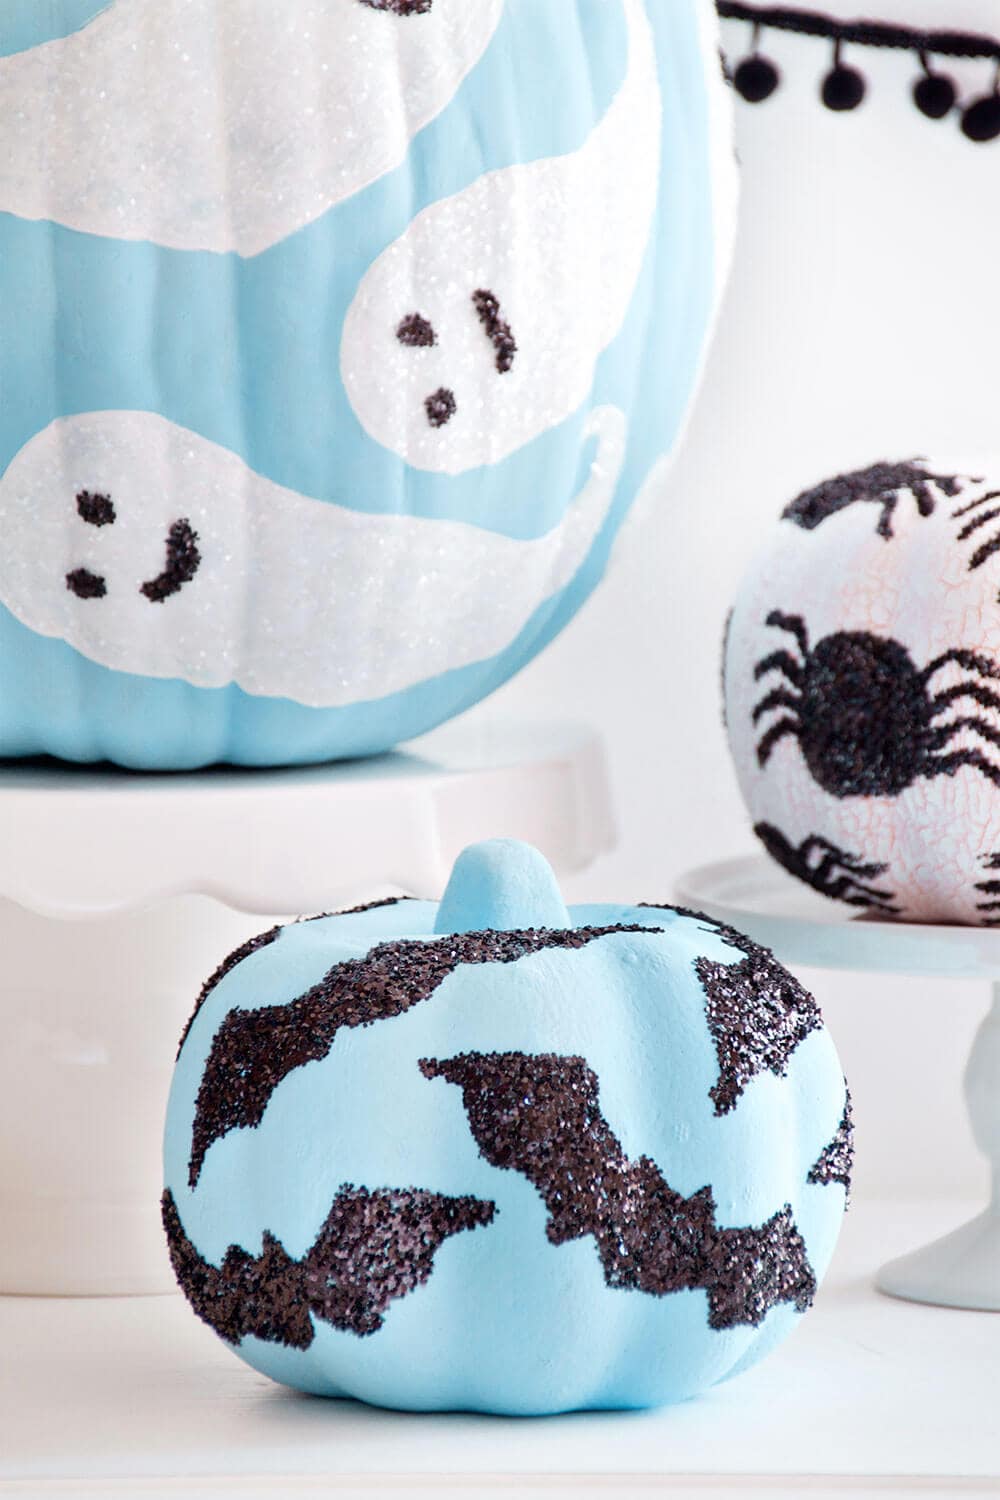
Voila, easy-peezy DIY glitter pumpkins that look fun and are gorgeous. Make your own version this Halloween!
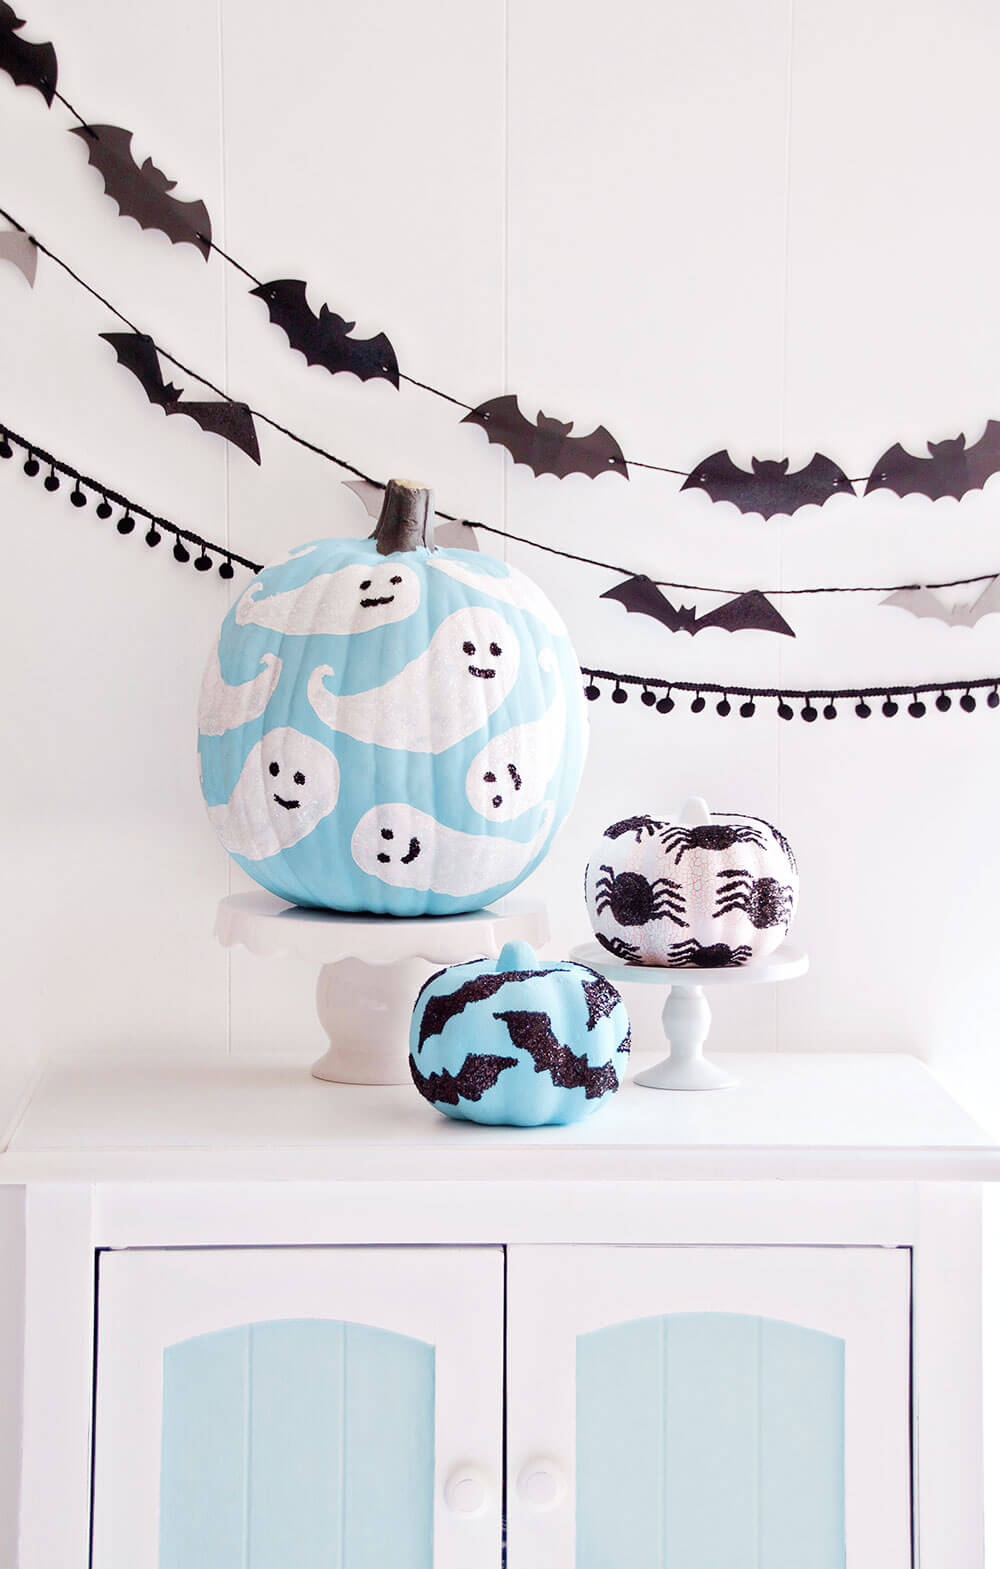
More diy Halloween decorations:
Originally contributed by Norma from Paint me Pink.

This is such a fun spin on pumpkin decorating! Love these!
Paige
http://thehappyflammily.com
These are so stickin cute! I love them and after messing up one of my white pumpkins yesterday, I now know what I’m doing to fix and decorate it! Thank you so much!
This is so fun, festive and creative!!! Will definitely have a glitter pumpkin on our front door step this season. Thanks for sharing!