Wipeable Art Mat for Kids
By Stefanie of Girl. Inspired. for I Heart Nap Time.
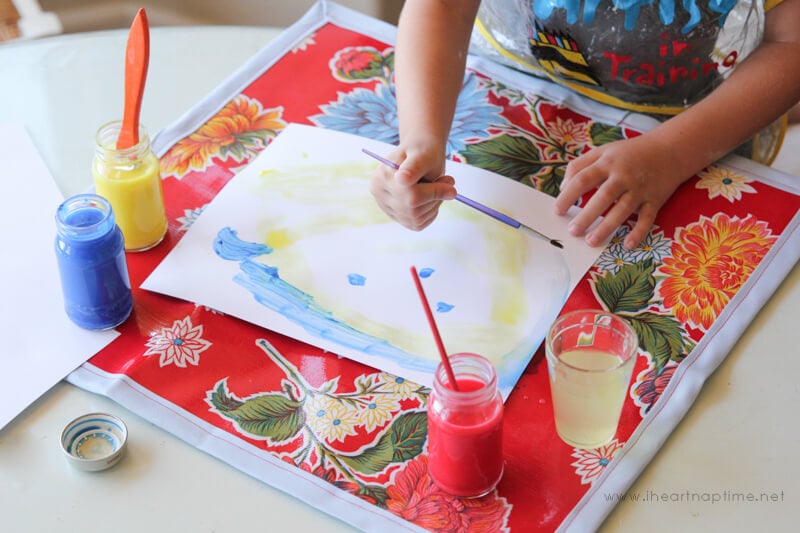
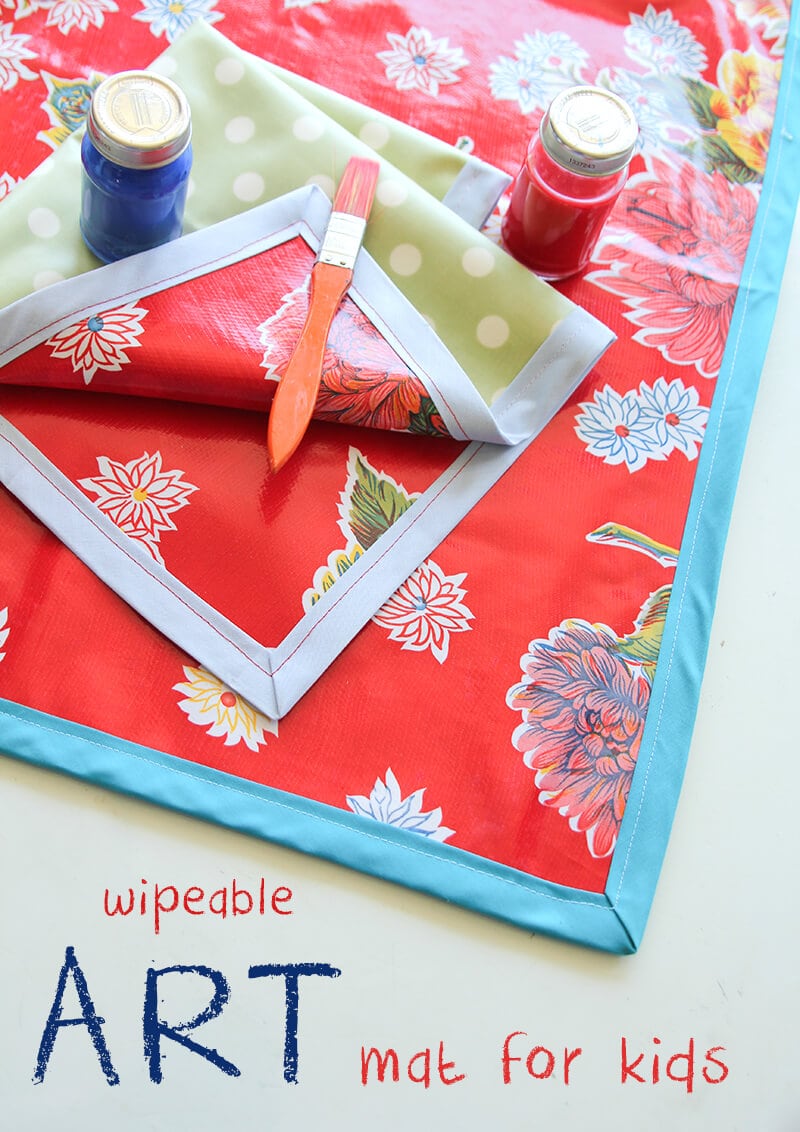
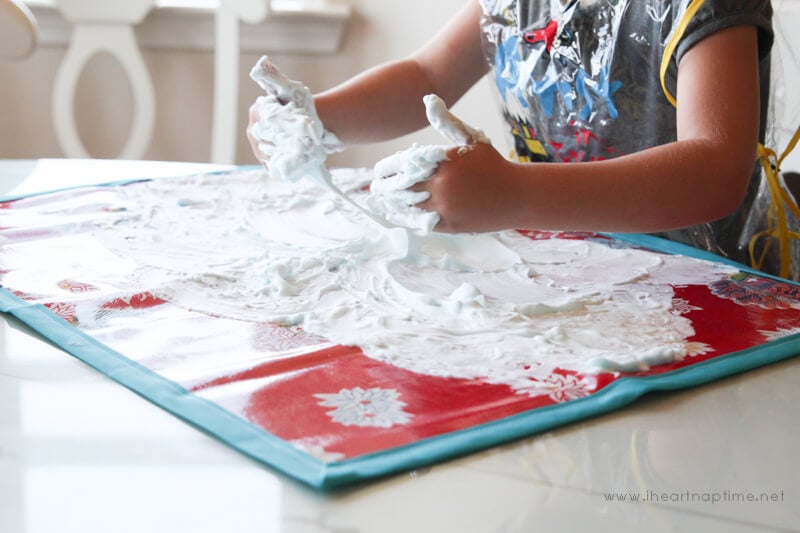
Summer is here, the kids are out of school, and my list of summer crafting is loooong. These wipeable art mats are perfect for all of your kids’ summer crafting. Kids can paint, sprinkle glitter, smash playdoh, and spread shaving cream! Messy art projects can be cleaned up so easily with a quick wipe of the art mat or a rinse in the sink. With just a few supplies, you can sew one of these mats in any size you like!
Let’s get to it!
Supplies:
- Oilcloth – two pieces measuring 18″ x 25″ each (or two of whatever size you’d like)
- Double Fold Bias Tape (you will need enough to go around the perimeter of the oilcloth) – I used quilt binding bias tape, which is wider.
- Spray adhesive
- Teflon foot for your sewing machine (optional!)
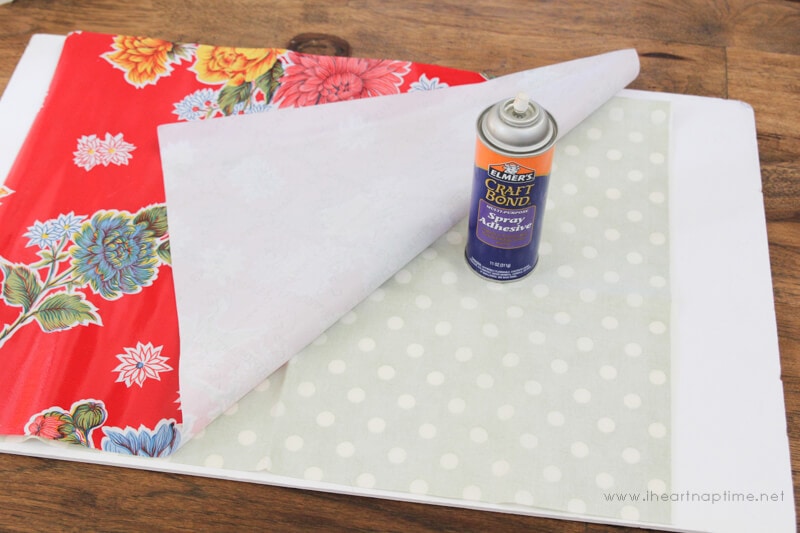
1. Cut two pieces of oilcloth to the size desired – one for the front and one for the back. Place one piece of oilcloth right side down on a protected surface (preferably outdoors). Coat with a layer of spray adhesive. Place the other piece of oilcloth, wrong side down on top of the spray adhesive (so wrong sides together).
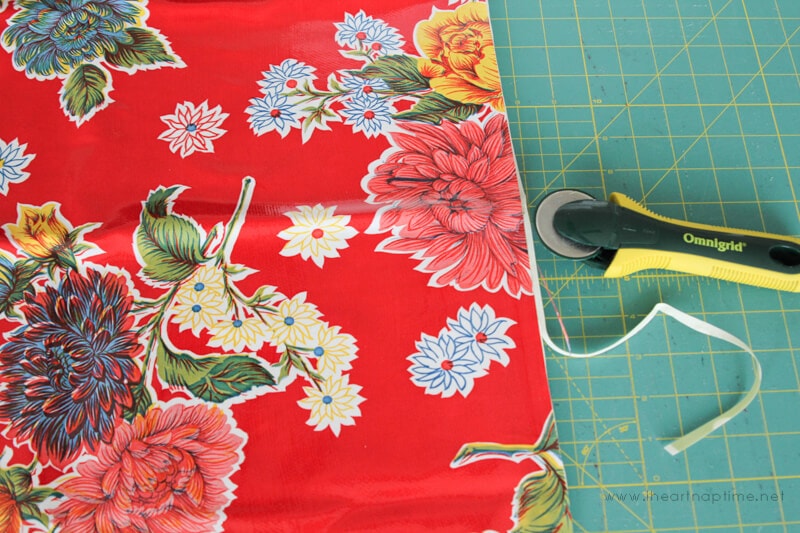
2. Smooth front and back pieces together and trim any excess around the edges. Trim to straighten the mat.
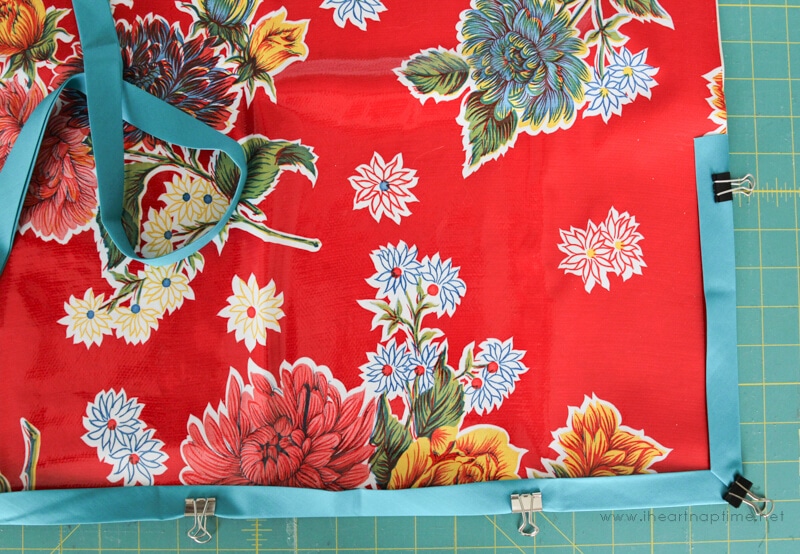
3. Open bias tape and sandwich the edge of the mat between. Hold the bias tape in place around the perimeter of the mat using binder clips to avoid pin holes.
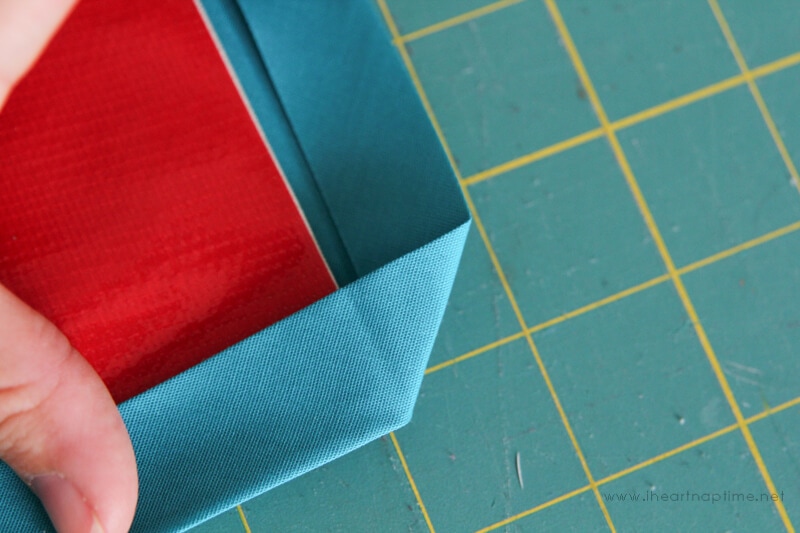
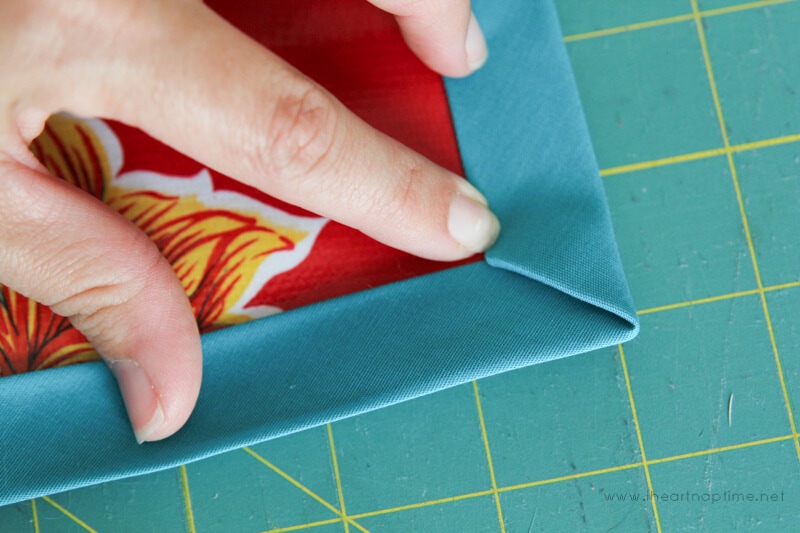
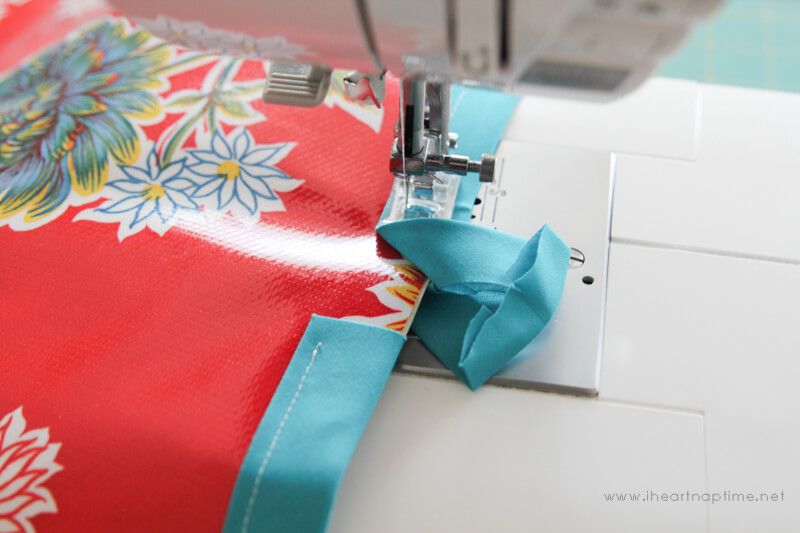
4. Create mitered corners by wrapping the bias tape squarely around the corner and then tucking the excess tape into the fold to form a 45 degree angle – see the pictures above.
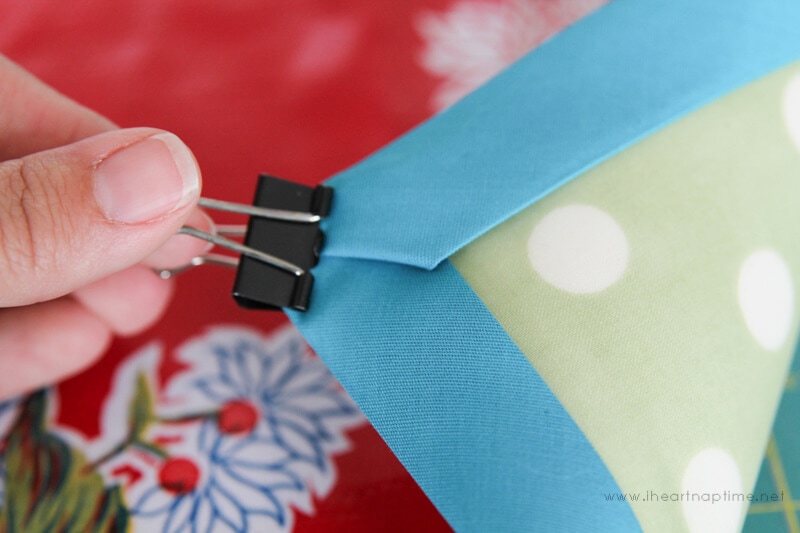
5. Be sure to tuck the bias tape on the backside of the mat in to create a mitered corner there as well. Hold the corner with a binder clip.
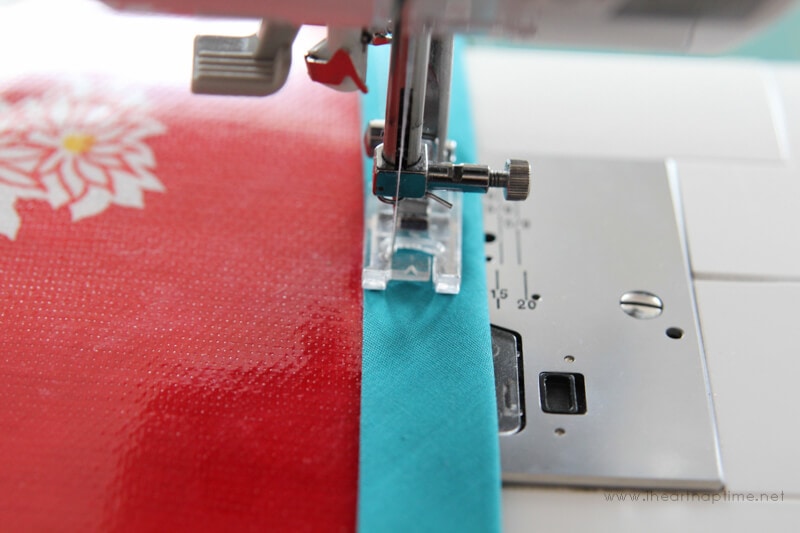
6. Time to sew! Stitch the bias tape around the perimeter of the mat. If you do not have special equipment to sew oilcloth, you will need to keep your presser foot on top of the bias tape. I lined up my presser foot with the inside edge of the bias tape and then set my needle all the way to the left to sew as close to the edge as possible without allowing the presser foot to get caught up on the oilcloth. You can also gently pull the mat through the sewing machine from behind as you sew to keep things going. A longer stitch length can also help.
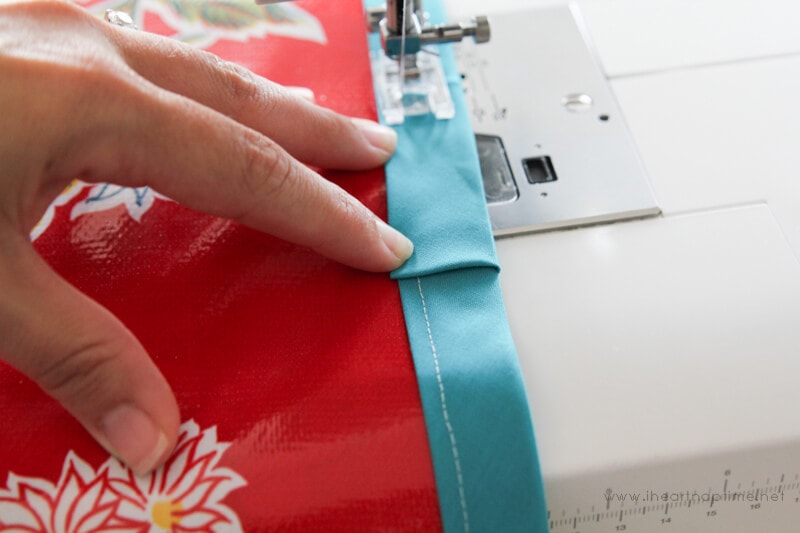
7. As you get back to the starting point, trim the excess bias tape, leaving 1/2-1″ of overlap. Fold the raw edge under as shown.
8. Fold the bias tape back down and overlap the raw edge of where you started. Finish stitching the remaining bias tape. Backstitch a few stitches to secure the thread. That’s it!
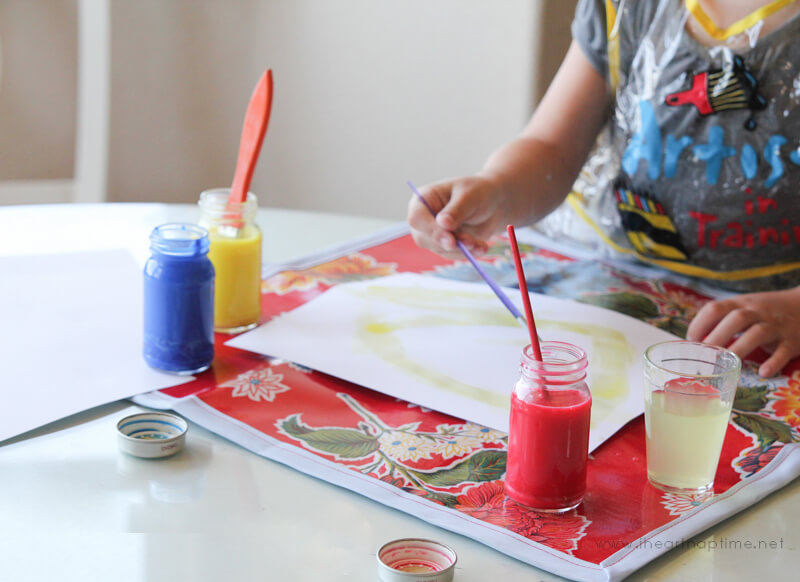
That mat is ready for craft time!
Rinsing shaving cream off this mat was a breeze!! Happy crafter, happy mama!! I can tell already we’re going to get a lot of use out of these mats this summer! I hope you’ll pop over to Girl. Inspired. to see the other fun projects we’ve been working on!
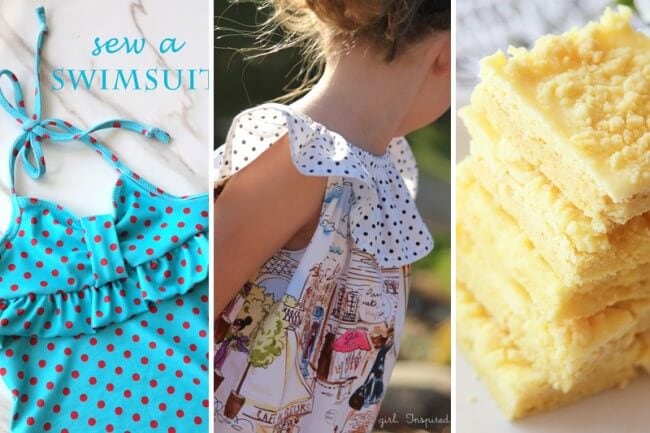
Tips to Sew a Swimsuit – Sleeveless Peasant Dress Tutorial – our favorite Lemon Cream Cheese Bars
Thanks friends! Have a wonderful summer!!
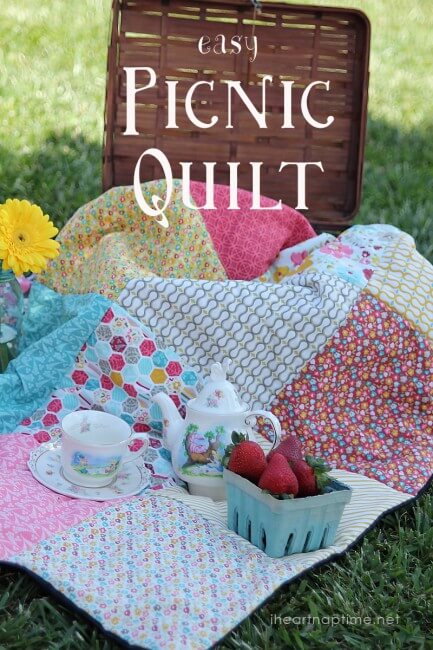
If you’re looking for more sewing projects, you’ll love these:


Thanks for sharing this. I have an old plastic table cloth I plan to chop up and do this with!
Great idea Becky! Thanks for stopping by. 🙂
I am not crafty at all (my talents lie more in the kitchen), but this is such a great idea! Maybe someone can make one for me in exchange for cookies?
I made something similar to this not long ago and they are great but for the fabric border. Any thoughts on oil cloth bias tape?
Make your bias tape from a thinner oil cloth, like the inexpensive felt backed tablecloths.
Useful and creative, I can’t belive it, how easy it is. Perfect. Eliza
Since oilcloth isnt cpsia safe for children d suggesy laminated cotton.