How to Make a Vintage Sign
By Marie of Blooming Homestead for I Heart Nap Time.
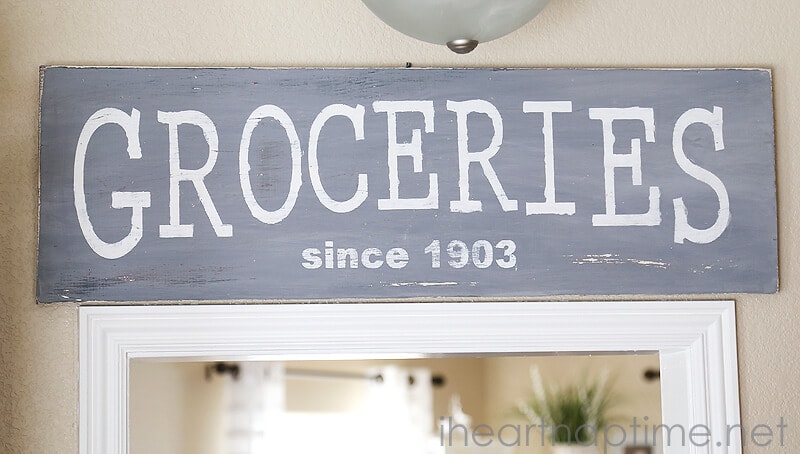
Ever come across a cool vintage looking sign and wondered how you could make your own? Well, today I’m going to show you an easy technique for How to Make a Vintage Sign.
First off you’ll need to gather your supplies:
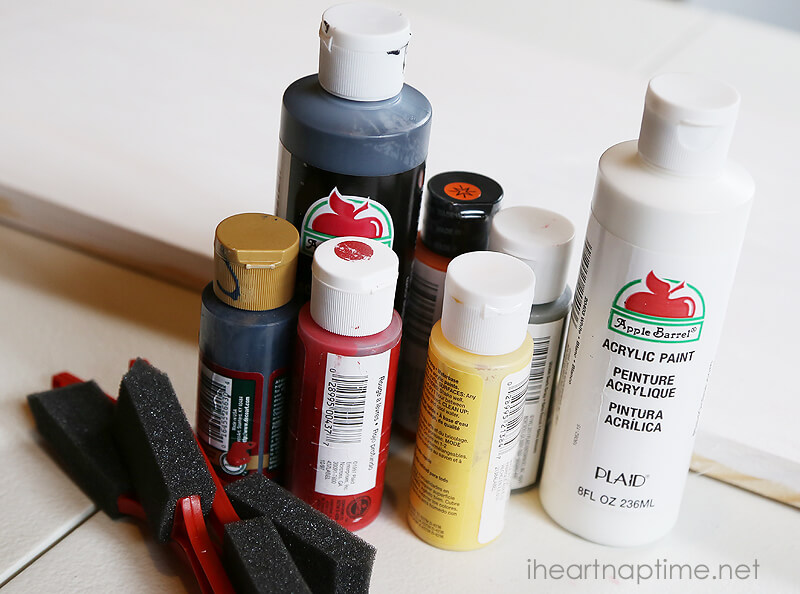
Supplies:
- Wood (new or salvaged)
- paints(various colors) & shellac (I used acrylic paint)
- brushes
- sandpaper/masking or duct tape
- hanging hardware
- stencil (unless you freehand)
How To Make
I started off by purchasing a piece of wood at Home Depot and had it cut to size at the store (ask them and they’ll cut it for free!) My dimensions for this project was 12″x36″.
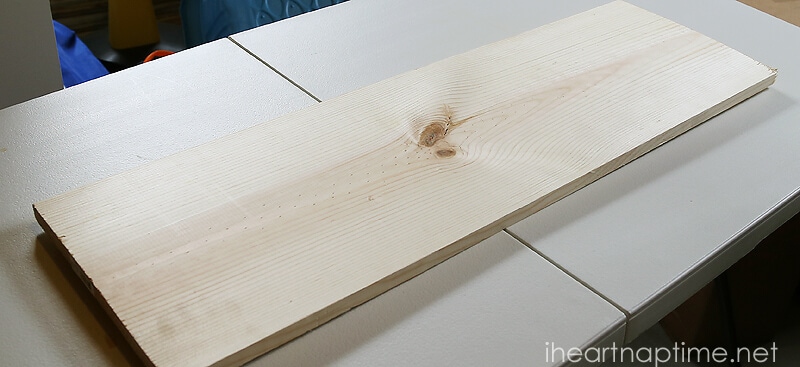
You’ll want to prep your wood. This includes washing, sanding, etc. (If you’re using salvage wood, you’ll need to take necessary steps to keep yourself and other safe in case it contains lead based paint.) At this point you can also use a hammer and other tools to make marks in your wood for more character. I chose to just start painting. One thing I love about old signs is the layers of paint and color that show through. To create this effect you’ll want to layer on several different colors of paint. I like to do this very messy so when I sand the finished product I have a lot of different variation in color coming through. I painted my board white all over as a sort of base coat, and then added yellow, orange, red, green, and blue in patches throughout.
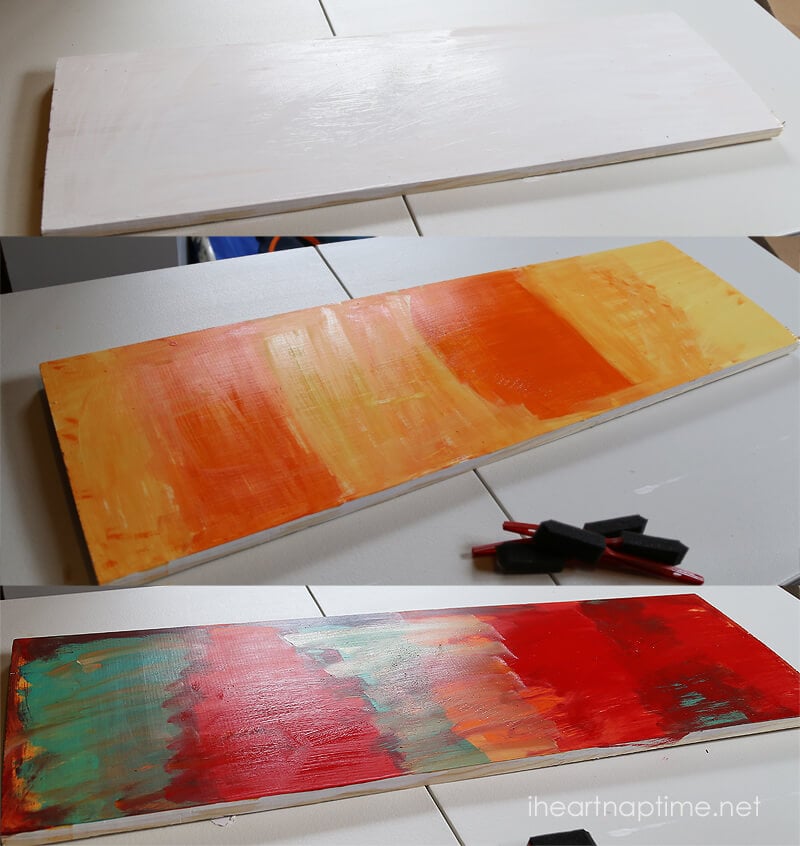
Let each layer of paint dry before you move onto the next. After you have all your “filler” colors on the board, you can paint your top coat. I chose a dark gray that required 2 coats to cover all the rainbow filler colors I had painted.
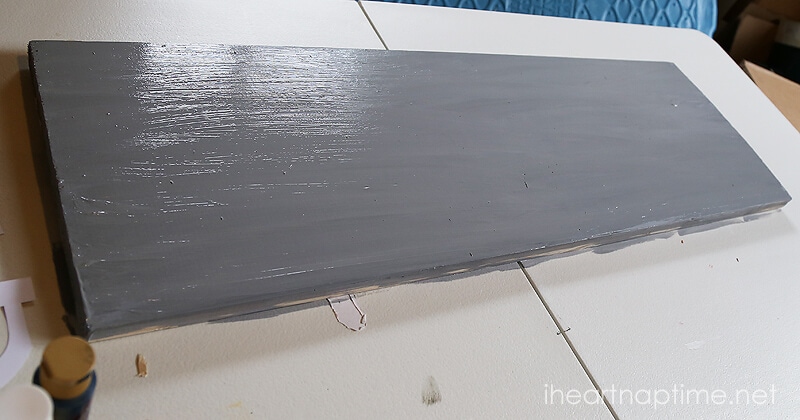
Next up is to stencil on your lettering. There are many different ways to add lettering including various free handing & stenciling methods. I chose to cut out letters with my craft machine to create a stencil. Before I had my craft machine I would either purchase letters stencils at the craft store or print out my pattern on paper and cut them out to trace. If your artistic and can free hand your own that is even better! I used a pencil to draw the letters on and then painted the letters white with a small paintbrush. Let the paint dry and add another layer of paint if necessary. This doesn’t have to be perfect because you will be sanding the letters down so if you go out of the lines that’s okay! Make sure to let your board dry and cure before sanding. I recommend waiting 24 hours.

Once your final product is completely dry, you can start sanding to age the sign. You can use an electric sander, but I prefer to do this by hand. It allows me more control with how the paint is wearing. If you don’t want to sand too much you can apply duct tape and rip it off for a nice worn texture.
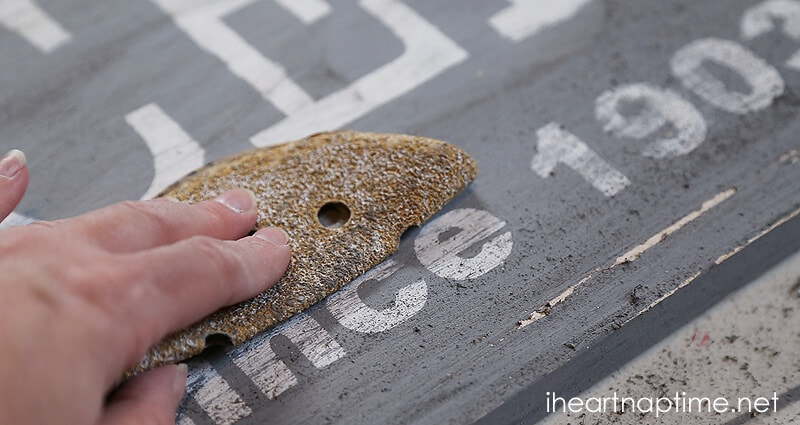
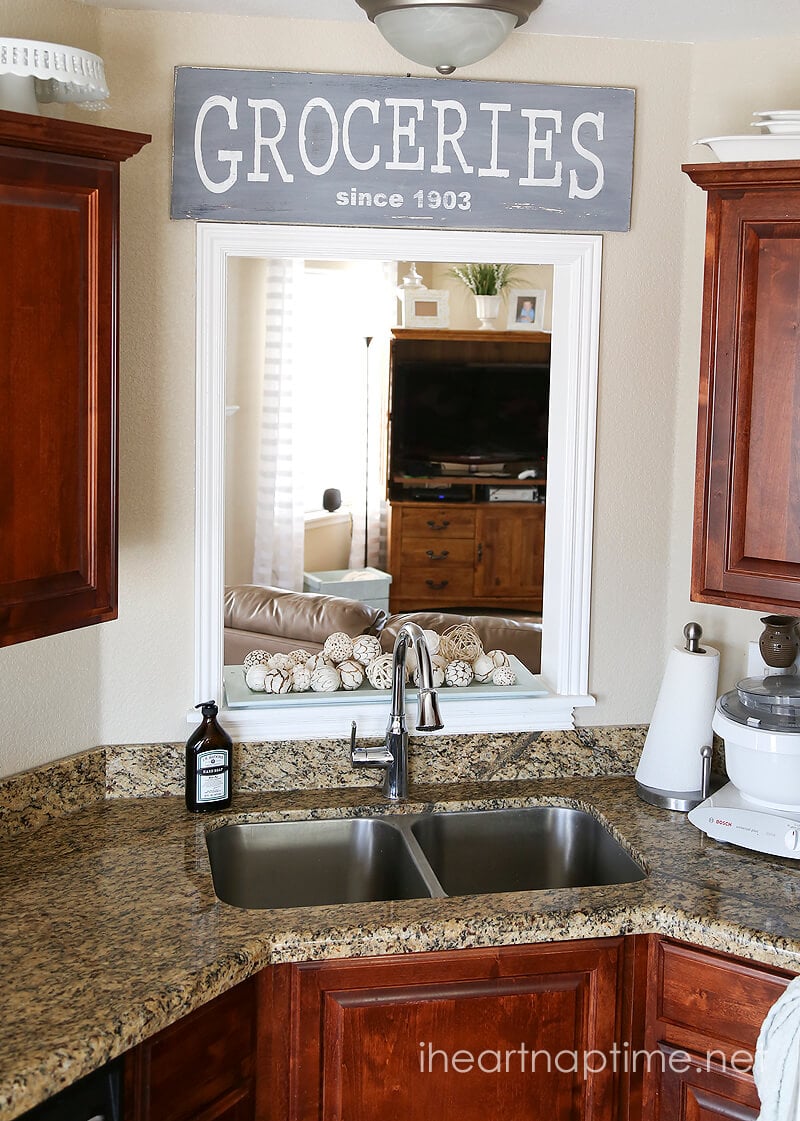
When you’re finished, wipe down and/or vacuum excess paint dust and paint over with shellac. Add hanging hardware on the back and there you have it!

Hi! I’m Marie and I blog over at Blooming Homestead. I love to share my latest projects, printables, recipes, and more!



This is SO GREAT! I have been looking around to buy this kind of thing, but all the ones I like are just a little pricey. Totally love that I can make it instead…which is so much more fun and rewarding knowing that I did it myself! Pinned!
Just got laid off from my job. I too am a mom of a 10 year old little man. He is my reason. To keep an income coming in, I’m hoping to make and sell signs. Your blog is amazing to help me get started. Thank you so much. You do awesome work. God bless my new blog buddy.
I’m sorry about your job loss. Making beautiful signs is such a wonderful craft and you can bring so much joy to those who receive them! I wish you the best of luck. 🙂
This is awesome! So many ideas for it! Thank you 🙂
I live in Venezuela and I love your site! I found you at Pinterest with your delicious stove top potpourri. Thanks!
Thanks for stopping by Cynthia, we are happy to have you! 🙂