
DIY Pallet Wood Planter
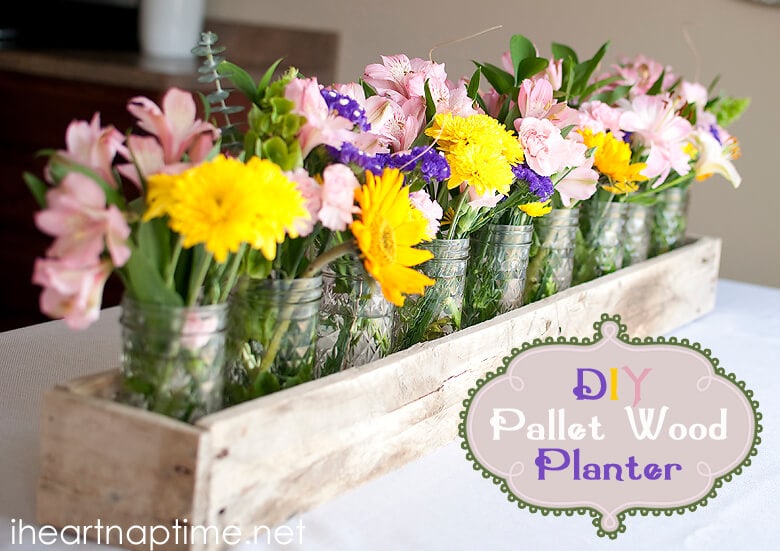
Hello there! It’s Marie from Blooming Homestead back to share a tutorial on how to make these gorgeous DIY Pallet Wood Planter Boxes. I don’t know about you but I have Spring fever. Even though it is warming up some days, we are still having weekly snowstorms so I decided make it feel like spring indoors!
My favorite thing to decorate with is fresh flowers. They are a little splurge that makes a big difference in the feel of a home, especially when your are longing for Spring! I am going to share how to make these pallet wood planter boxes in a few easy steps. If you don’t have access or don’t want to use pallet wood, you can follow the same steps with whatever wood you have on hand.
Supplies:
- 4 Strips of pallet wood
- finishing nails
- hammer
- saw to cut 2 edge pieces
- sander
- planter filler (I used mason jars and fresh flowers but in summer I plan to plant real flowers in these)
First off, select 4 strips of pallet wood to use. 2 sides, 1 bottom piece, and 1 piece that you will cut 2 edge pieces out of to enclose the planter box. Since pallet wood is imperfect and tends to be warped, you’ll want to lay them out together to see how they will fit. I chose to make my planter the full length of the pallet strips, but you can trim them down to whatever length of planter you choose if you want it shorter.
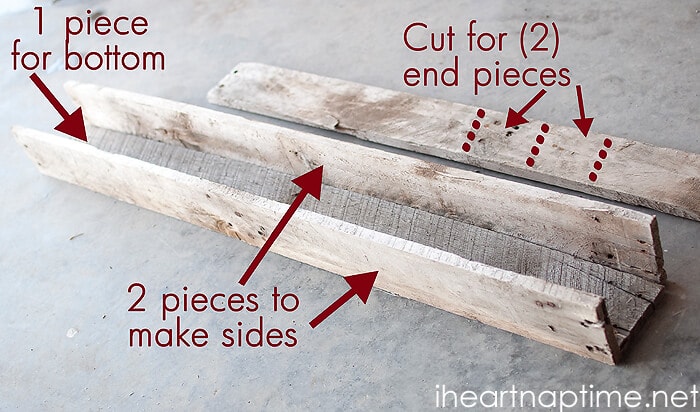
After I chose my 2 side pieces and bottom, I set them all together and took the spare 4th piece and laid it against the edges to mark where I would need to make the cuts for my edge pieces. I then used my jigsaw to make the quick cuts.
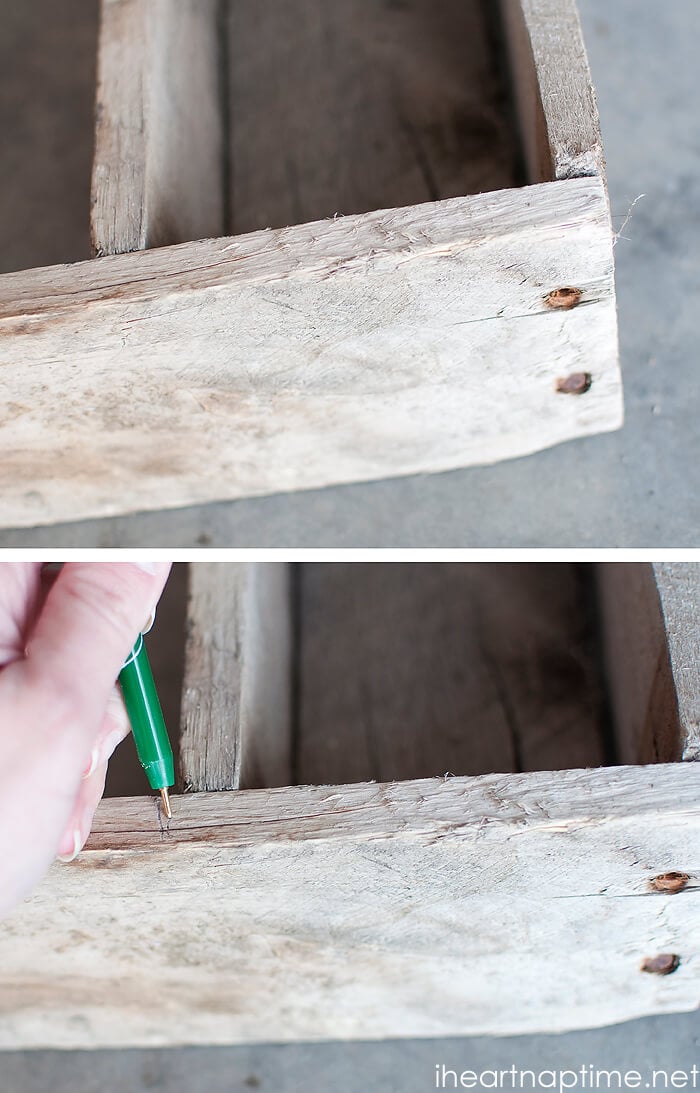
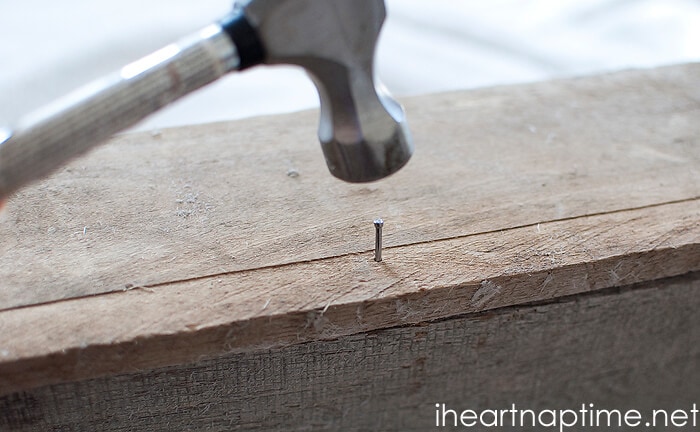
Next step, I started with 1 side piece and attached it to the bottom piece carefully using a hammer and finishing nails. I used about 5 nails down each side to make sure it was attached securely.
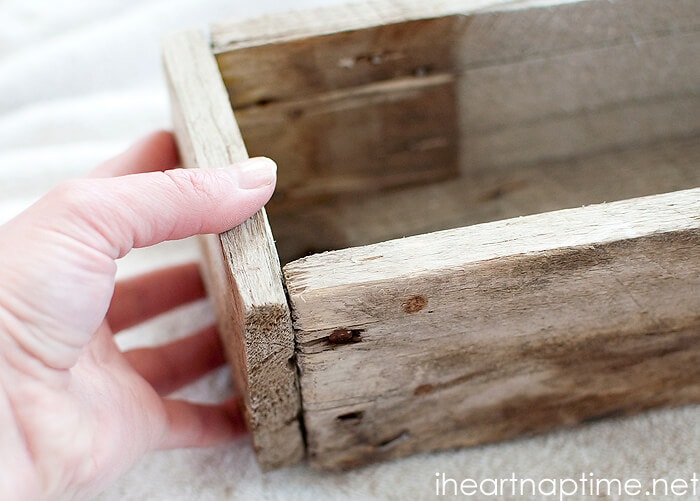
After I attached the first side to the bottom, I flipped it over and attached the 2nd side piece to the bottom. After both sides were attached I nailed in the edge pieces on both ends to finish off the planter.
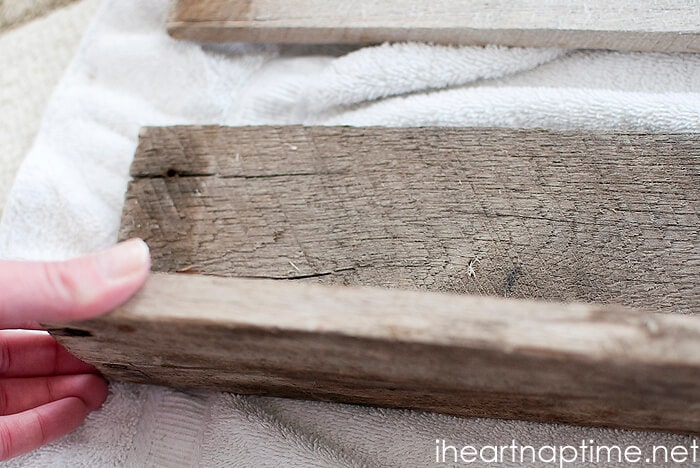
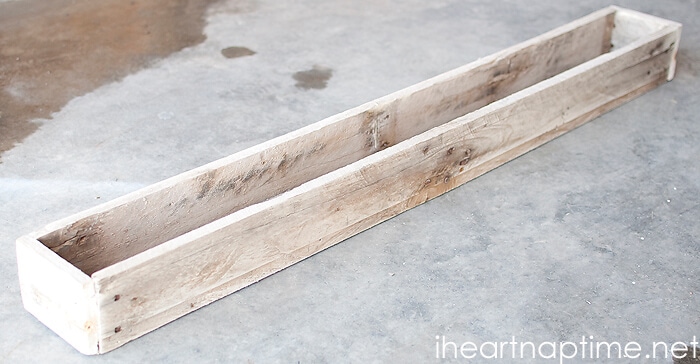
Since I planned to use this planter in the house, I decided to sand down the pallet wood a bit to prevent splinters, but not enough to remove the lovely worn look of the pallet wood. Here is the finished product.
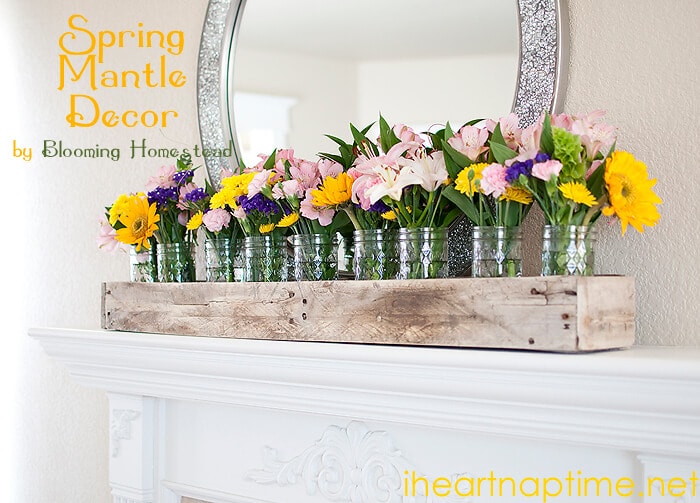
Next, I added fresh flowers in mason jars for the beautiful Spring feel. I plan to make several of these and actually plant flowers in them when summer comes, but for now I am loving the look of these.
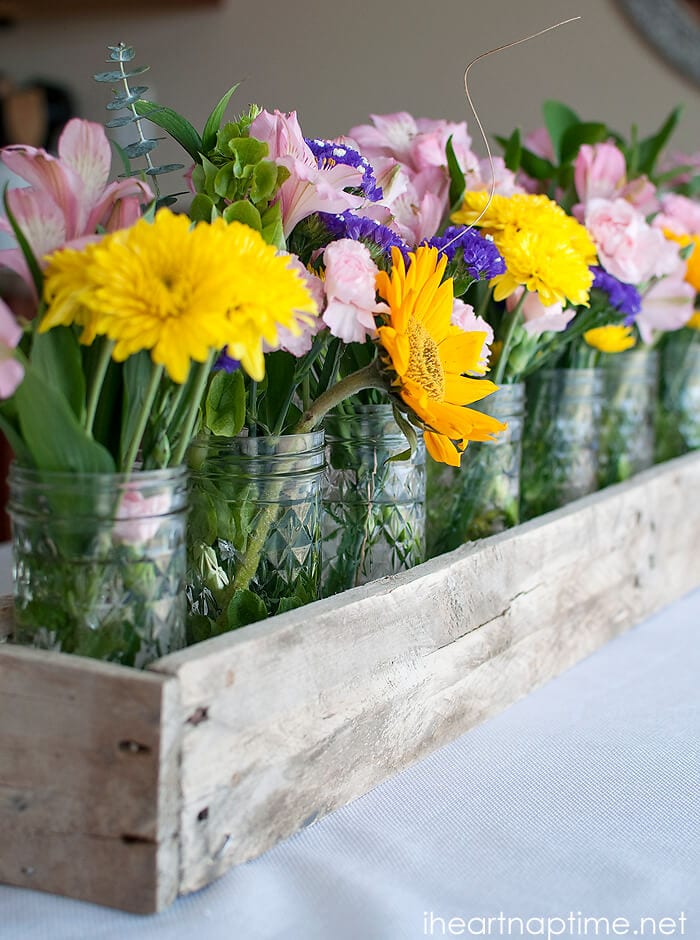
They even look gorgeous on a mantle. Not only would these be lovely in any home…but they would be beautiful for wedding centerpieces too!
 I hope you enjoyed this tutorial, if you’re interested in seeing more pallet wood projects you should check out this awesome sign out of pallet wood. I would love for you to stop by and say hello! You can find me at my blog Blooming Homestead, and also on Pinterest, Twitter, Facebook.


Thanks for a great project – I just snagged me some pallets, so I can’t wait to make this!
That is so simple and beautiful. Great job!
just gorgeous!! love this so so much ♥
I’m nominating you for the Liebster Award! You can find out the details about it here: http://manapproveddiet.com/2013/03/19/liebster-award
Thanks so much Sarah! 😀
Marie, thanks so much for the tutorial. What a bright and cheery centerpiece! I just scored 3 free pallets yesterday from Craigslist, so I’m going to give this a try. I don’t have a blog yet, but I linked this to my facebook page. 🙂
It looks fabulous! I especially love the contrast of the rustic wood with the beautiful flowers. I’ve got two pallets waiting around for me to do something with them. I think I’ll start with this. Thanks for the great tutorial Marie!
Debbie
Very simple and classy!
This is fantastic. I’ve actually been looking for a wood or silver vessel long enough for my mantle. I can stop looking and start making! Thanks for the inspiration!
Beautiful!! I love that you filled it with mason jars with flowers. Thanks for tutorial!! Love it!!
So beautiful!
We just replaced our fence. I’m thinking about using the wood from the old fence to make one or two of these. Great idea! Thank you!
Oh my goodness, I found one at an estate sale and I never would’ve thought of putting it on the mantel, love it!! Thank you for the tutorial. They would make great gifts and I just found my first pallet!! 🙂
These would make wonderful gifts, great idea! I’m glad you can put your pallet to good use. Thanks for stopping by! 🙂