How to make Bunting
Woo I am back from the EVO conference.. and I am SO pumped!! It was one of the most inspiring weekends of my entire life. I met so many amazing people and had some girl time! I missed my family like crazy and spent ALL day yesterday snuggling and kissing them! SO good to be home. I’ll share what I learned, and some fun pic’s from EVO once I get caught up around my house.
Remember the Magnetic Chalk Board makeover??
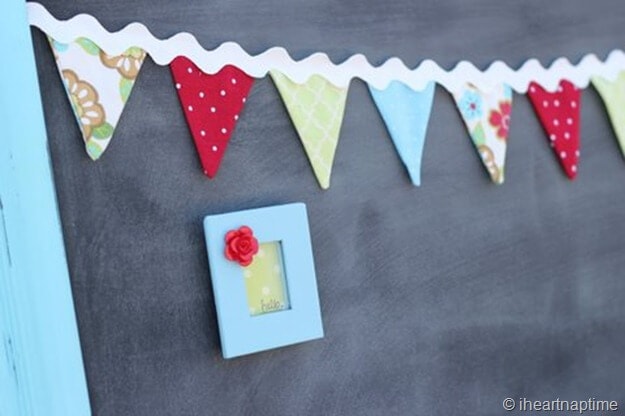
I’m going to share with you how to make one of these cute little banners! The nice thing about banners are you can completely tailor them to your taste. So get creative!
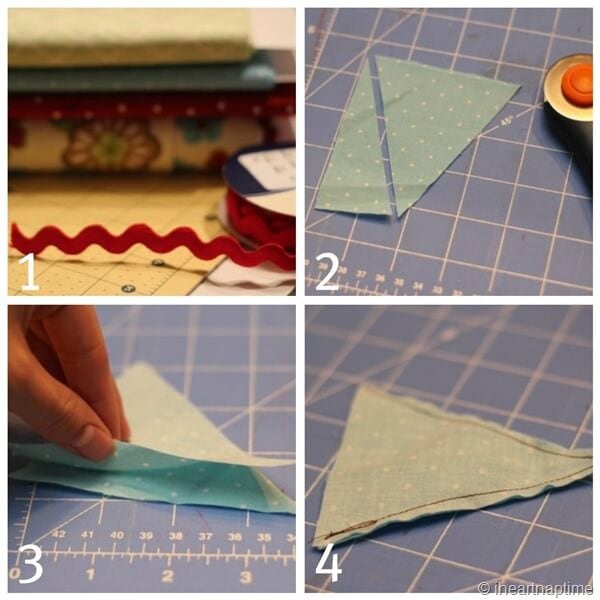
How To Make
1. Gather your fabric (usually 1-4 different fabrics/colors) and ric rac.
2. I found it easiest to cut a square and then cut from the middle to outer edge to create the perfect triangle.
3. Put triangles right side together.
4. Sew around edges leaving the top open. Then cut the point off so it wont pucker up when folded right side out.
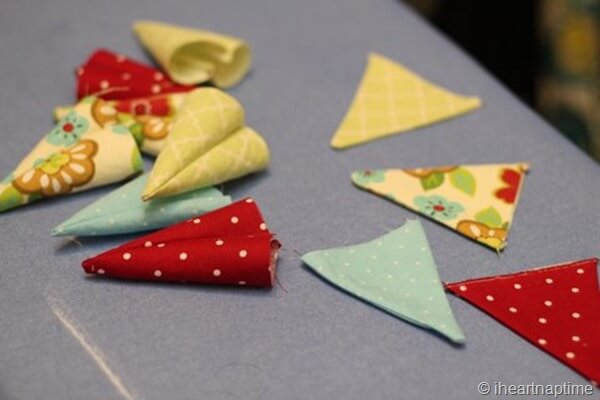
Next you will turn the triangles right side out. Then make sure to press (with steam iron) so they will lay nicely.
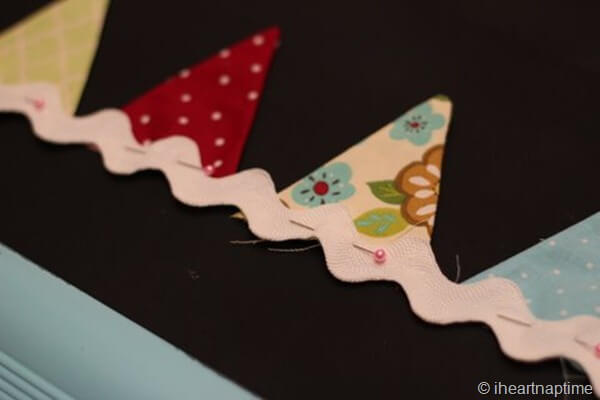
Then you’ll want to start pinning your banner together on your chalk board (or where ever you’ll be putting it). This way you’ll know how much space you need in between the triangles.
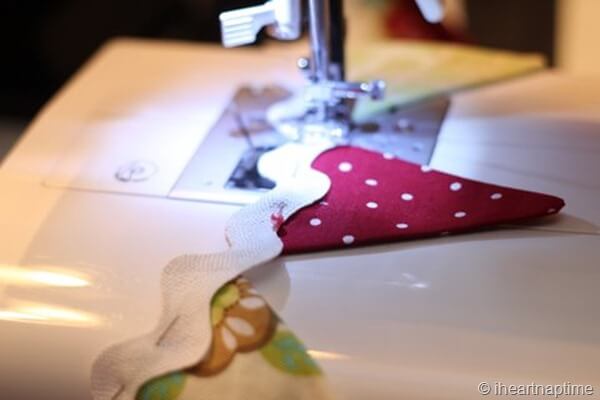
Next you’ll sew the ric rac to the triangles (using coordinating thread).
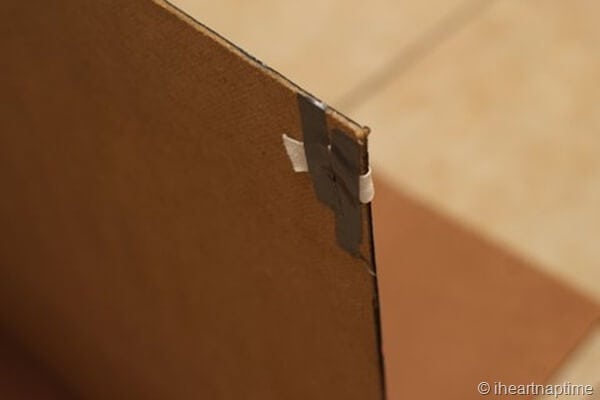
Once it’s all sewed together you can hang your banner up. I simply wrapped it behind my board and duct taped it so it would stay put. lol
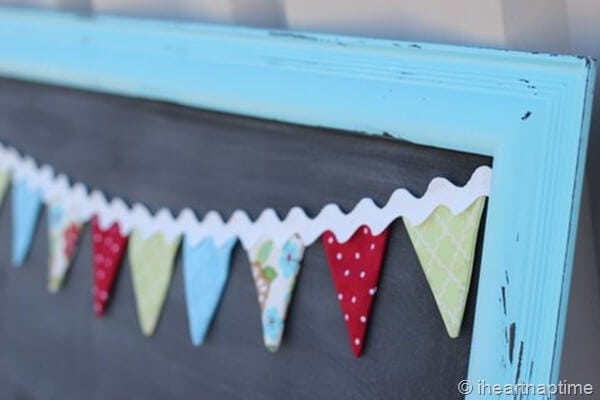
Now enjoy your beautiful banner. I love them… don’t they just make you happy?! And they add the perfect touch to any project.
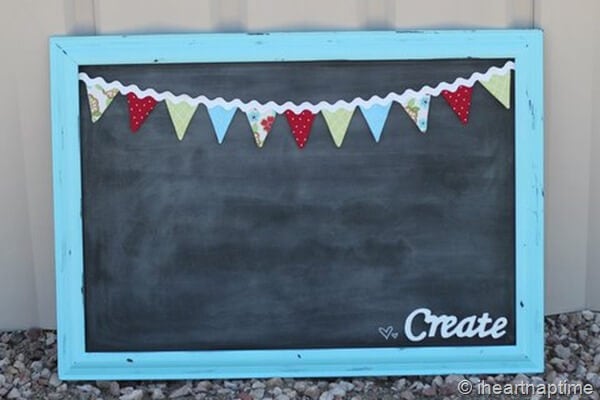


Too cute!
Thanks Dorangela! 🙂
Sew pretty! 🙂 I love the ric rac as the ribbon too.
Thank you! I know.. I LOVE ric rac! So fun!
That is so dang cute! I need to make one of these for my wedding (in the near future!-I’m on plan ahead mode) with letters on it. Do you think borrowing a silhoutte or cricut and doing fabric letters then ironing them on would be best or just getting some iron on stuff from the store and printing on it from a printer (I think you can do that..?) Thought you might have an idea of what would be best for putting letters on fabric 🙂
Oh yeah that would be way cute for your wedding!! When’s the date? I would cut it out with fabric or heat transfer and iron it on. It would look way nicer than the paper banners. You could add some really fun trim and make a bigger version of mine.
No date yet, but it will be before the end of the year. Still waiting for my new bling 🙂 Yeah I agree-no paper. But I heard you can use the cricut or silhoutte with fabric? Maybe not? I need to go to the fashion/fabric district for some FUN trim (and cheaper). And fabric for that matter! Would you recommend doing it all in 1 day like you did or do you think it was too stressful and tiring? I love your mini one. Banners look so cute in all different sizes.
I like the use of ric rac – this is so cute.
Thanks Katy! I’m slightly addicted to Ric Rac. lol 😉
Omg SO cute!
Jamie!!!!! I am in love with this!!!!! I love the colors, I wish soooo badly I could just fly on a plane and come see you, and you could teach me…. im saving my pennies!!!! you are the most creative person I know. wow. what a joy it is to have you for my cousin. oh and i have gotten so many comlimants on my flowers. i say oh go to my cousins website. i hope thats ok.
Love you
Jenny
Wonderful tutorial
Thank you 🙂
How cute is that and thanks for the tutorial and so glad you had fun at the conference.
Love this project! I really like the wavy part across the top. What a cute take on the classic pennant bunting.
I found you through the Tip Me Tuesday link party and am your newest follower. Come check me out, too, if you’re interested @ Carissa’s Creativity Space
Really cute! Love the use of ric rac. Thank u for sharing
This is such a cute idea! You are so talented! I’m so thrilled we met at Evo!
I love this! Super cute. Thanks for sharing. 🙂
Vanina @ mother crafter ~ handmade happiness
Thanks Vanina! Have a great weekend!
Hi! Hoping to add some small banners in my nursery. What size did you cut the squares/triangles? Thanks 🙂
Very cute! Another way to make bunting is to fuse pieces of fabric to Pellon Wonder Under. Cut fabric into rectangles and remove the paper backing. Fold each rectangle over the string you are using for the bunting and fuse. Finally, cut each rectangle into triangular shape. Fast and easy!
Great tips, thank you! 🙂
What size were the squares you cut down into triangles? THANKS!
Approximately four-inch squares! 🙂