
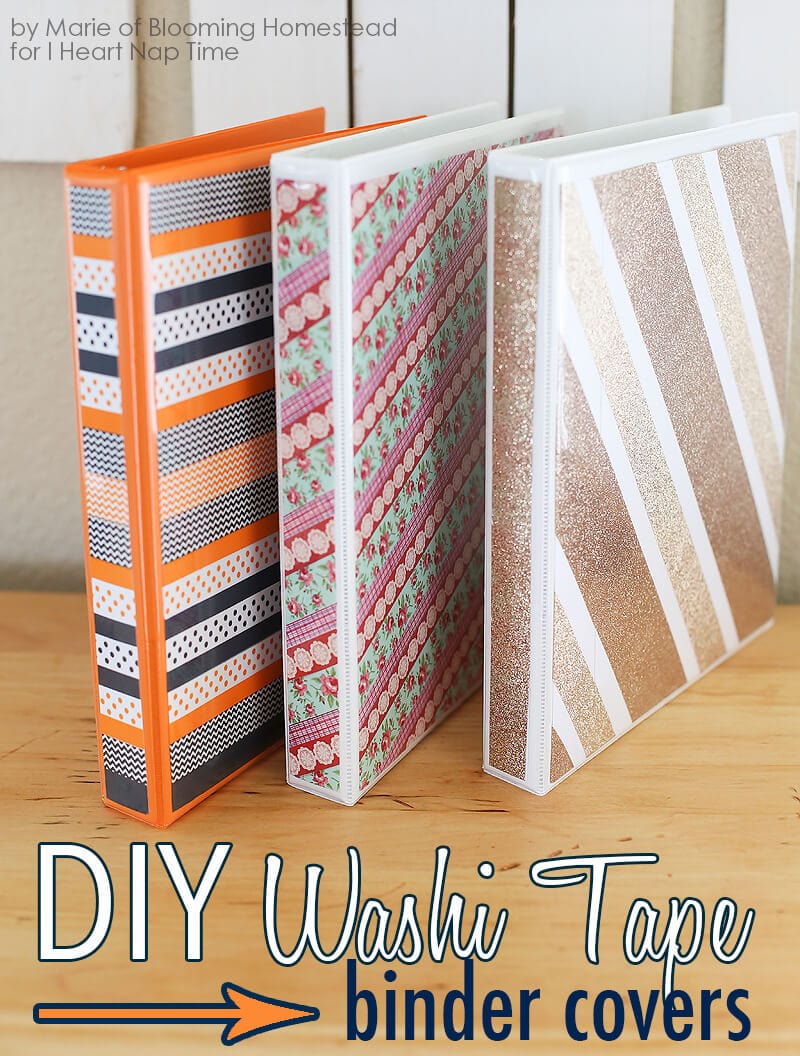
DIY Binder Covers
By Marie of Blooming Homestead for I Heart Nap Time.
Hi Everyone! Can you believe its already back to school time? This summer just flew by and now we are in full school prep mode. Today I’m sharing a simple and affordable back to school idea. These DIY Binder Covers are a fun way to customize any binder.
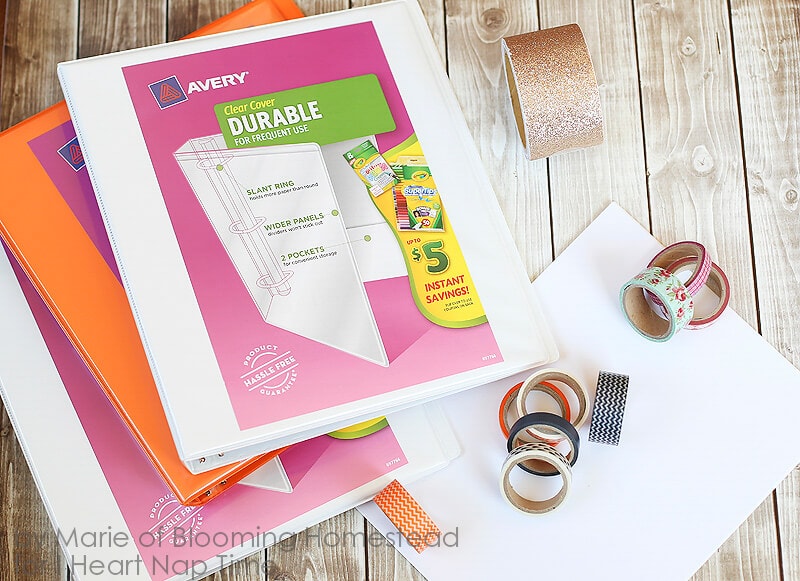
Supplies:
- Binders
- Washi Tape and/or Duck tape
- Cardstock
- Scissors
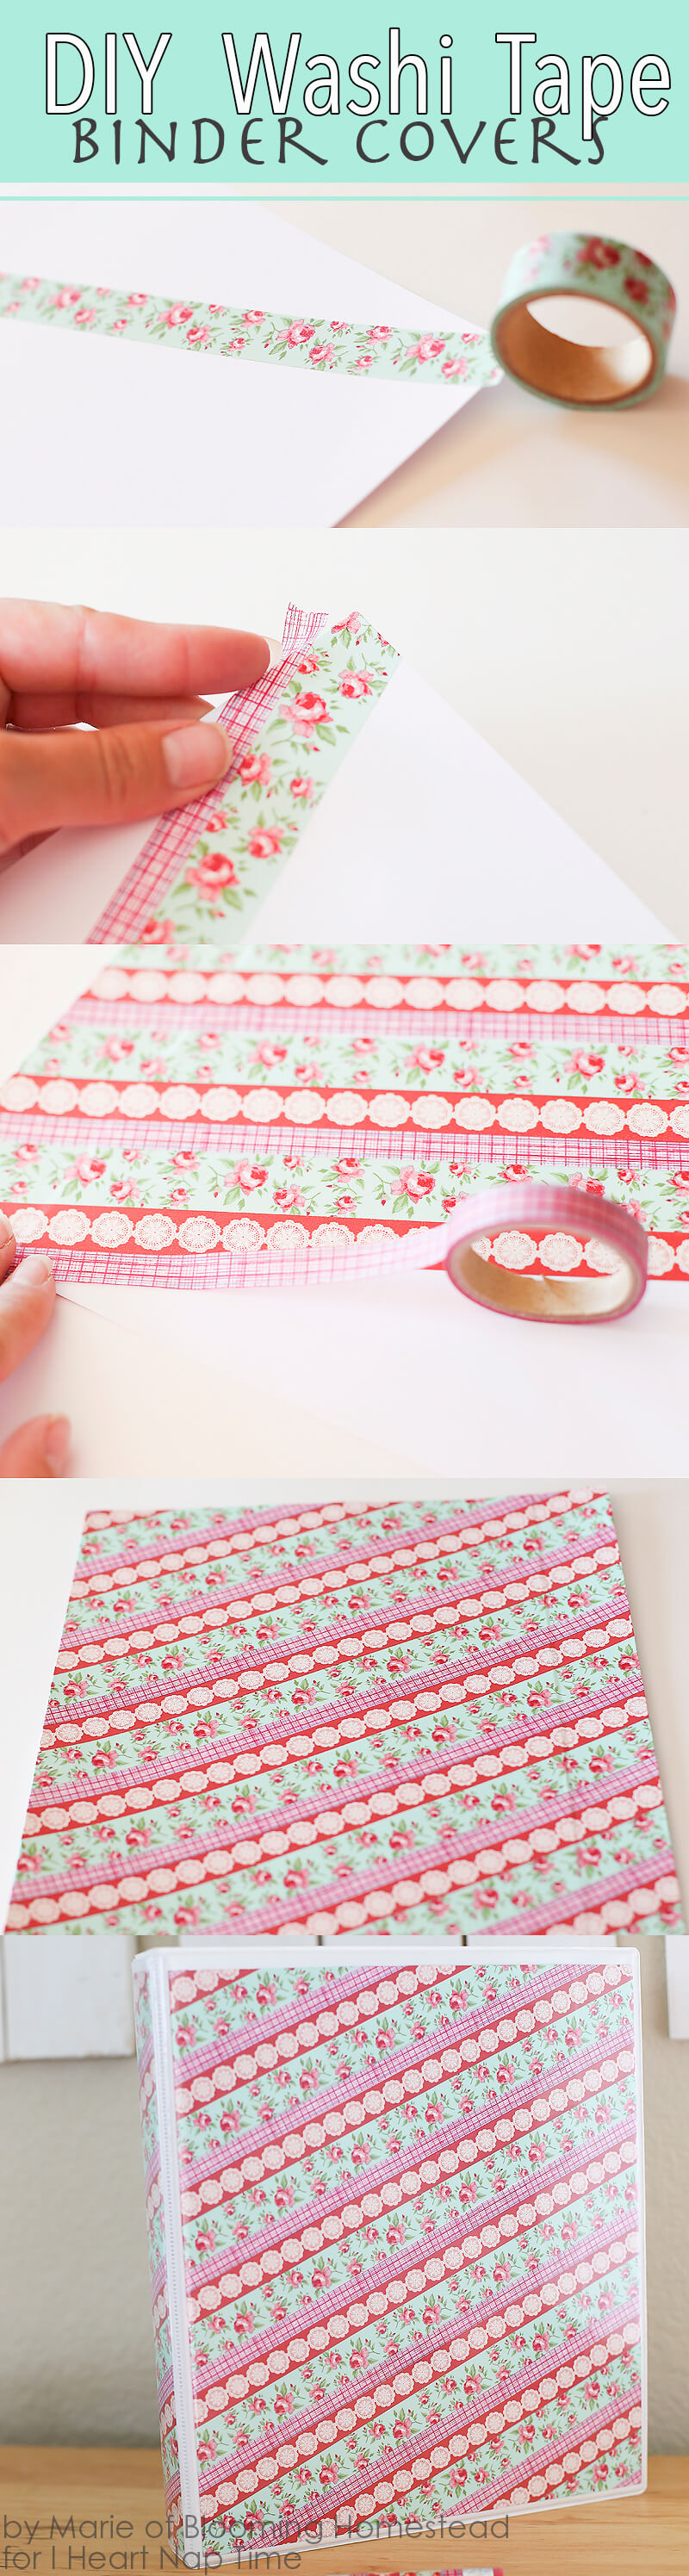
You’ll want to start by getting your card stock base ready to be covered. You’ll use that base to slide in the clear front binder flap for fun customization. After I made my first cover (in process pictured below), I realized it was easier to measure out my card stock with extra width added as an allowance for the spine cover. 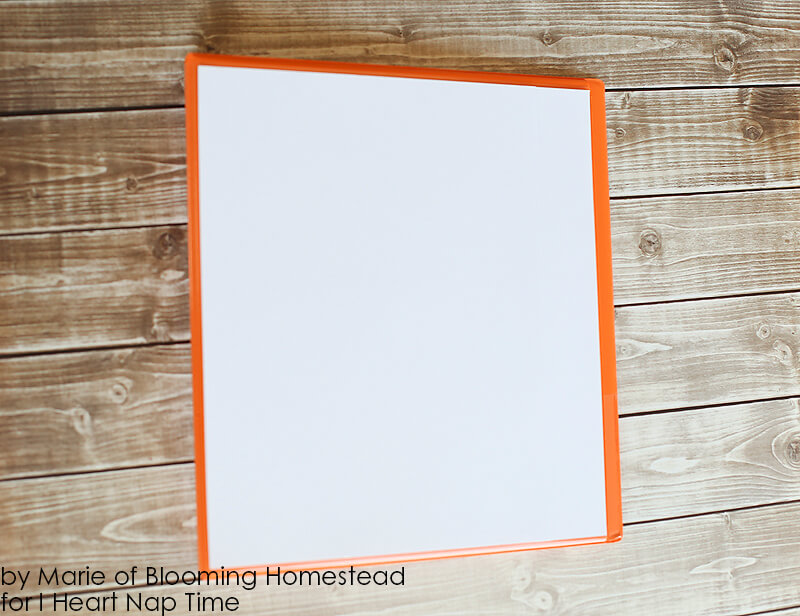
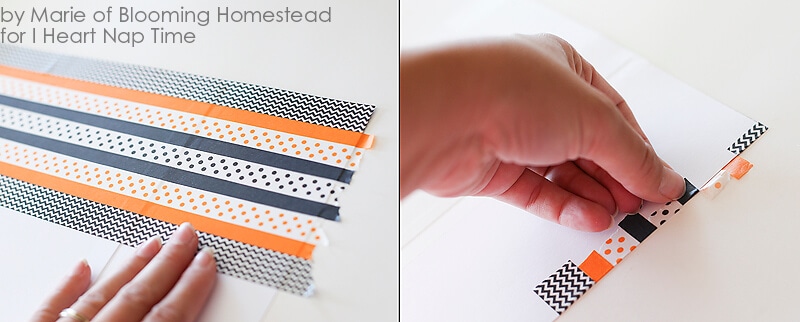
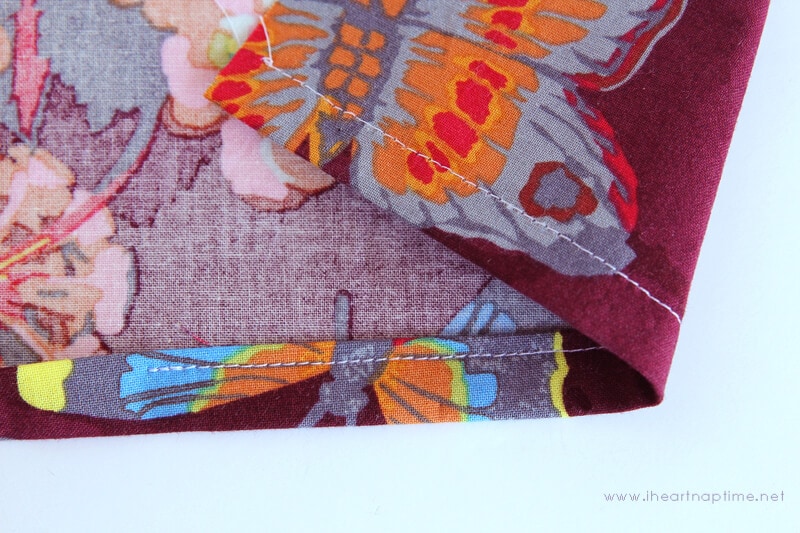
For example, I added an extra inch width onto my front binder cover which I later trimmed off to use as the spine (as shown below). This saved time so I didn’t have to go and make the spine cover separately. Lesson learned! When you have your base ready you’ll start applying your decorative tapes to the front of the card stock. Pick out your washi tape and start placing them down. You can lay out the washi tape in any pattern or order that you prefer. This is the time for you to be creative and go design crazy! When you get each strip placed you can just tuck in the ends on the back where they won’t show.
This is so easy and fun, it could even be a great back to school craft for your kiddos!
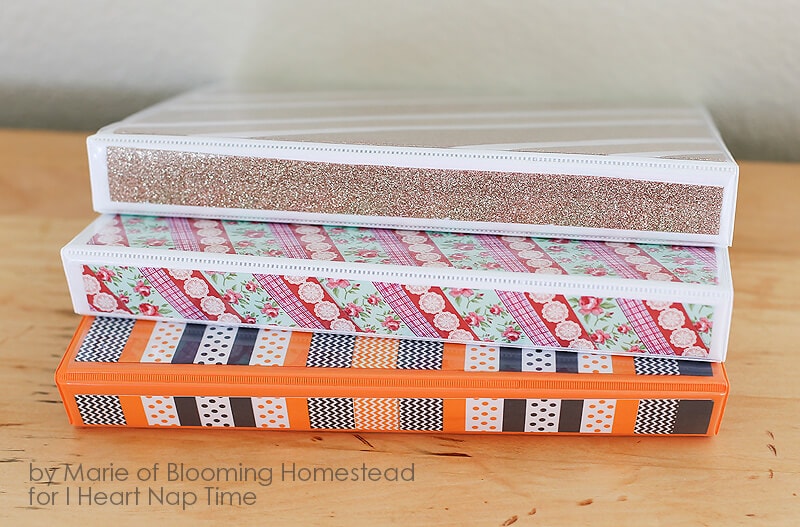
I’m thinking I will be making custom covers for all the binders in my house and office too! The possibilities are endless and its a great use of supplies you may already have on hand. These vintage florals were one of my favorites.
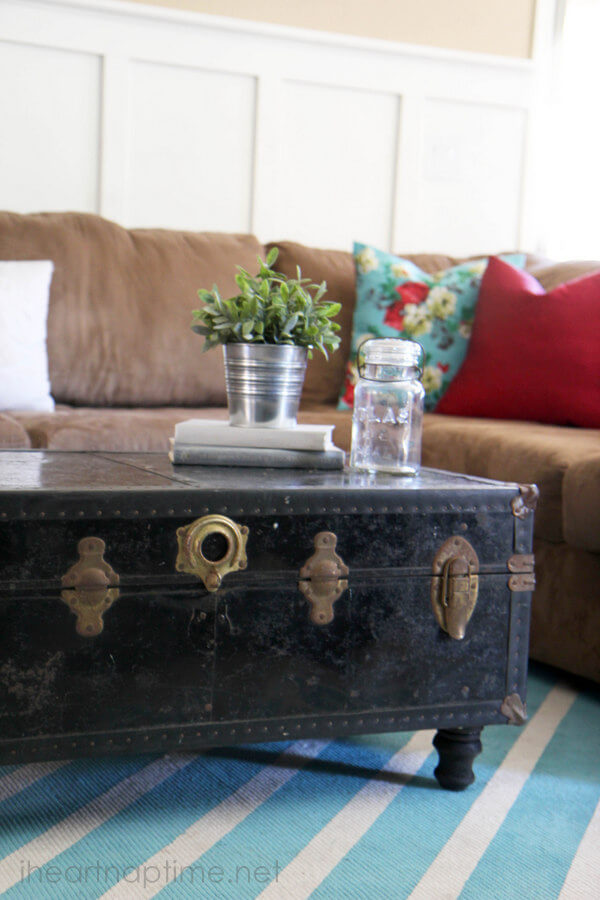
I would love for you to come check out the coordinating DIY Pencils tutorial on my blog, also be sure to stop by Blooming Homestead to see what other projects I’ve been working on.
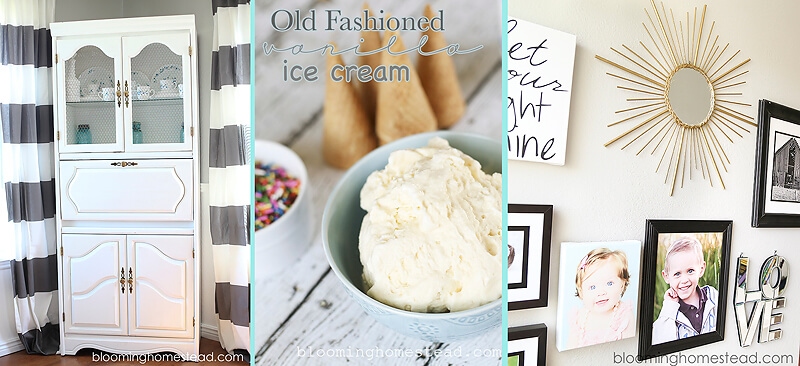
Cabinet Makeover with Chalk Paint~Vanilla Ice Cream Recipe~DIY Sunburst Mirror

Brilliant idea, I’m starting back to college in my late 40’s so this is a great way to turn ordinary binders into a work of art. Sharing on my FB Fan Page today.
Where do you find binders that have outside pockets
For sliding in decorated card stock??
I just fixed two binders for my self yesterday
And they do not have those pockets.
I used clear contact paper to hold my undecorative
Labels. I do appreciate the idea and will study on it.
Thank You!
I couldn’t wait to try this out…I went a bought a binder and it turned out soooo cute! My daughter (2nd grade) asked me to make her one too:)
This is SO cool! I’m going to do this for my binders for school. I’m going back in a week, and this gives me some stuff to do while I’m waiting! They’re perfect!
Marie! These are awesome!!! SO cute!!
You are genius! What a simple and cute idea!
Oh my goodness, these are adorable! Where did you get the extra-wide glitter tape?
These binders are amazing! For the glitter binder cover, which colours did you use? I’m assuming Washi Gold Glitter Tape for the darker glitter tape and Light Champagne Gold Tape for the lighter glitter tape? Anyway, thanks for the great idea!
This is so creative! Thanks sooo much I am so doing this for my freshman year for 2015-2016 school year! Not only am I gonna feel confident in my work but my school supplies too! 😀 Thanks
Hey! I just loved your idea! Brilliant! However I would like to know how did you make the back of the binder because I can’t make it
Hi Camila! It depens on the type of binder your purchase. Some allow for you to add inserts in the front panel only, others allow inserts for the spine and back panel, too.
This is awesome DIY project. LOVE