How to Paint a Striped Ceiling
How to Paint a Striped Ceiling … an unexpected striped ceiling in the laundry room is the perfect pop of surprise in a much-used room that helps making laundry more fun!
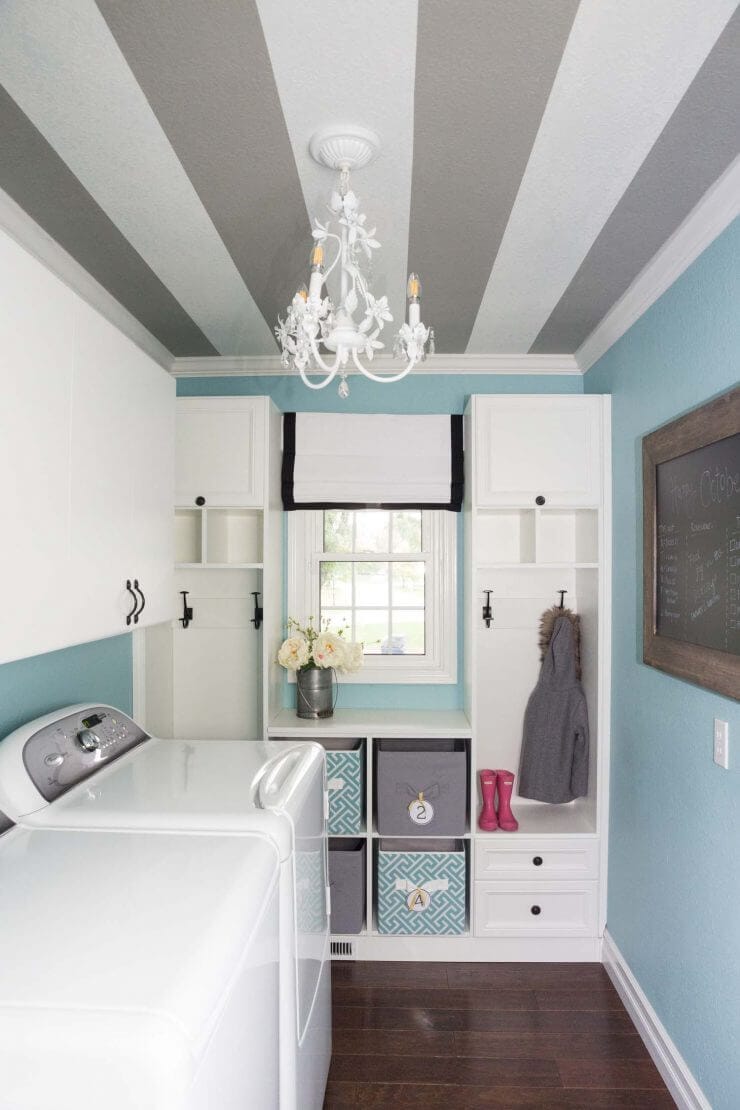
I’m super excited to share my new laundry room makeover and the details on how to paint a striped ceiling.
This room has been in the works for about 3 years and I’m so glad it’s finally finished. It was one of the last projects on our house “fix-it list” because it’s a room that no one really sees… so it kind of got pushed to the bottom of the list. I finally decided it was time for a little makeover and picked a bright blue because I thought it would make doing laundry a little more fun. 😉
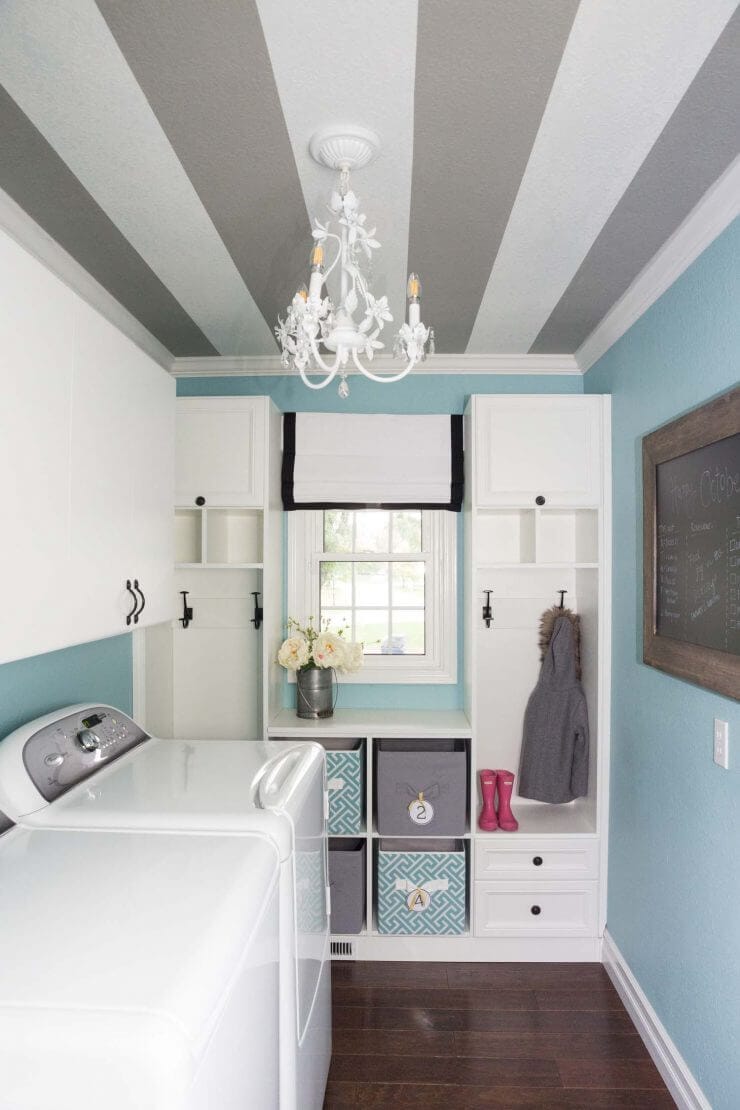
My husband helped me paint the striped ceiling and add the crown molding. Some other things we’ve slowly done over the past couple years has been to add new hardware on the cabinets, new flooring, painted the trim white and added a built in storage area for the kids to store their shoes and backpacks. It works perfect and is a much better use of space!

Ready for the before picture (this was taken on our walk through)…
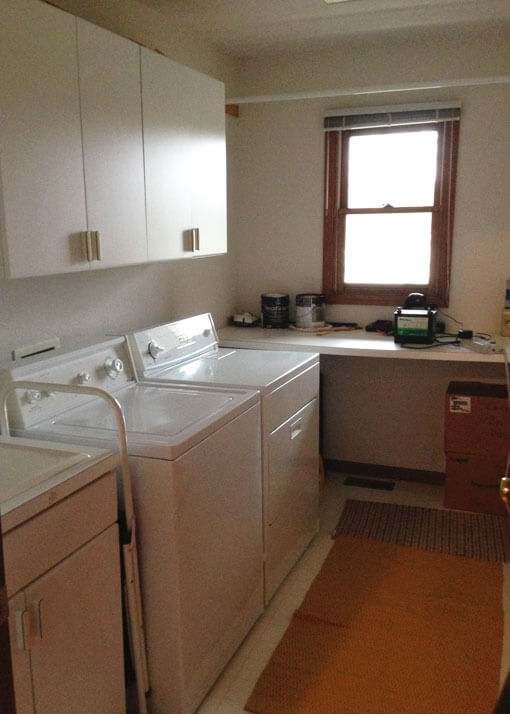
The first thing we did was add new floors, baseboards and new hardware for the cabinets. We also painted the trim around the windows white. That really transformed the space. Then we decided it was time to make it a little more fun!
For the walls and ceiling, we used Paint Shield® microbicidal paint from Sherwin-Williams. It is the first EPA-registered interior latex paint with the power to kill 99.9% of certain bacteria on painted surfaces within two hours of exposure. With all the water and dirt my kids bring home from school, I knew this paint would be perfect for use in the laundry room. It has the appearance and quality you expect from Sherwin-Williams paints and went on really smooth. Once the paint is on it continues to kill 90% of bacteria for up to four years as long as the integrity of the painted surface is maintained. (Awesome, right?!) I love it!
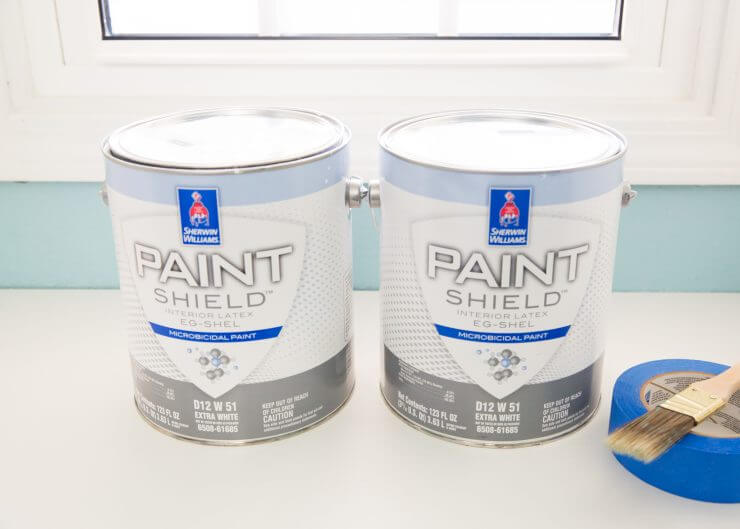
Supplies need to paint a striped ceiling:
- Paint (we used Pure White and Dorian Gray)
- Paint brush
- Laser level
- Pencil
- Tape
- Roller, cover and roller tray
How to paint a striped ceiling:
1. The first thing you’ll need to do is measure your ceiling. You’re also going to need to figure out how thick you want your stripes, how many stripes, etc. Then you need to do a little math to make sure everything evens out.
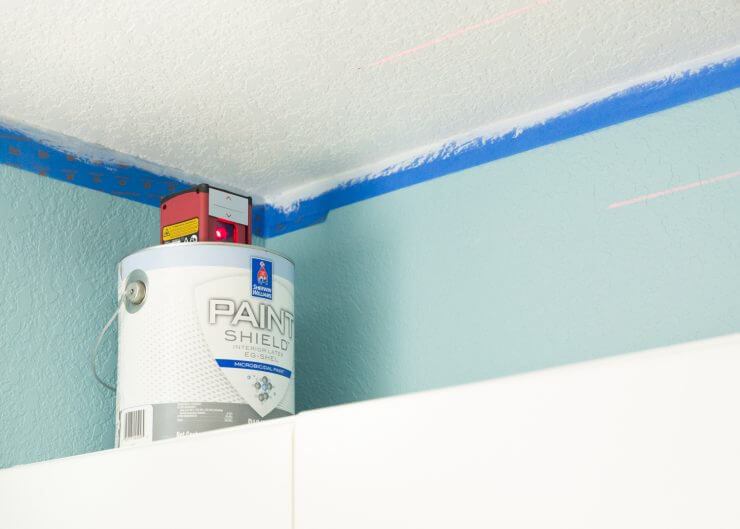
2. Once you’ve figured out how big you want your stripes and how many you need, grab a laser level (if you don’t have one, I would try and borrow one) and start marking the lines, according to the math that you did earlier. It’s best to mark little lines across with a pencil and then line up the tape. Make sure to measure equidistant all the way across to make sure you have a straight line.
3. Line up the tape on the line and then push down really hard to secure the edges. Here is a tip for getting perfect lines, without any bleeding, smudging or smearing. BEFORE painting two adjacent stripes, paint onto the tape’s edge to seal it with the base color. Basically you paint the incorrect color along the edge of the tape (in this example below, we painted the white onto the tape and then the grey on top). Allow to dry. Then proceed to paint the stripe as you desire. This will insure that the paint doesn’t leak through (especially if you have textured walls).
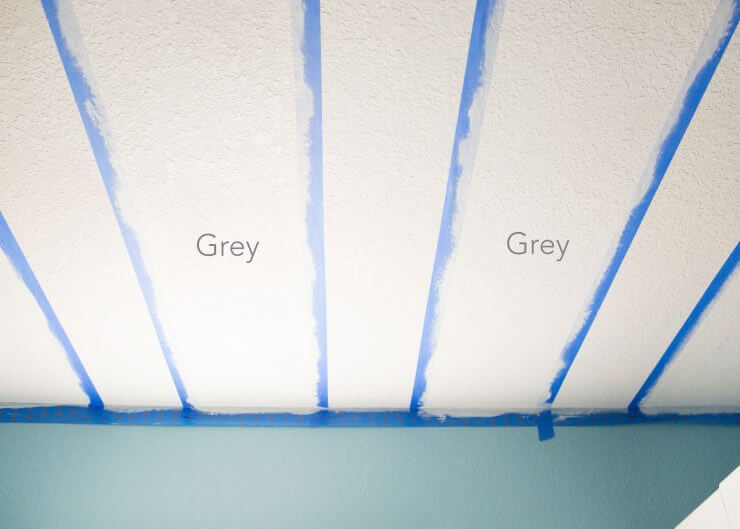
4. Once your paint has started to dry, slowly peel the tape away at an angle. Don’t wait too long to take the tape off or it could get stuck and peel some paint off with it.
Here’s a little video tutorial that I made for you below.
Adding a Striped Ceiling is a fun design element!
I love how it turned out! Stripes (especially on a ceiling) make such a bold statement. Here’s a few more pictures around the room.
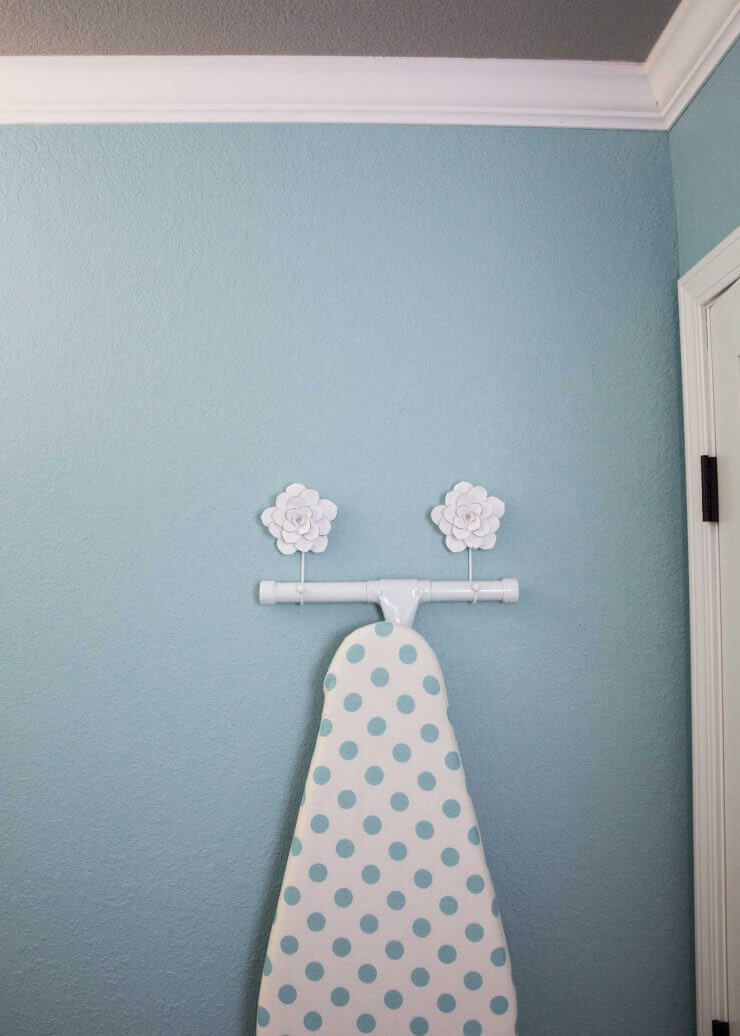
I hung up my ironing board with two hooks. Now it’s off the floor and adds a statement.
Paint Shield® microbicidal paint goes on just like any other interior paint and can be applied on ceilings, walls, doors and trim throughout the home. It is required to do two coats of paint. For the main room we used Tranquil Aqua and then for the stripes we used Pure White SW 7005 and Dorian SW 7017. I love how the colors came together! It is the first EPA-registered paint that kills 99.9% of †Staph (Staphylococcus aureus), MRSA (Methicillin-resistant Staphylococcus aureus), E. coli (Escherichia coli), VRE (Vancomycin-resistant Enterococcus faecalis) and Enterobacter aerogenes within two hours of exposure on painted surfaces.
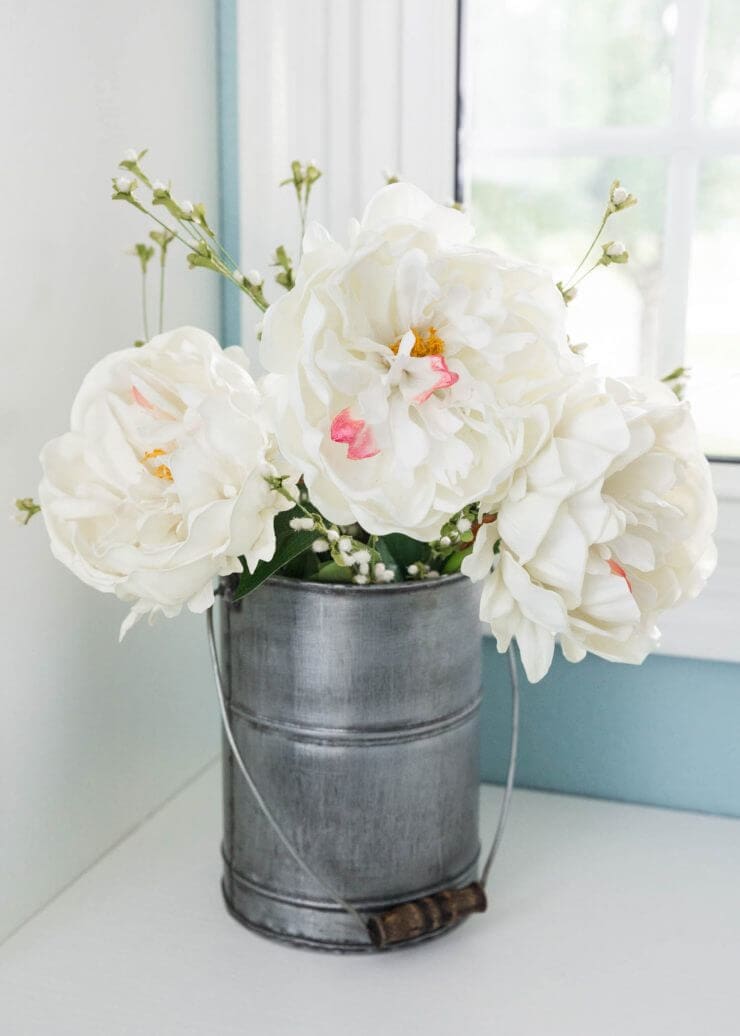
Hope you enjoyed this tutorial! Would you do stripes on your ceiling?
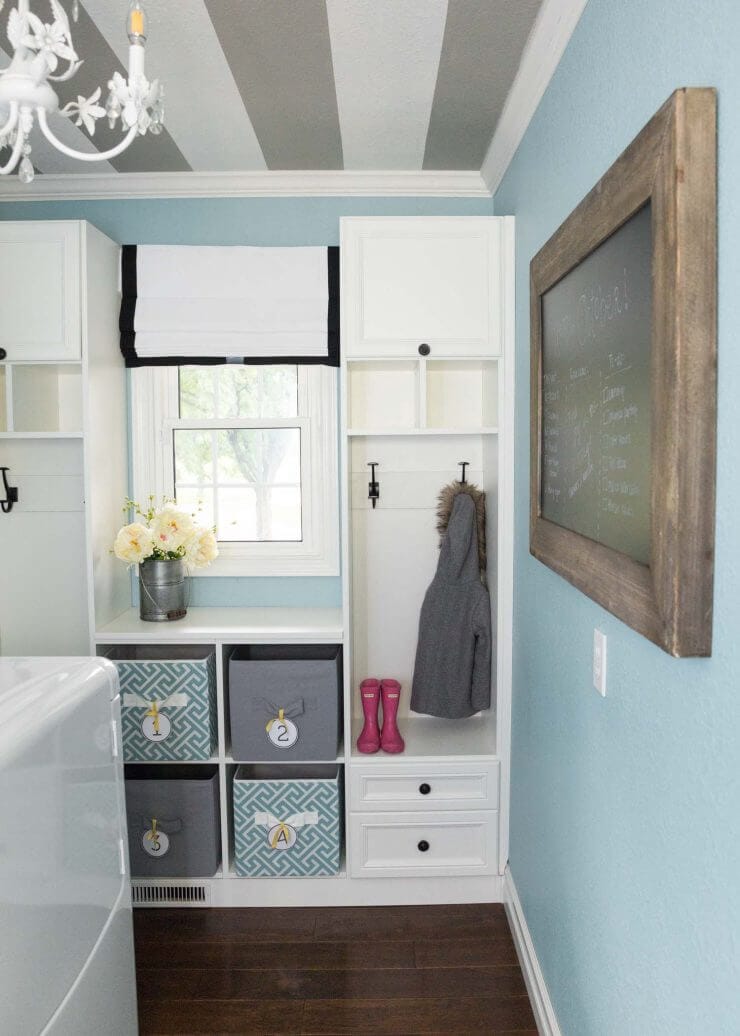
Sources:
- Paint: Tranquil Aqua SW 7611, Pure White SW 7005 and Dorian SW 7017
- Chalkboard, flowers and hooks: Hobby Lobby
- BHG fabric bins
- Laundry sign: etsy
This post is brought to you by Sherwin-Williams. All opinions are 100% my own.




Jamielyn, Your laundry room makeover is nothing short of amazing. So many wonderful and whimsical design touches. Enjoy your new beautiful and functional space!
Love the look of this! Looking forward to checking out this paint for my bathroom
Super cute! Would love more info. On your custom shelves/cubbies.
Thank you! The shelves were done by a local cabinet company. We love them
elegant painting for wall decoration