Framed Key Specimen Art
By Liz of Love Grows Wild for I Heart Nap Time.
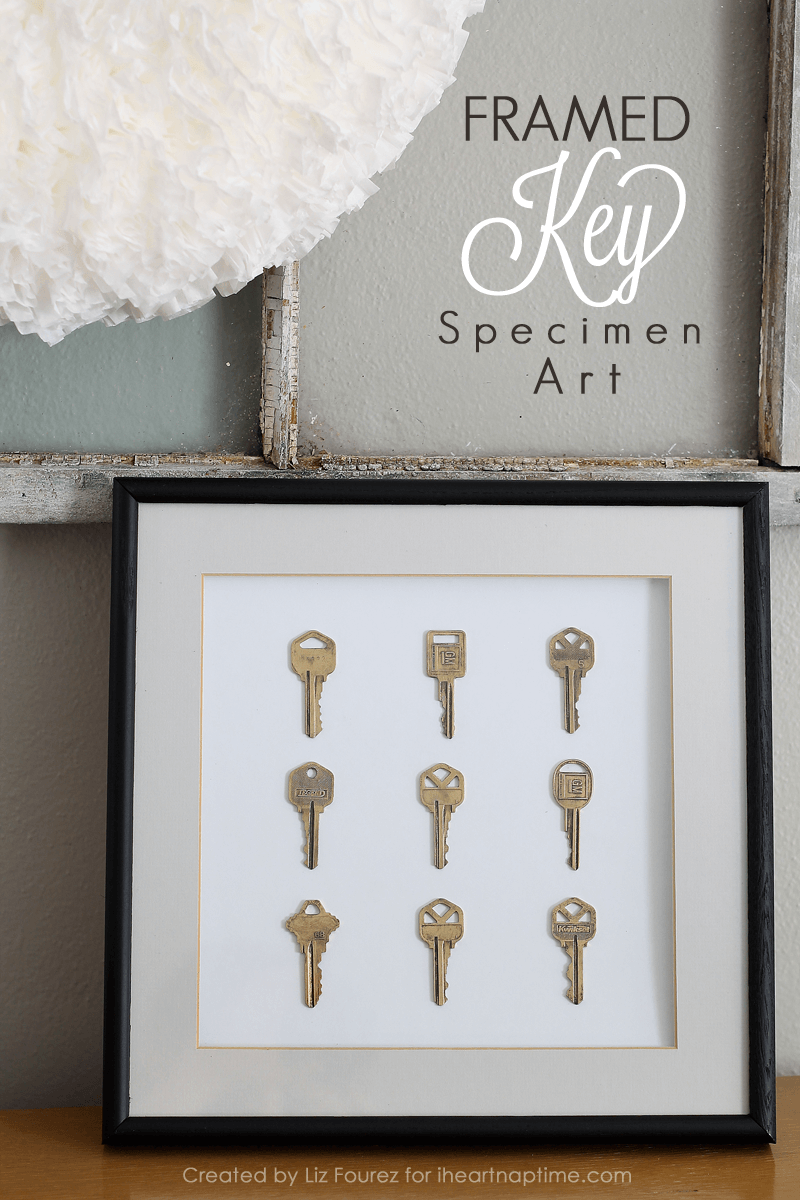
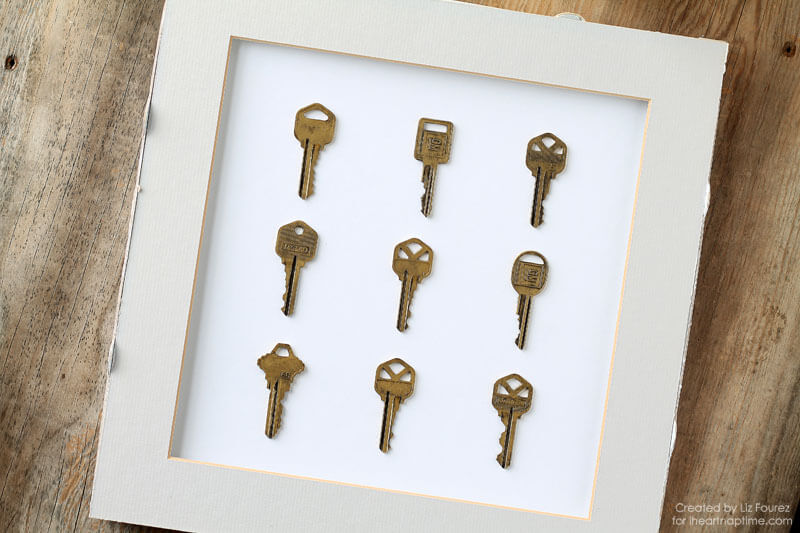
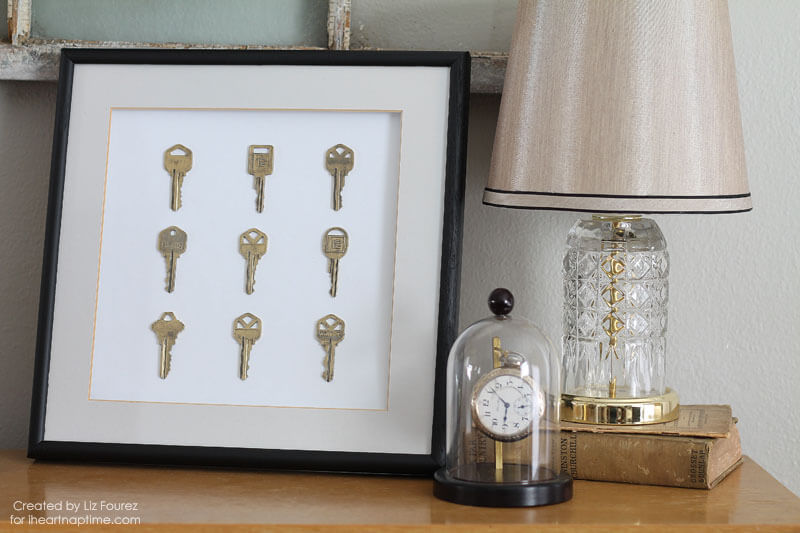
Hi again, I Heart Nap Time readers! I’m so excited to be back! For today’s tutorial, I’m going to share how I made this gorgeous Framed Key Specimen Art.
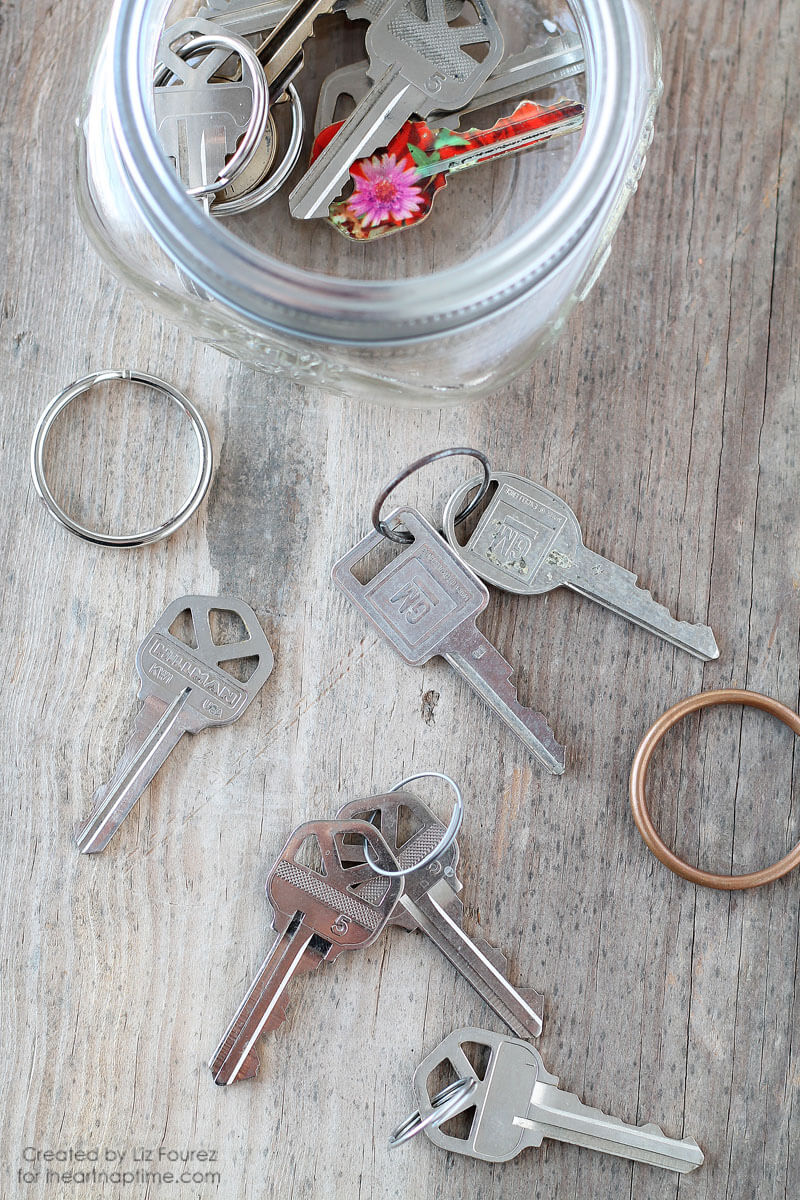
Do you ever find yourself with keys that you have NO idea what they belong to anymore? I have somehow accumulated quite a pile of them! I keep all the keys in a little jar, just in case we ever need one, but after so many years of them never being touched, I think it’s pretty safe to assume they’re no longer needed.
Right now I’m in the process of re-decorating my living room a bit, and I’ve been pinning lots of ideas for a gallery wall above my couch. I love the look of specimen art, and the other day while dusting around my pile of old, useless keys, a light bulb turned on… Use the keys as artwork! I am SO pleased with how this project turned out and that I was able to re-purpose the keys into something beautiful to decorate with! Here’s how I created my specimen art:
Supplies:
- keys
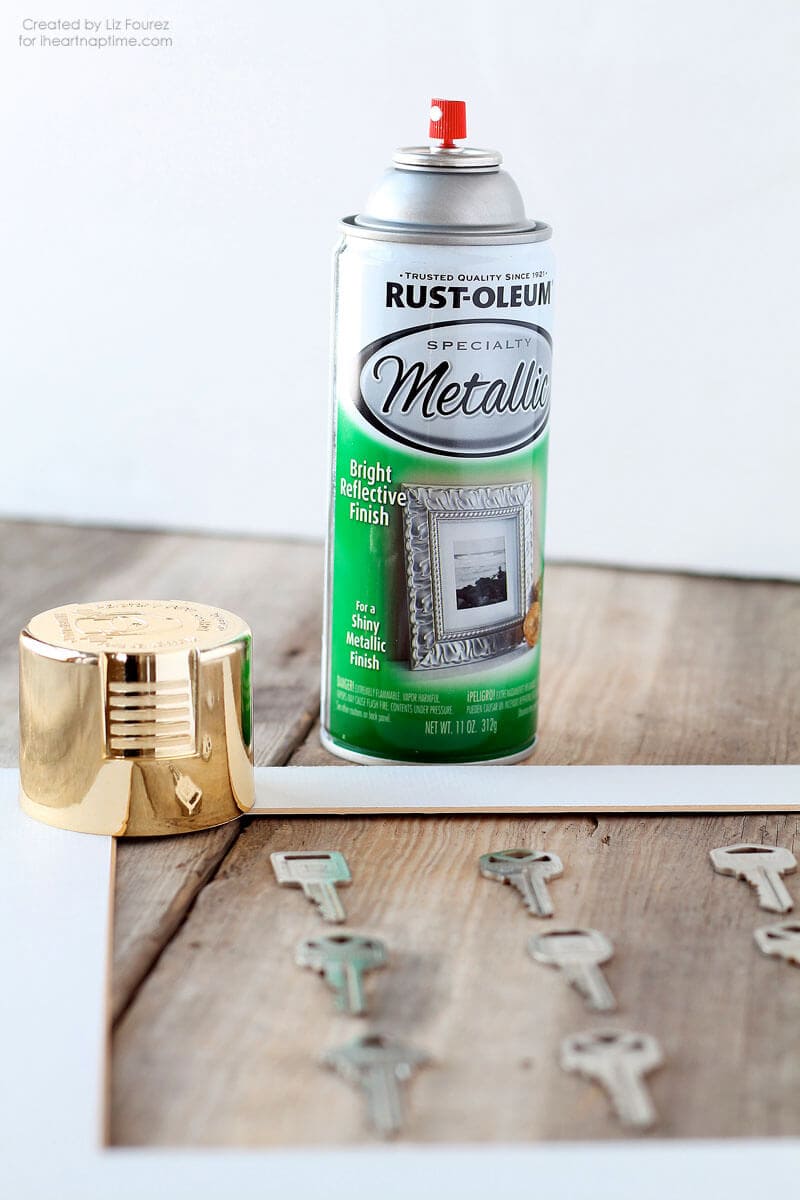
- metallic spray paint (I used Rust-oleum Metallic Gold)
- black paint
- small paint brush
- old rag or cloth
- white card stock
- glue
- picture frame or shadowbox
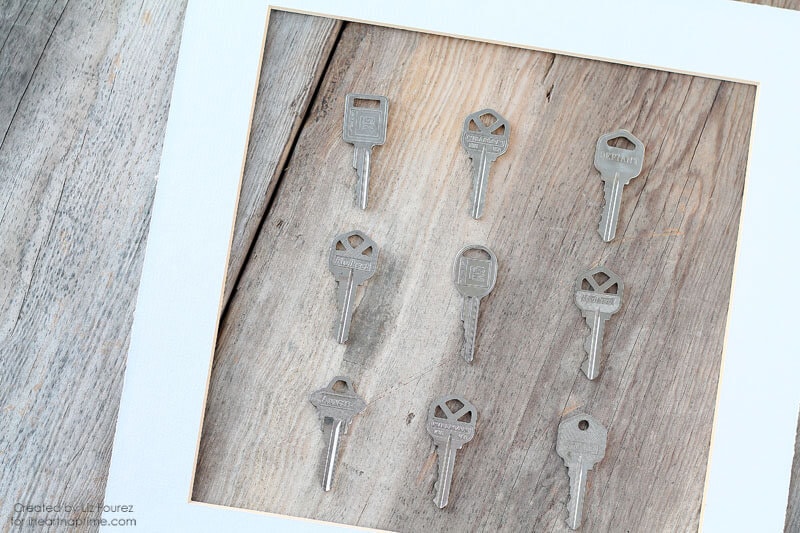
First I laid out the keys to see how many I wanted to use. I already had an old frame sitting in a closet, but thrift stores are a great place to check for inexpensive frames, if you don’t have one. You’ll want to find a frame with a little bit of depth, or even a shadowbox, so the keys will fit nicely inside.
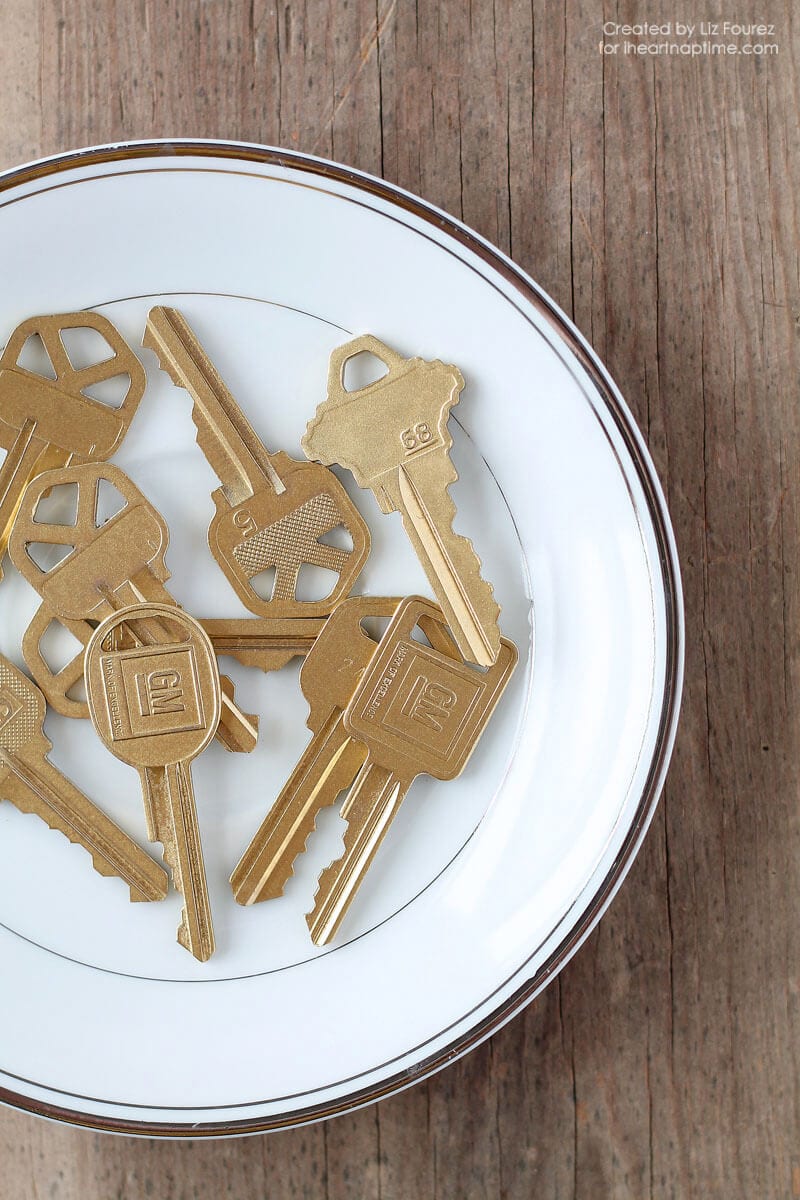
Are you as obsessed with gold as I am right now? Never in a million years did I think this silver girl would be so head-over-heels for gold, but it just makes me swoon! I wanted a more vintage look for my specimen art, so I chose to spray paint the keys metallic gold, which turned out beautifully. But if silver fits in with your house better, feel free to skip this step!
- Time-saving tip: Since one side of the keys will be glued down, you only need to paint one side.
From shiny silver to gorgeous gold…
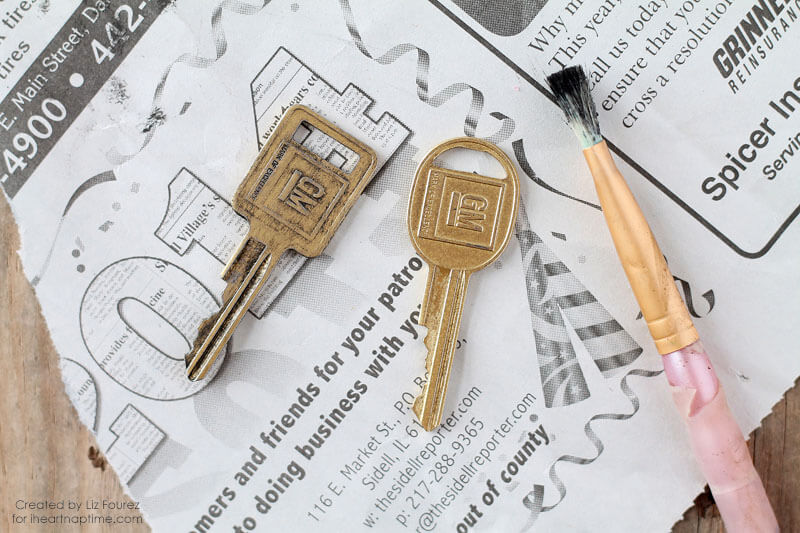
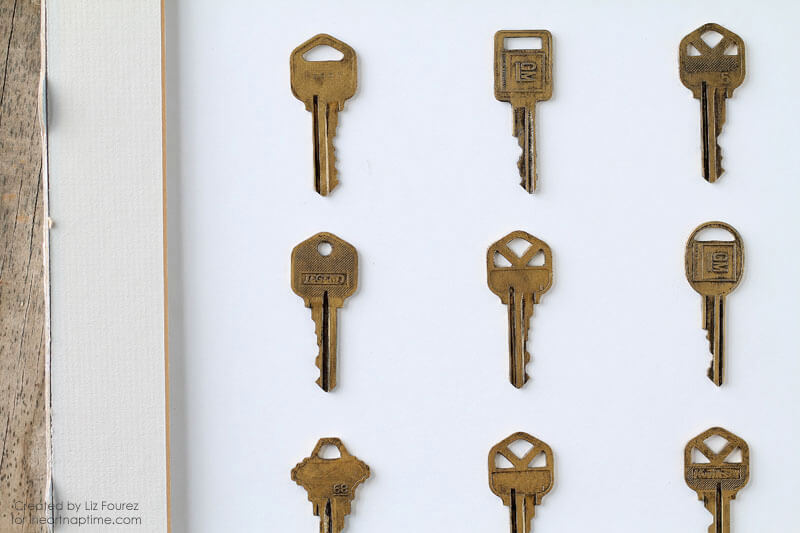
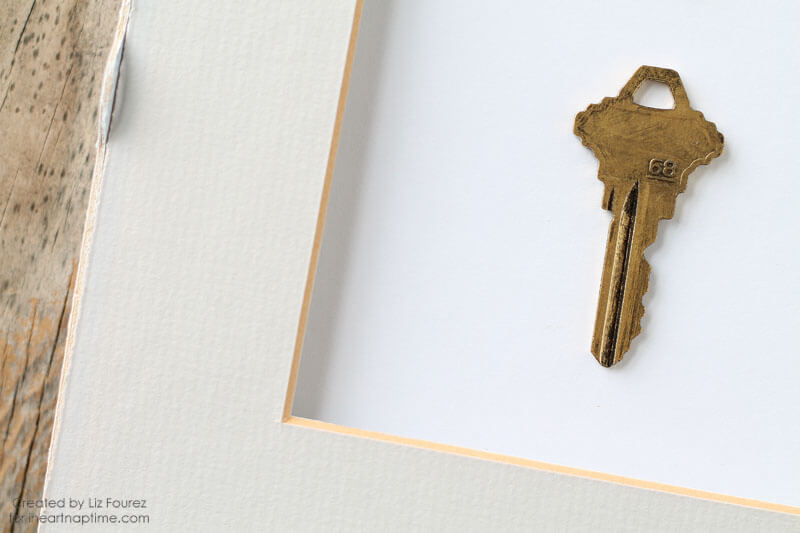
My style of decorating is definitely on the rustic, vintage side, so even though the gold looked absolutely gorgeous, I wanted to “dirty” the keys up a bit and make them look not so brand new. I love things that look collected over time! To do this, I dabbed some black paint all over the keys with a small paint brush, making sure to really get in all the nooks and crannies. Then I used an old cloth to gently wipe away the paint, leaving some behind in the recessed areas. This step is so simple to do and creates such a beautiful, aged patina look!
If you’re not sure how aged you want your keys to look, my advice is to start with just a little paint and wipe it away immediately. Then you can go back and add more layers of paint to your liking. There’s no wrong way to do it, just keep adding paint and wiping until you’re happy with the results.
Once the keys are dry, all that’s left is to do is frame them! For mine, I attached a piece of white card stock to the inside of the frame backing and glued the keys onto the paper. You want to use enough glue to keep the keys in place, but not so much that it spreads all over when you attach them. Using a paint brush to apply the glue helped me with this.
Just look how gorgeous these keys are up close! You’d never know they were shiny silver before.
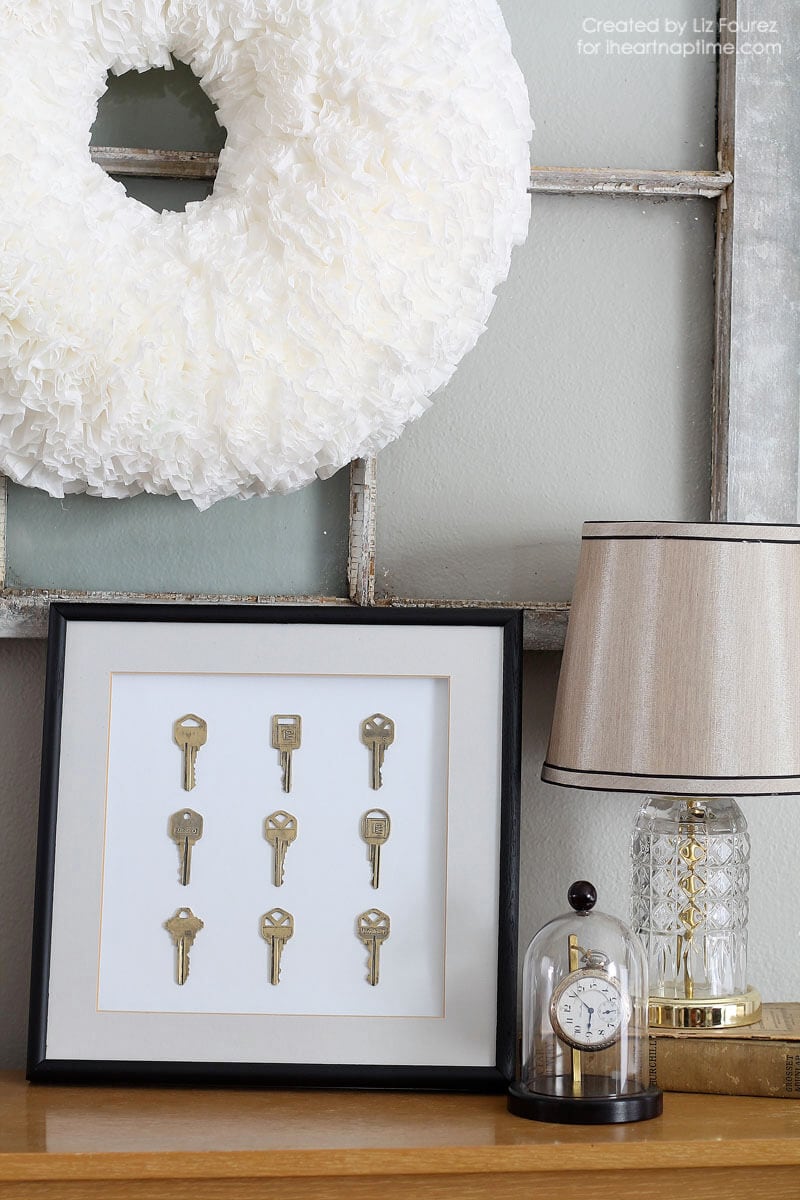
I finished the specimen art with a black frame and ivory mat, which I think is such a classic, elegant look. For now until the gallery wall is complete, I have my new framed art sitting on our piano, where I just added a gorgeous old window (you can see the dry brushing paint technique I used on it HERE) and my newest obsession, coffee filter wreaths! There’s also a $5.00 thrift store lamp with beautiful gold and crystal details and a vintage pocket watch owned by my husband’s great-grandfather.
I’ll be totally honest with you guys… sometimes it’s hard for me to figure out what good decorating is for my home. Should I add color, stick with neutrals, more pattern, less modern… it can get so overwhelming and confusing at times! But with each project I tackle, I learn more and more, and I have so much fun playing with little vignettes like this.
Here’s what I do know:
I love gold. Actually, I love all metallics in general. And I love them paired with rustic, weathered wood… the older the better! Chippy white paint on antique windows and fluffy, ruffly wreaths make my heart happy. And creating a home I love, one project at a time, on a shoestring budget, is the best feeling in the world! I hope you enjoyed this fun, up-cycled specimen art project, and I hope you’ll stop by Love Grows Wild soon to see more of my home and decorating ideas! I would LOVE to have you!
More DIY home decor tutorials from Love Grows Wild:
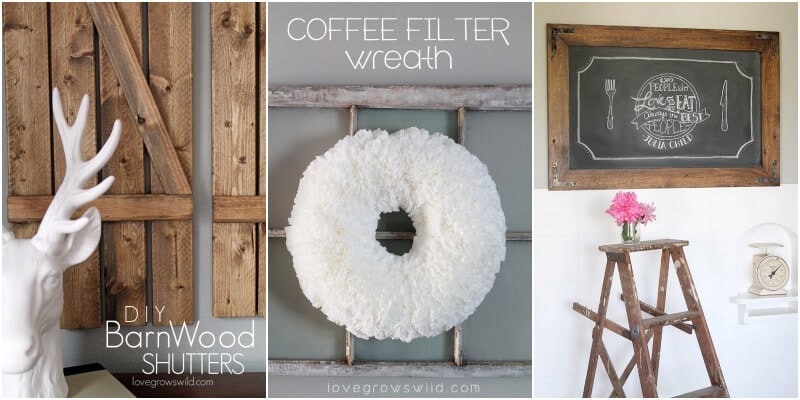
DIY Barn Wood Shutters // Coffee Filter Wreath // DIY Rustic Industrial Chalkboard
If you’re looking for some more fun craft ideas, try these:

I love this idea! Now I wished I had saved all of our apartment and home keys since we got married! We’d have a bunch to frame!!! So cute!
Love this idea, and have keys from way back when. My dad had a big can of keys that go back as far as 1948. This will be so much fun. Thanks
What a neat project for you with all those vintage keys! 🙂 Have fun Jonie!