Fluffy Fabric Flower {Hello Summer}
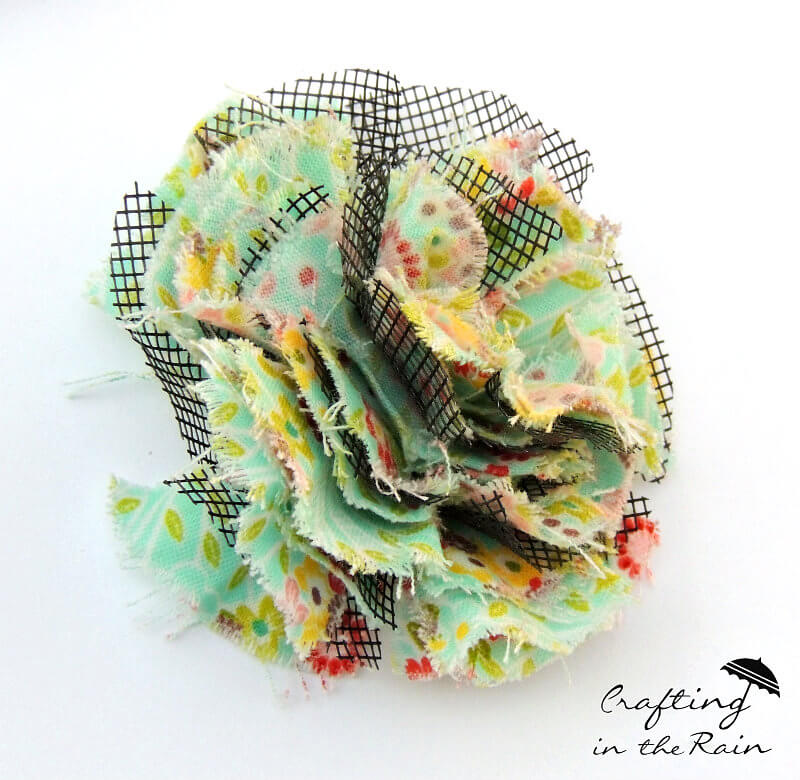
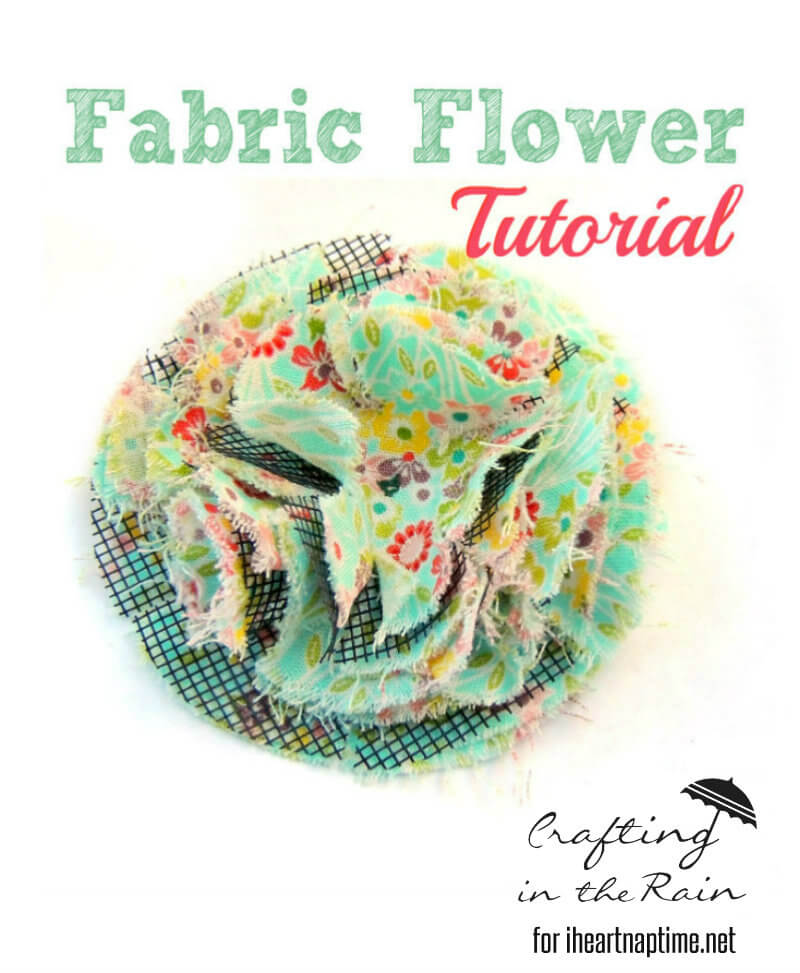
Hi everyone! Would you be surprised if I said I was so excited to be posting on I Heart Nap Time today? It’s true 🙂 I’m Steph and I blog at Crafting in the Rain where I share craft ideas, kid’s fun, DIY decor projects and other stuff we’re up to. Today I’m going to show you how to make a fluffy fabric flower that has window screen as a secret ingredient!
Window screen in a hair clip? I know–but it totally works!
I bought a roll of window screen a couple of years ago and have used it in a few different projects you can find on my blog. In these clips they add some texture and rigidity.
Supplies:
Fabric, not knit, pre-washed so it doesn’t bleed
Window screen, not the metal kind (you could also use a really stiff tulle)
Scissors
Needle
Strong thread, like embroidery
Boiling water
Tongs
Towel
Fabric stiffener
Hair dryer
Clip
Glue gun
Cut 9 circles of fabric, 3 of each at these diameters: 3 inches, 2 1/2 inches, 2 inches. Then cut one circle of screen at each of those sizes too.
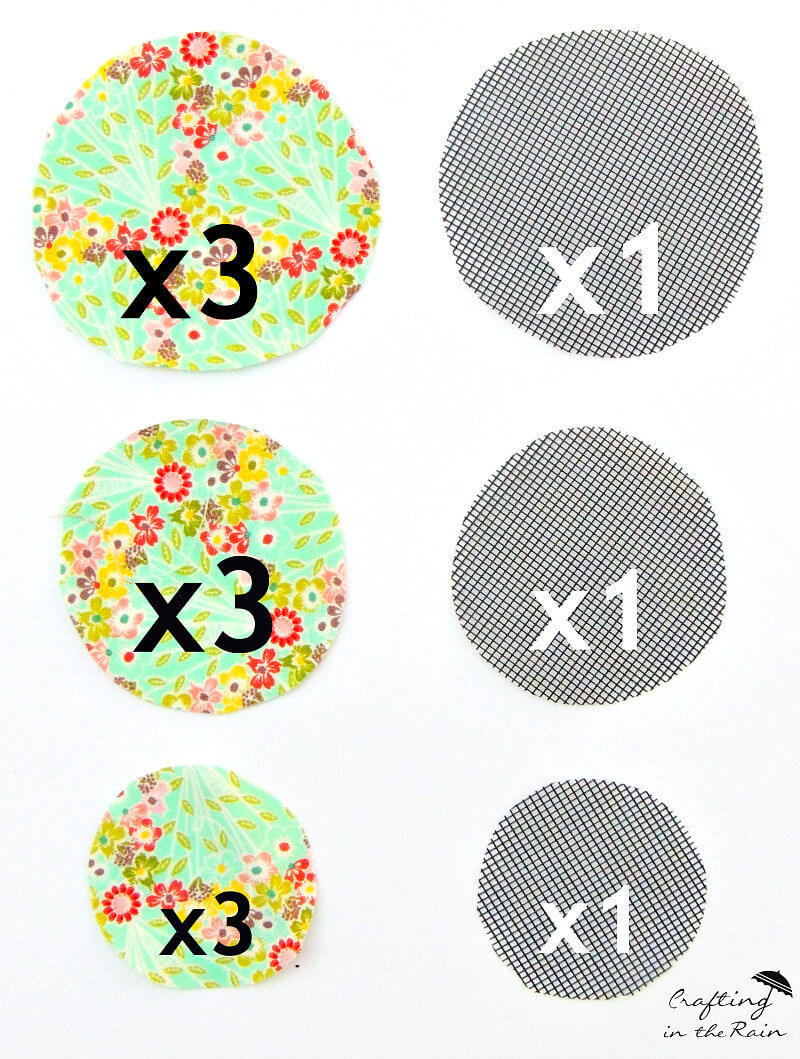
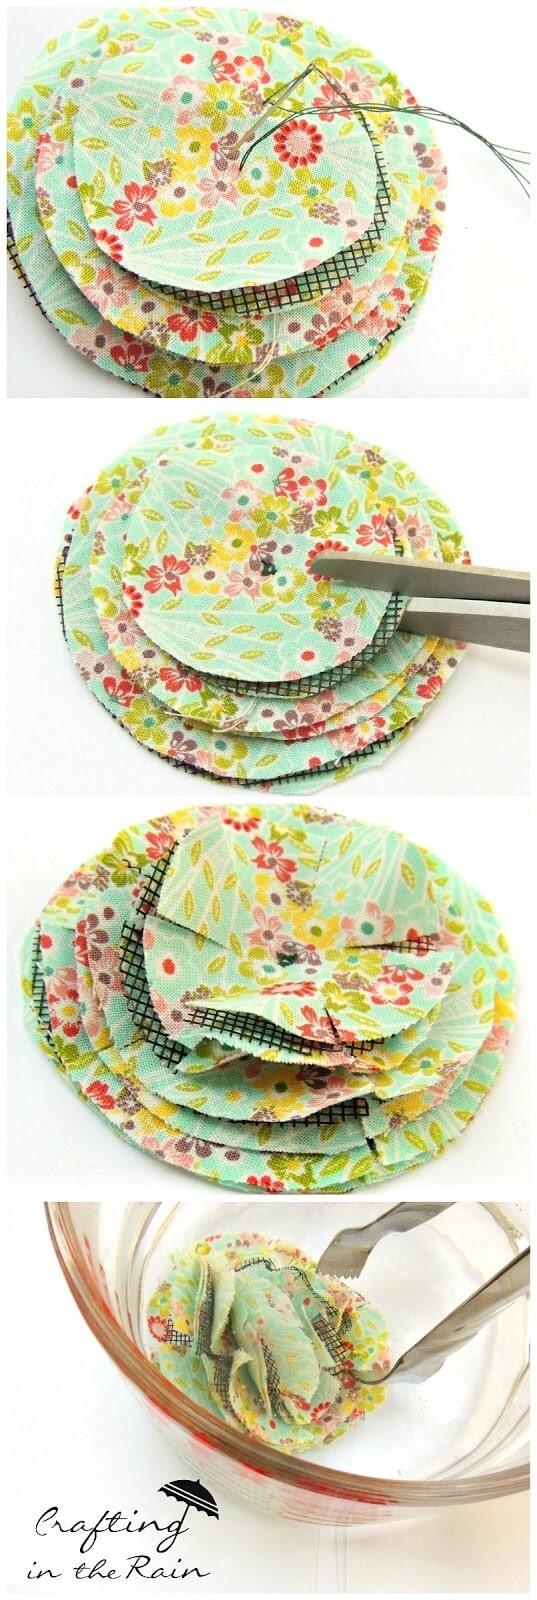
Stack the circles, starting with the largest circles on the bottom. Arrange them fabric-fabric-screen-fabric, then add the smaller circles. Using thread and needle, sew the whole thing together in the center, making sure it’s very secure.
Cut 5 slits around the two smaller sets of circles, and 6 in the bottom set, making sure to NOT cut all the way to the center, or you’ll clip the “petals” right off.
Drop the flower into boiling water and swish it around with tongs for a couple of minutes, then carefully take it out. Rub it between your hands with a towel to rough it up.
Next take a dime size (or a little less) amount of fabric stiffener and massage it into the whole fabric mess with your hands and then dry it with a hair dryer, fluffing and shaping a little as needed as you go. Once you have your fabric nice and poofy, it’s ready for a clip on the back.
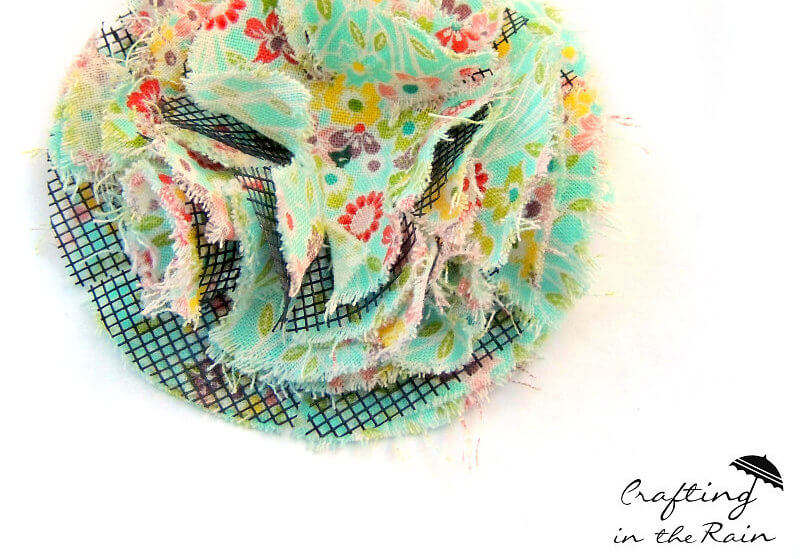
Would you have guessed that these fabric flowers have window screen in them? I hope you like the result! For more ideas of what I post about, see these posts:

I’m Steph, author at Crafting in the Rain. My husband and I live in the Pacific Northwest with our 3 kids. There you’ll find me writing about crafts, decor, holiday projects, kid crafts and occasional recipes, plus anything else that keeps us busy when it’s raining outside. Find me on Facebook | Instagram | Pinterest
THANKS Steph for sharing this awesome DIY craft during our Hello Summer Event!



Soooo cute! Pinning this to try later!
Thanks Gretchen–hope they come in handy!
playWhat a creative idea and use of a window screen, love it Steph!
Thanks Brini! I totally appreciate it 🙂
I just replaced a couple of screens – Now I know what I can do with those. Great tutorial.
Same here! What a useful tutorial! 🙂
Perfect timing!
Has anyone tried this with buckram?
Fun! I’ve never seen them made this way before, and I totally love it!
Thanks Heidi!
Never would have thought to use window screen but I LOVE the dimension it gives!
Thanks Coleen! It’s different huh!
The window screen material is pure genius Steph! I’m pinning as I want to make some for brooches for Christmas gifts!
Brooches would be darling with this pattern! Great idea. 🙂
Oh yeah, totally great idea! Please tag me in a pic or something so I can see them 🙂
This is great, Stephanie! I love how it turned out! It’s been added to my list! 🙂
You have to show me if you make one 🙂
I love everything about this! The fabric, the screen, the process. Thanks Steph for a great new idea to use!
Thanks Jillene! Hope you’ll try it out!
Man, this comment box was Hard to find. LOL. Great project! Pinned for later!
Thanks for the love Sara 🙂
Screen oh my gosh it ‘s wonderful!! Thank you.
What a neat idea to use window screen!
Thanks Michelle! It’s always fun finding new uses for things 🙂
I love this flower!
I wanna make it ASAP!
I’ll try by a net which vegetables were in. 🙂