A Simple Clutch
Hey there! It’s Stef from Girl. Inspired.! Today I have a super easy, yet stylish clutch that you can sew up in a snap.
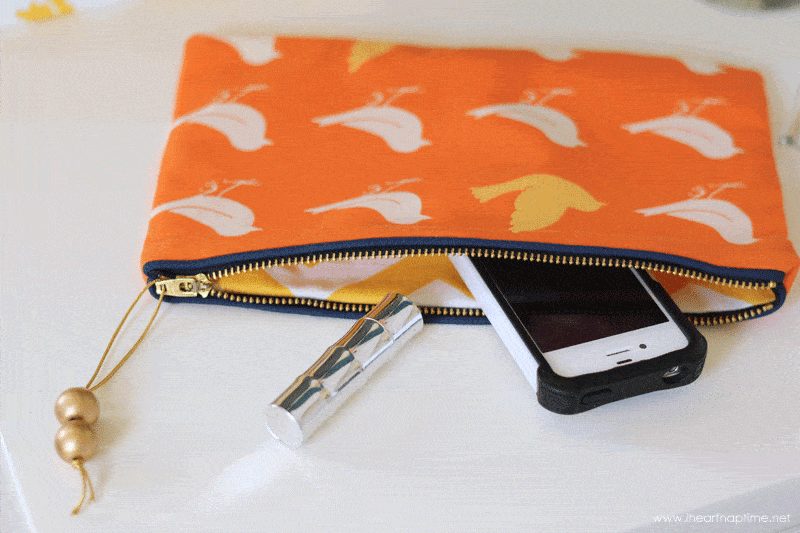
Wouldn’t it make the perfect gift for your mom or sister for Mother’s Day? This simple clutch is compact enough that you can use it for make-up inside a larger bag OR it will fit the essentials for a quick dash out of the house! Would you like to make one or a few? Let’s get to it!
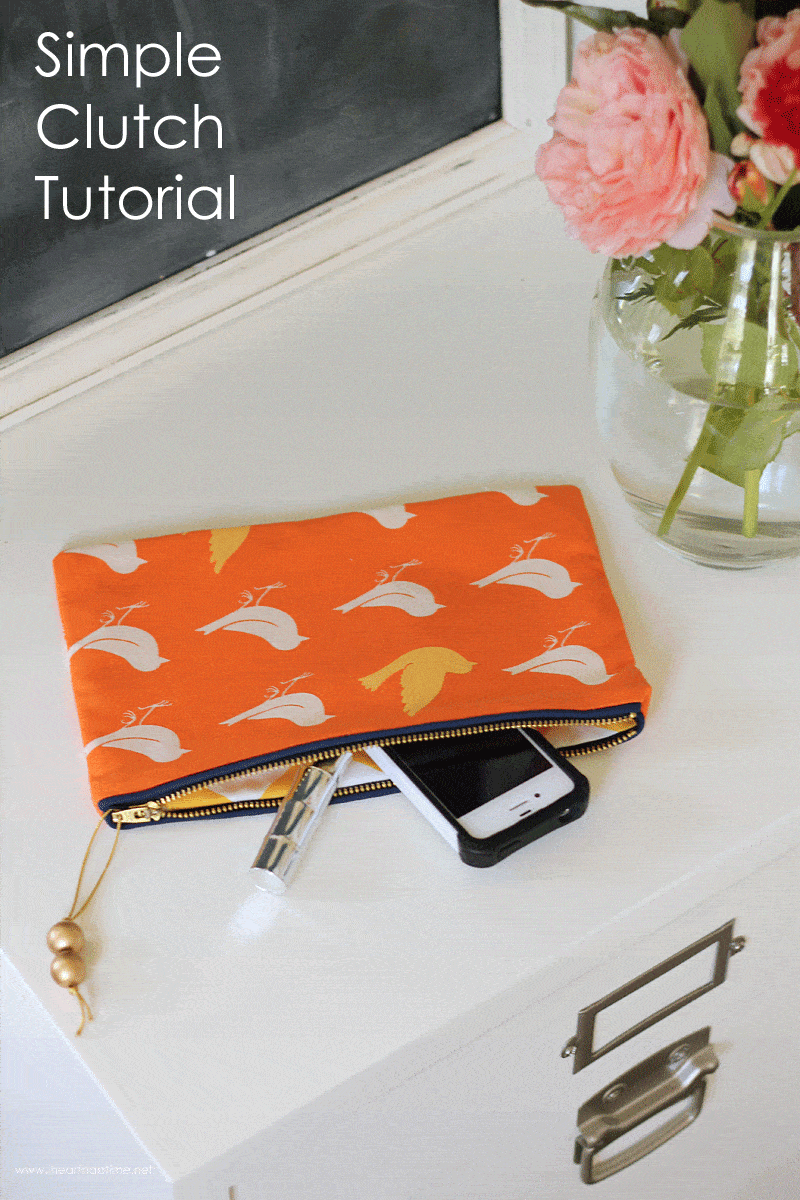
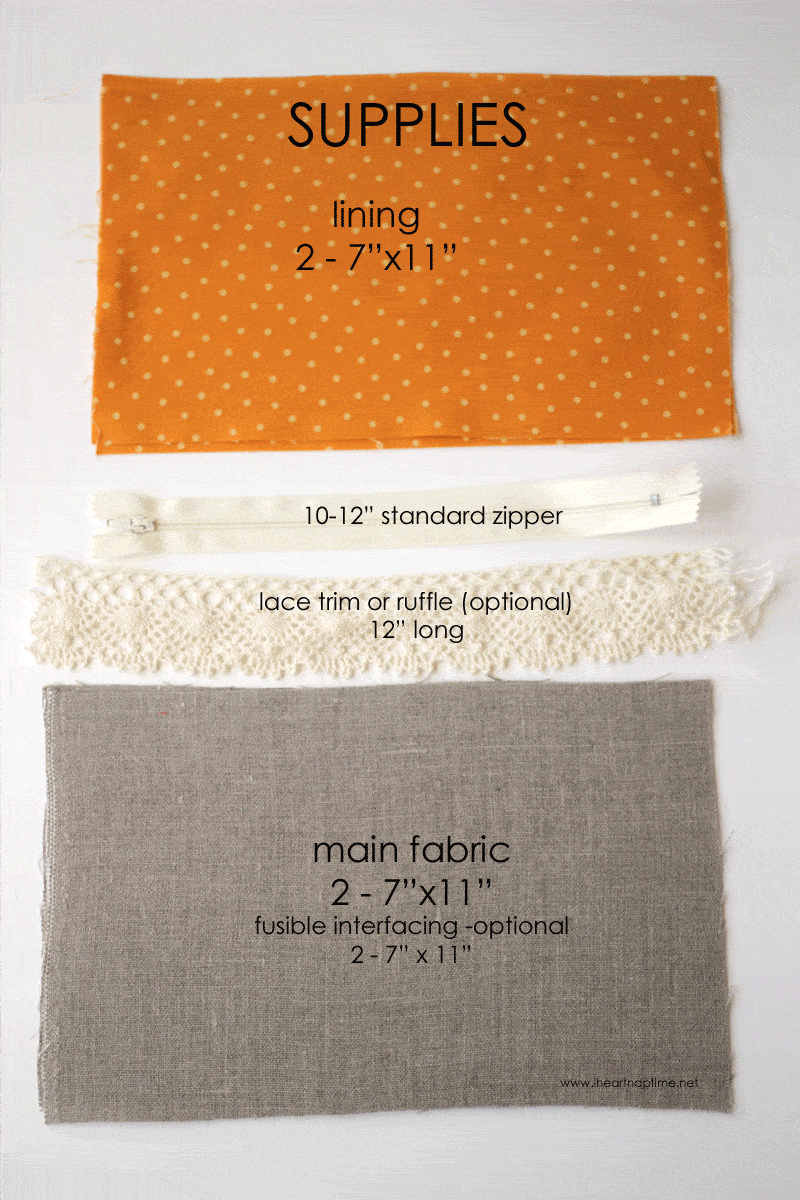
For this simple clutch, you will need:
Supplies:
2 – 7″ x 11″ pieces of main fabric (upholstery weight fabric is best, but not necessary)
2 – 7″ x 11″ pieces of lining fabric
2 – 7″ x 11″ pieces of fusible interfacing (optional for lightweight main fabric)
12″ zipper
piping, lace trim, fabric ruffle (optional)
thread, pins, zipper foot for sewing machine, and sewing machine
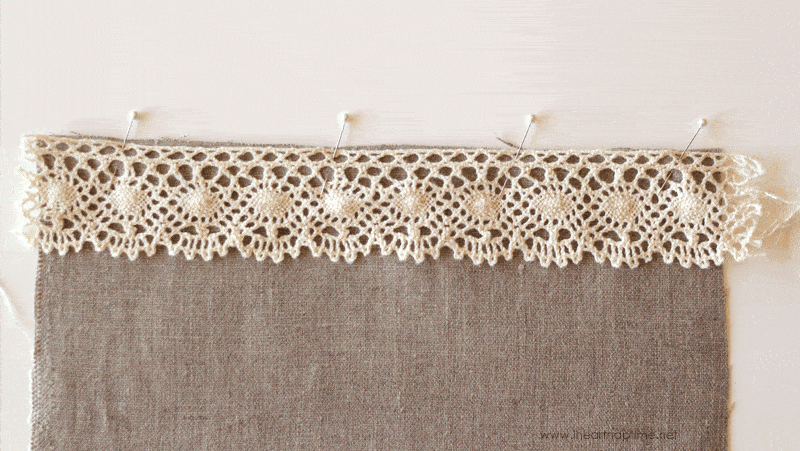
Step 1: Follow package instructions to iron fusible interfacing onto the wrong side of main fabric pieces. Now, we’ll prepare the main fabric pieces with trims or piping if desired. Place piping or trim along the top long edge of your main fabric piece – the raw edges should match. Baste into place using no more than 1/4″ inch seam. For piping, you should use a zipper foot and baste the piping to the bag edge close to the piping.
Step 2: Place lining fabric right side up on your work surface. Center the zipper, right side up, on top of the lining fabric – be sure that the stop when the zipper is closed is 1/2″ in from the side edge of the fabric – trim excess off of the opposite end of the zipper so that it aligns with the other edge (follow zipper package instructions to shorten zipper). Place your main fabric piece on top of the lining/zipper, right side down. So, you’ll have lining face up, zipper face up, main face down.
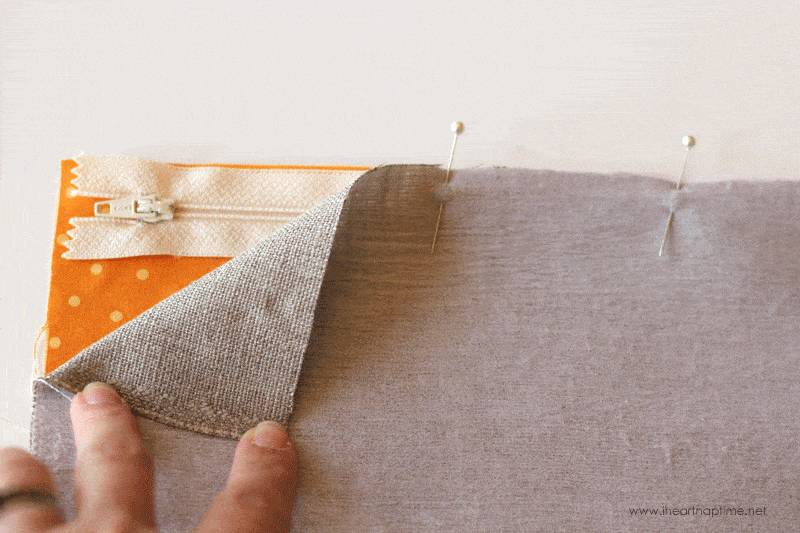
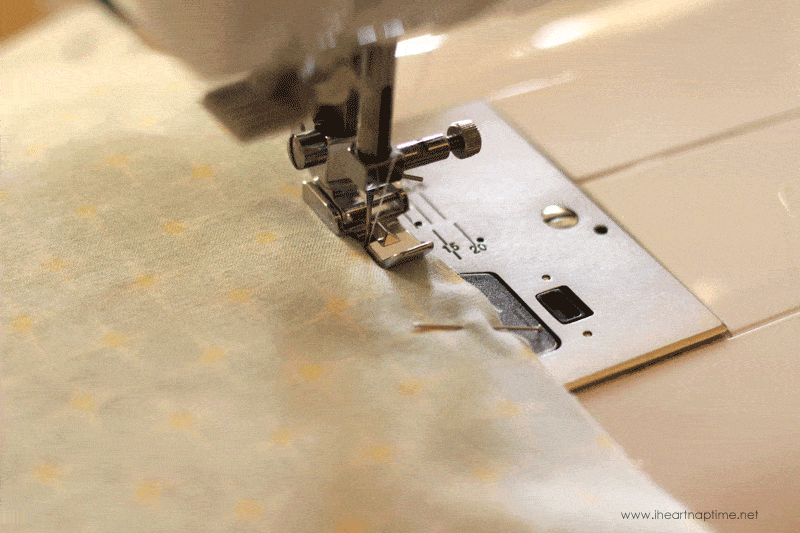
Step 3: Using a zipper foot on the sewing machine, stitch along the edge of the zipper. You will probably need to stop and adjust the placement of the zipper pull so that you can sew right along the zipper edge along the entire length of the bag edge.
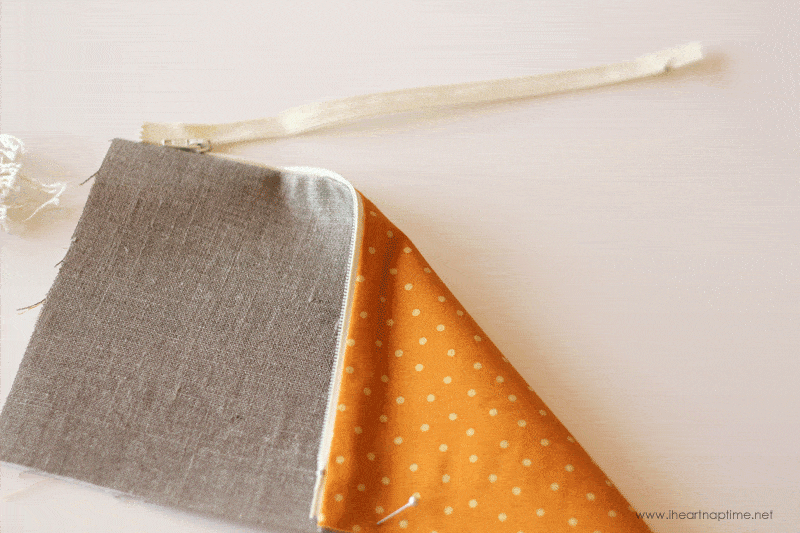
Step 4: Fold back and press the main fabric and the lining to expose the finished edges along the zipper – if your fabric does not press away from the zipper enough and the zipper is going to catch on the fabric, you can topstitch the fabric at this point to hold it away.
Step 5: Now, we’re going to get the other side of the bag attached to the zipper in the same way. Making sure that the first side is out of the way, align raw edges of lining (face up), zipper (face up), and main fabric (face down) – pin in place. Sew.
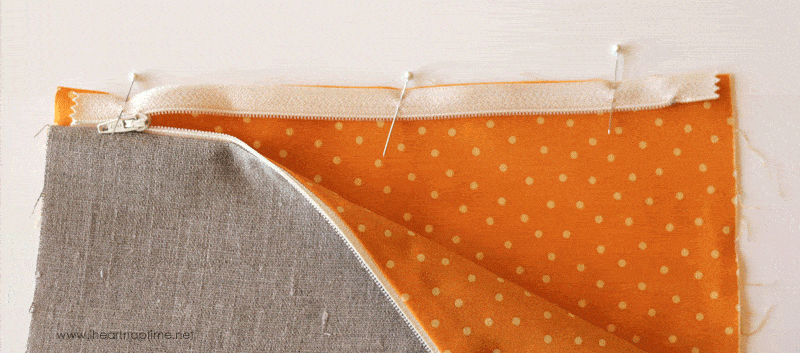
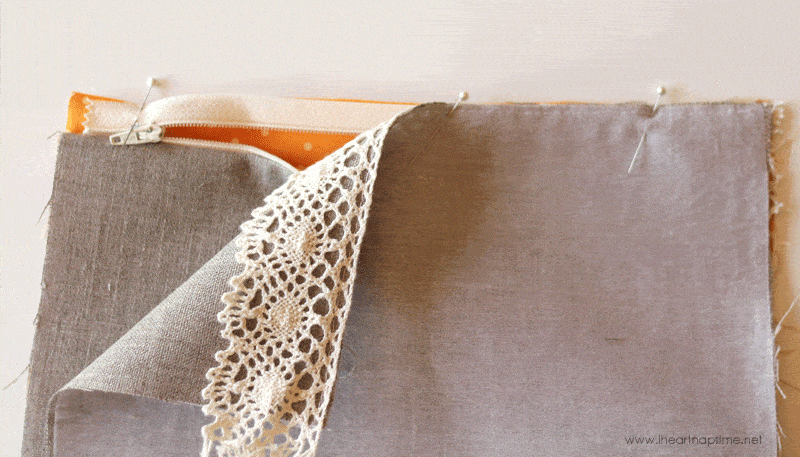
Step 6: Press open the other side of the zipper. Your bag will look like this:
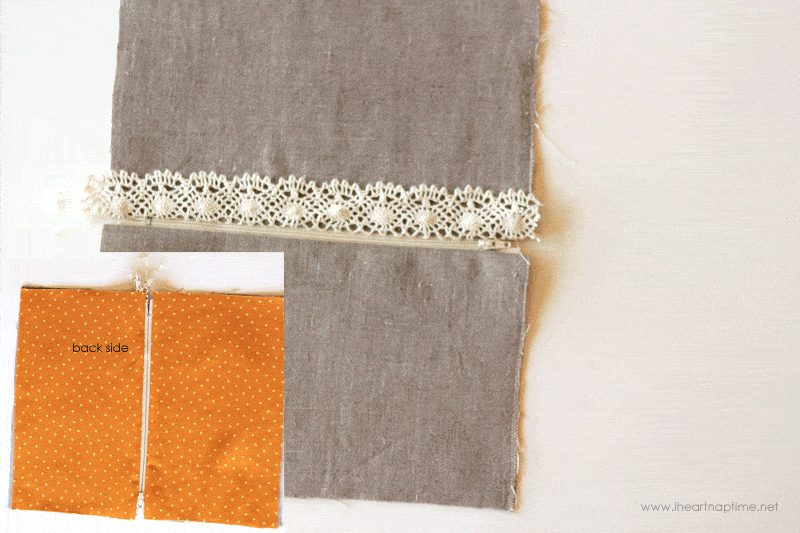
Step 7: Now we’re ready to sew the bag into one piece. Separate the main piece and lining piece on each side of the bag and fold the “flaps” so that you are matching the main fabrics right sides together, and the lining fabrics right sides together. Pin in place to form one large rectangle with main pieces to one side and lining pieces to the other side. The black line in the picture below shows your stitching line.
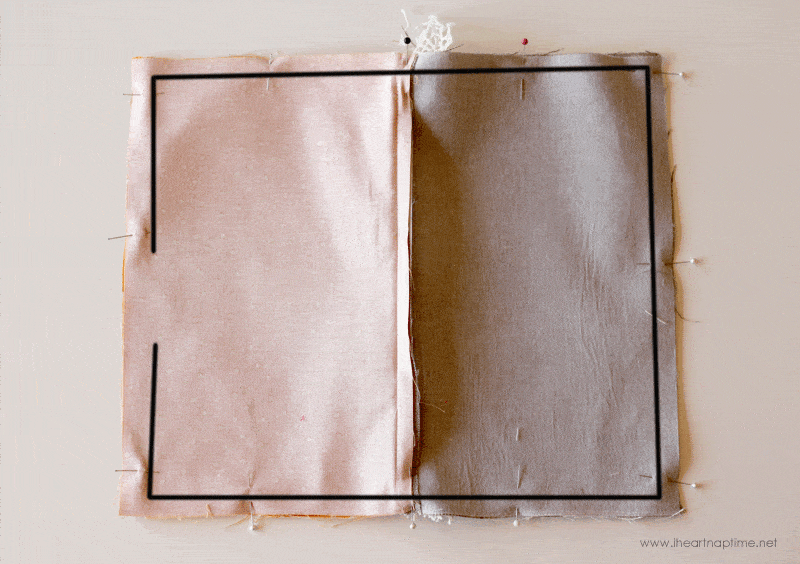
Step 8: Stitch, using a 1/2″ seam allowance, all the way around the perimeter of the bag, leaving a 4-5 inch opening in the LINING side of the bag for turning. Also, be sure that the seams from steps 3 and 5 are all turned toward the main fabric side – this will help the lining to stay tucked inside the bag once it is sewn.
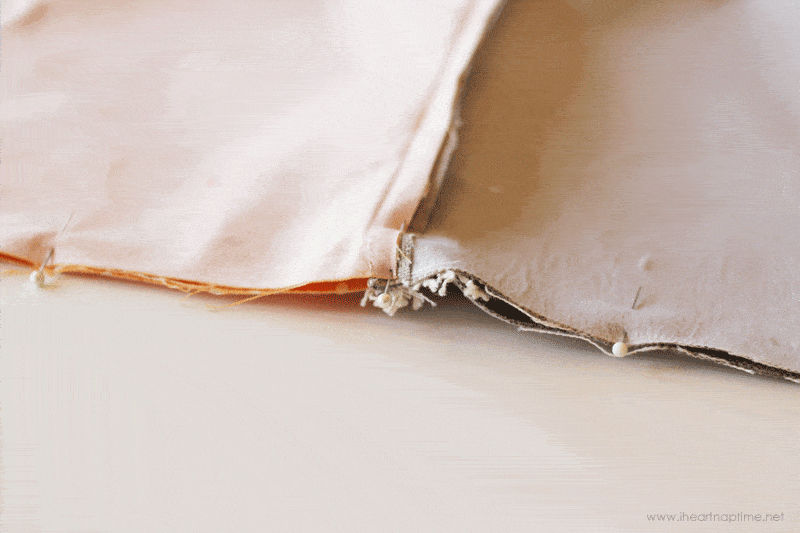
Step 9: Clip the excess fabric from the corners. Turn the bag right side out through the hole in the lining.
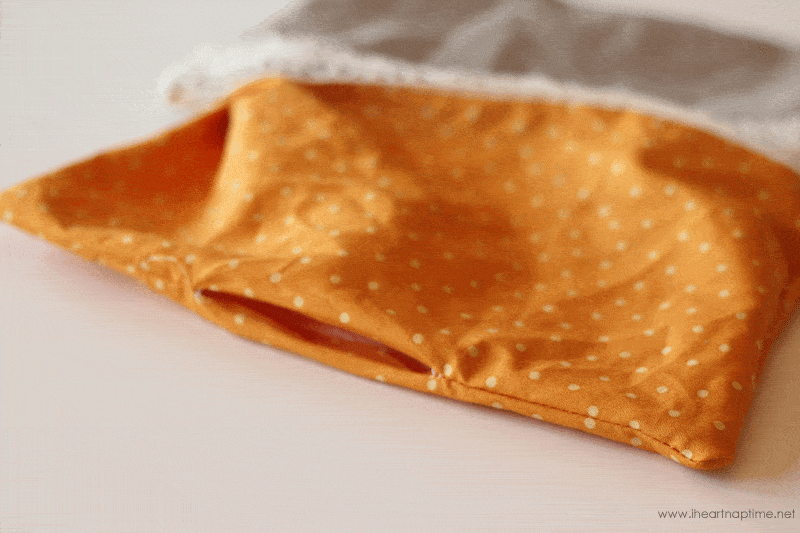
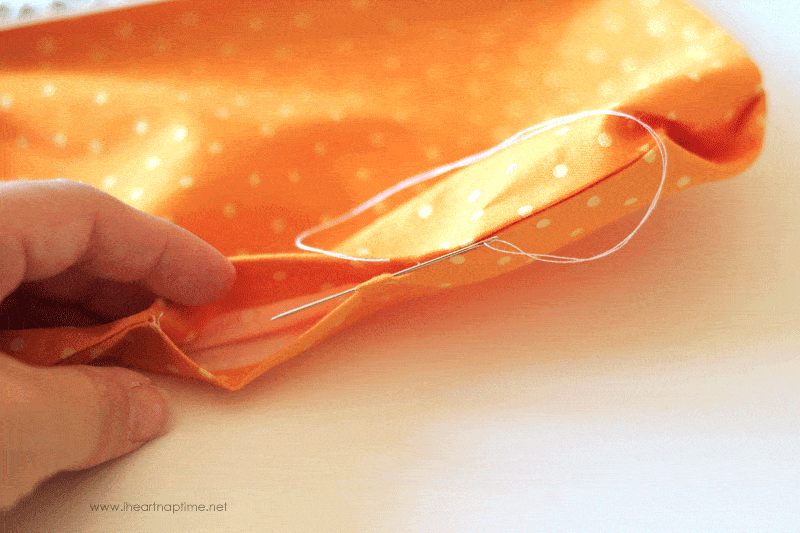
Step 10: Stitch the opening closed by hand. Press the whole thing really well.
Step 11: Tuck the lining into the bag, press the whole thing again. Tie a ribbon or some elastic string with beads onto the zipper pull if you’d like – and YOU’RE DONE!!
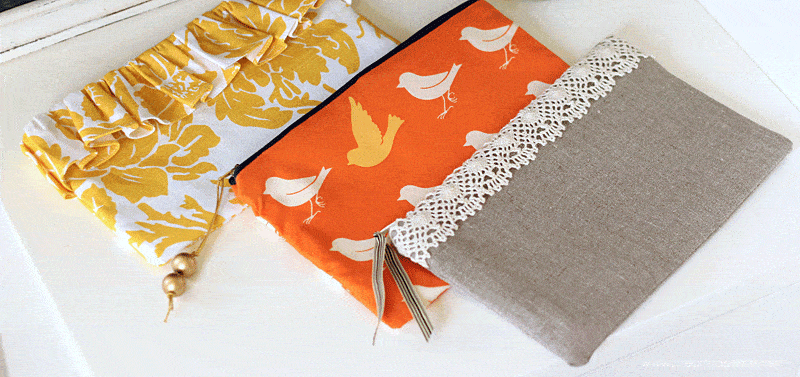
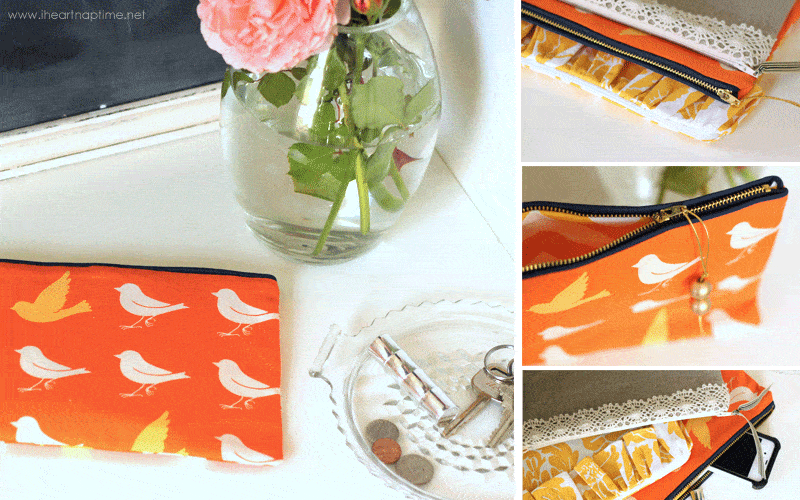
Wasn’t that easy? I love that these require so little fabric and stitch up so quickly – you could make so many different variations!! I especially love the look of the metal zipper on this bird clutch!
Happy sewing, friends! I’d love for you to stop by Girl. Inspired.



Wow! That is so cute, I love the fabrics you chose. Thanks so much for the detailed tutorial, it actually makes me think I can pull this off with my, ahem, mediocre sewing skills! Have a great day!
These are adorable! I’m a new sewer and have been working up the courage to try a zipper. This looks like a good place to start!
What a gorgeous project to have my 10 yr old niece sew…I’ve been teaching her like my Aunt taught me. So pretty and simple for her (and any one, in that matter) to sew. Thank you for sharing! (Pinning!)
Super cute!! Love the fabric!! Thanks for the tutorial!!
Thanks for the tutorial! I used this on the weekend to make a pencil case for my friend’s birthday. Really helped me as it was only my second zipper!
This is very helpful. I’m going to bookmark this.
Wow! I want to try this tomorrow!
Hi! I love these! Can you show how you made the ruffle tote?
Great tutorial. I’ve been wanting to make small bags like this but don’t know how to install zippers. You made it look doable.
realy nice zip bag easily done.
simple is always the best! thanks so much!!
This look great – Thank you for the nice tut!
a video would be awesome
I love this tutorial!!! congratulations from Chili
Thanks for stopping by! 🙂
Fab tutorial, really easy to follow!
where did you get the cute bird fabric?
Hey Jamielyn…this simple clutch is simply beautiful & so easy to make…i
love stitching….and would like to make one.Thanks for the tutorial.Can you
pls show a tutorial for stitching a japanese purse?
I’m going to take this idea & add a 1″ adjustable strap along the top back edge and make a small cell phone case to wear around my waist with all my pocket-less pants. Thanks for the idea & instructions.
Love your tutorials.
This looks like a great tutorial. I plan to make my sister in law a clutch out of old quilt top that her grandma made and never finished.
What a great idea! 🙂