Fabric Covered Spring Vases
DIY Fabric Covered Spring VasesBy Liz of Love Grows Wild for I Heart Naptime.
Hi again, I Heart Nap Time readers! Are you ready for spring? Where I’m from in the Midwest, we’re so close to enjoying those warm, sunny spring days, and I cannot wait to get outside in my flip flops and do some gardening. Soon I’ll have all kinds of pretty flowers blooming in my yard, so I thought I’d create some fun fabric covered vases to share with you!
Supplies:
plain fabric or drop cloth
painter’s tape
craft paint
paint brush
sewing pins
twine
recycled bottles
hot glue gun and glue sticks
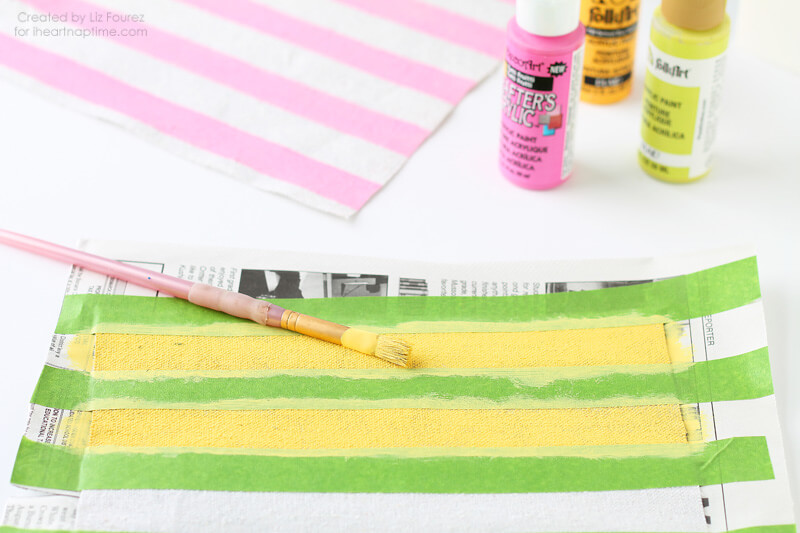
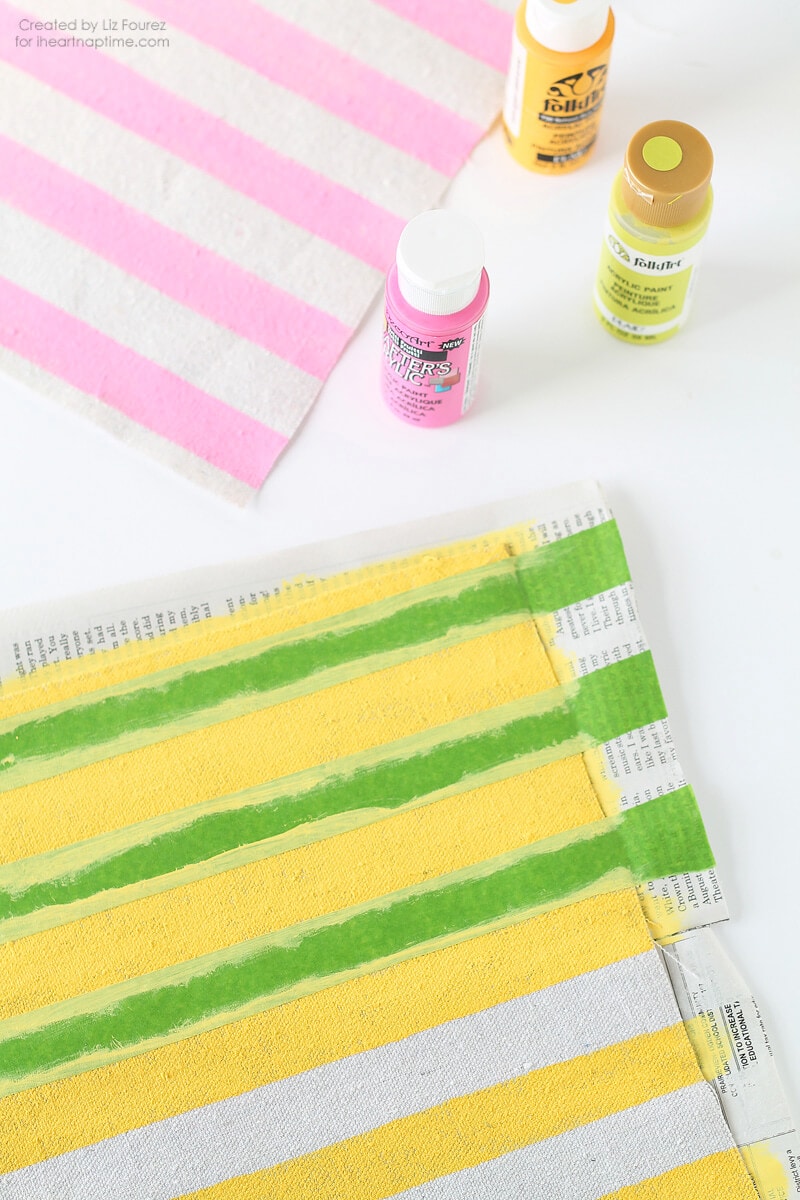
Start by cutting a 10″ x 10″ square of your fabric for each of your bottles. I used a regular 12 ounce size glass bottle, so if you’re using a different size, make sure you measure first. Add strips of painter’s tape over the fabric to create stripes. You can measure them out if you’d like, but I just eyeballed it. Press the edges down well to create a nice seal for your paint.
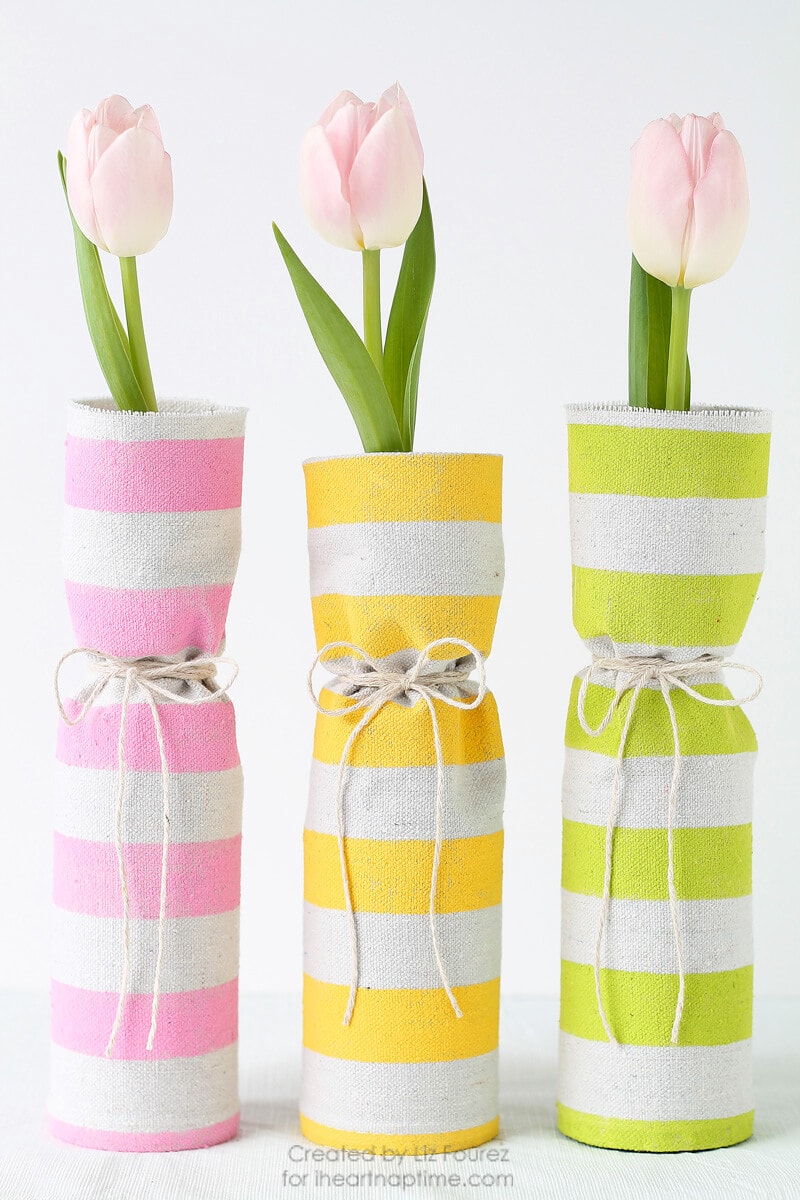
Next, paint the fabric between the tape with your desired colors. Since these will be used for spring decor, I painted mine in a light green, pink, and yellow. Remove the tape from the fabric and allow paint to dry completely.
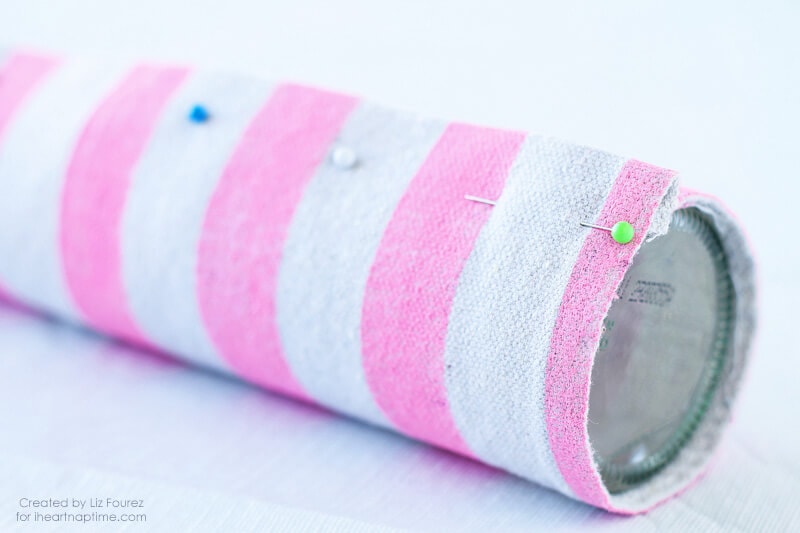
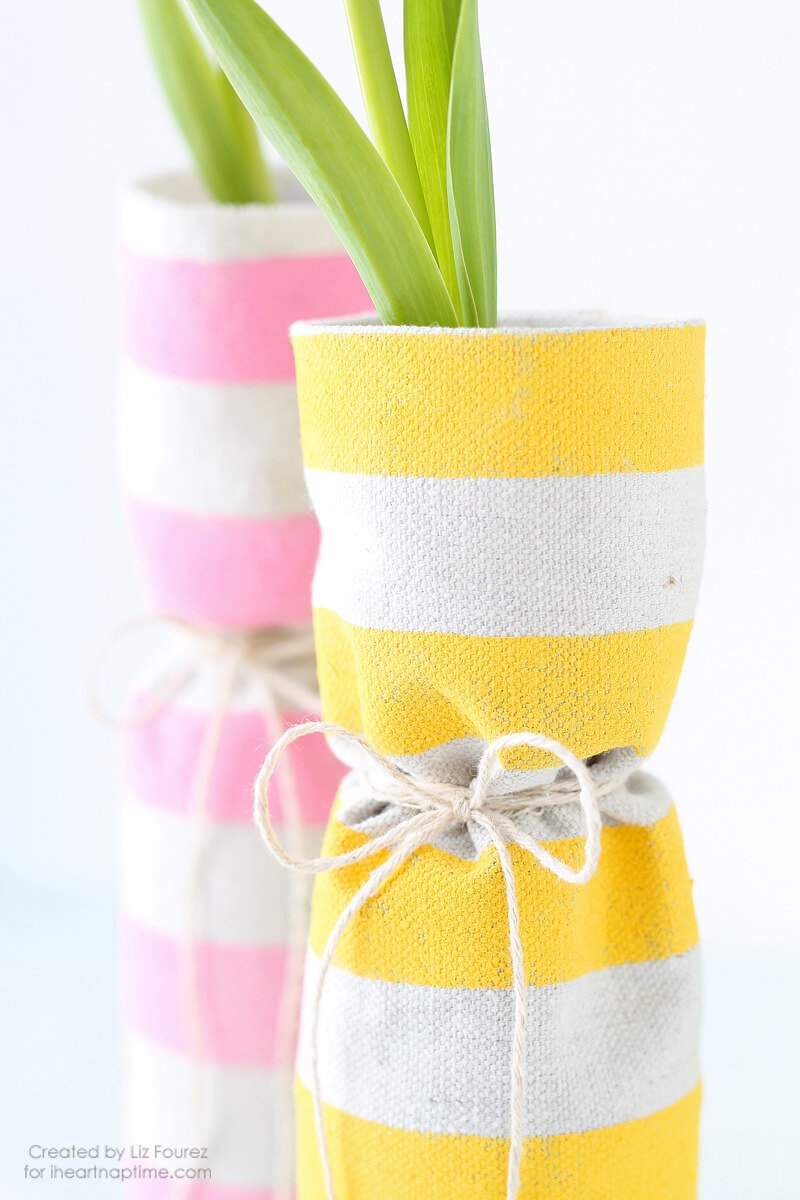
Once the paint is dry, wrap a fabric square around one of your bottles. Get the fabric wrapped snug around the largest part of the bottle and pin the fabric in place. * You can choose to hem the edges of your fabric if you like, either with a sewing machine or by turning the edge down and securing it with hot glue. I happen to like the unfinished edges, and it also saves me a step!
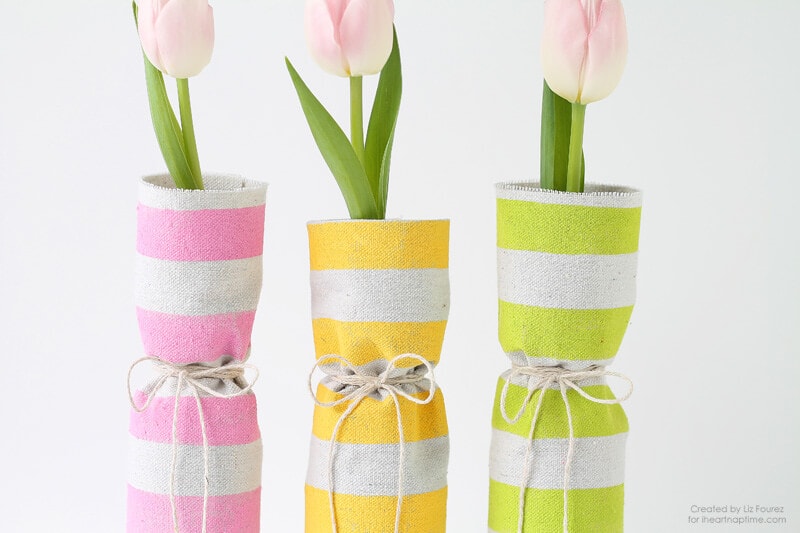
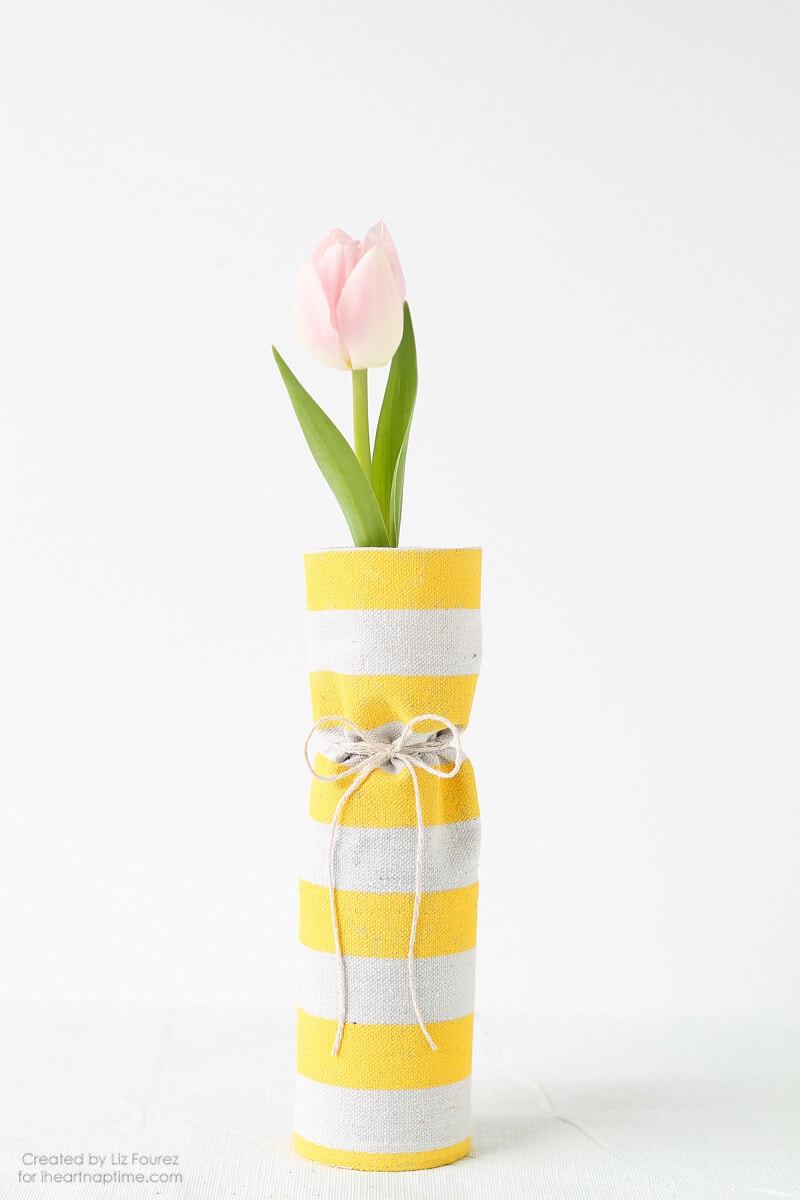
Add hot glue to one edge of the fabric and press onto the other edge, securing the bottle wrap in place. Then you can remove the pins and cinch the top of the vase with some twine tied in a bow.
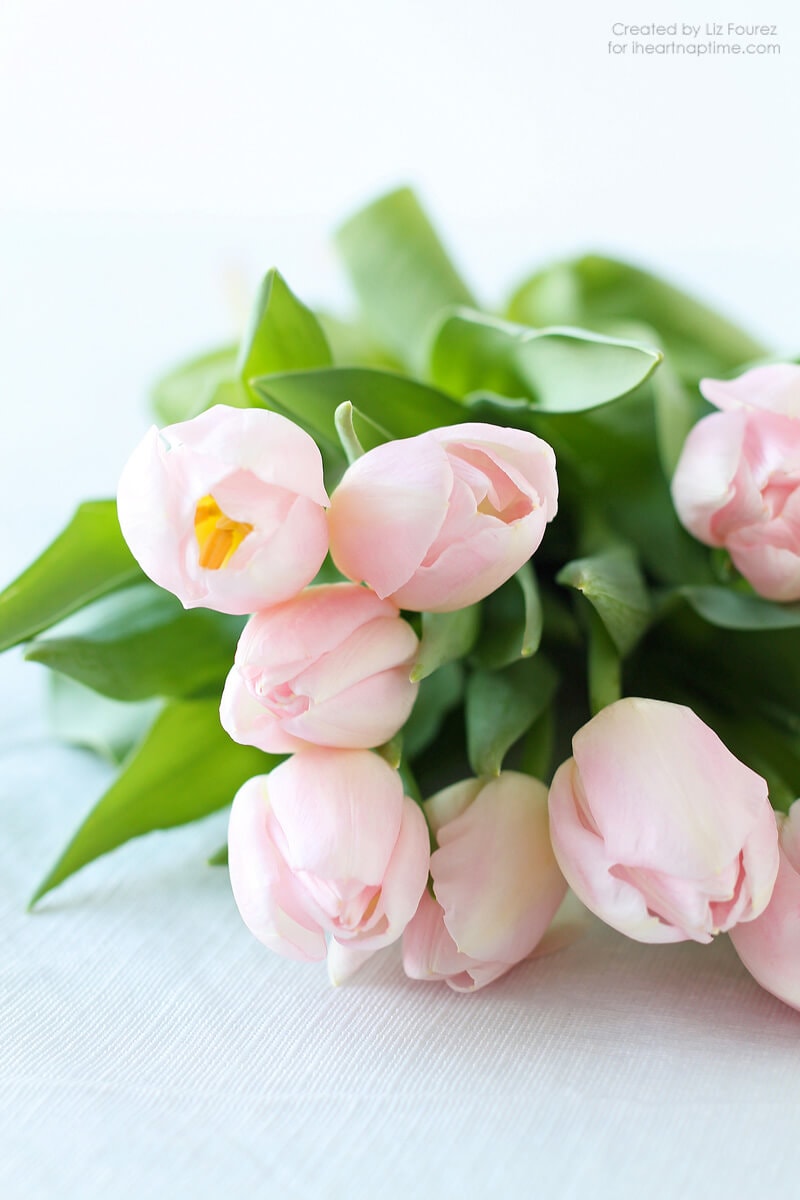
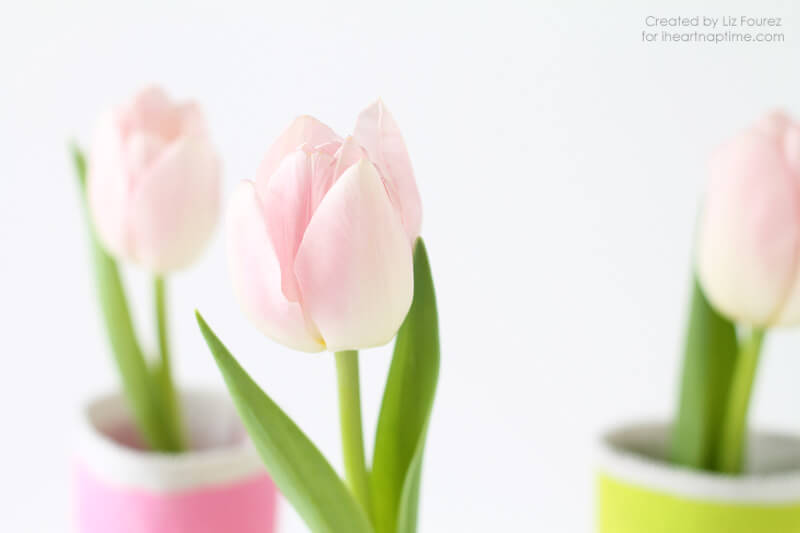
Since I don’t have any pretty flowers growing in my yard quite yet, I picked up some soft pink tulips from the store to add to my vases.
What I love most about small vases like this is it only takes a few single stems of flowers to look absolutely beautiful!
These colorful stripes and pretty flowers add the perfect touch of spring to my home, and I just love how easy they were to make. Since I used recycled bottles and already had the drop cloth, paint, and twine on hand, this project cost me absolutely nothing. LOVE when that happens!
What touches of spring do you add to your home?
I hope you enjoyed this little project and are inspired to do some spring crafting of your own! I’d love to have you stop by Love Grows Wild to discover more spring time ideas:




These are SO cute!!
I love these! I never would have guessed they were painted. Gorgeous:)
These are so lovely and simple! I love the spring time colors, too! Please come share at our link party going on now, if you’ve not already!
I luv, luv, luv your DYI projects. I’m going to try the
I love these so much! In fact, we included it in our ‘Top 5 Easter tutorials’ on our blog! 🙂 Thank you for sharing! 🙂
this idea was awesome and it looks so wonderful. i could have never guessed that the cloth was painted. will definitely try this…
Thaks you for this nice DIY!
It’s soooo nice! Thanks for such diy!!!
These are so cute! I’m going to make some pink ones for my daughter’s baby shower. Just wondering what kind of 12 oz. glass you used, like a pop bottle? Did it have a narrow neck? Thanks1
Yes they were glass bottles with a narrow neck. If you wanted to include more flowers, the dollar store has some wide mouth glass vases that would work well 🙂