
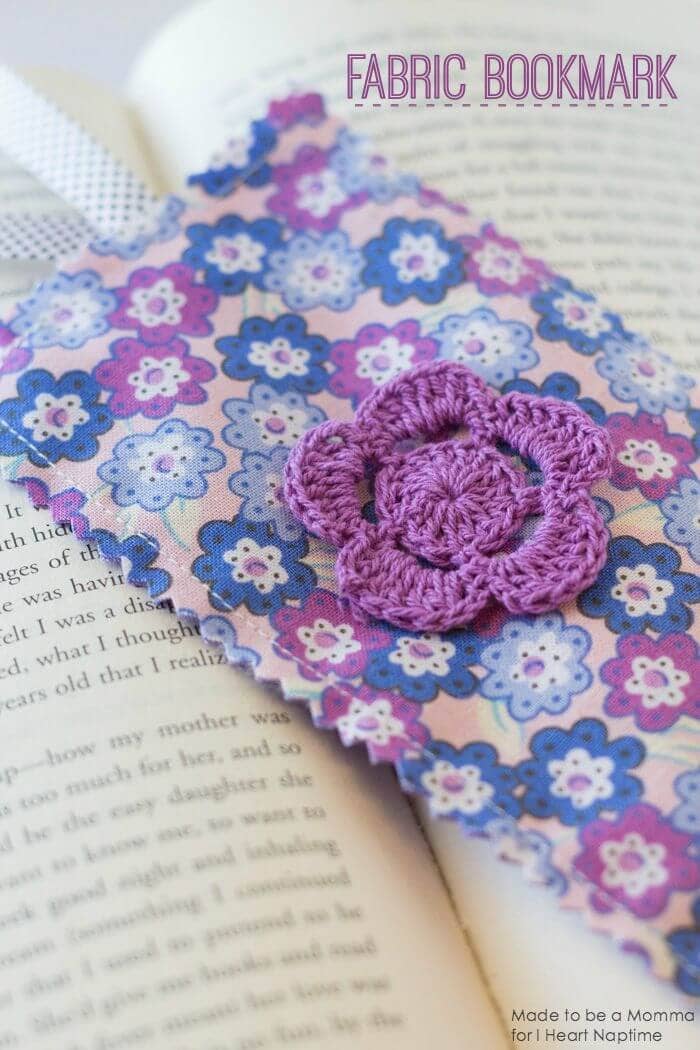
Fabric Bookmarks
Learn how to make a DIY fabric bookmark in just a few short minutes! Easy, inexpensive and the perfect way to use up any leftover fabric that you have on hand.
Today I’m going to share with you how easy it is to make a fabric bookmark. These bookmarks are perfect for back to school, book club gifts, Christmas gifts and more. The best part is that they are SUPER simple to make. If you have some scraps of fabric and 30 minutes, you can whip out a couple of these in no time.
Supplies
- Scraps of fabric
- Ribbon
- Embellishments
- Sewing machine
- Pinking shears
How to make a bookmark out of fabric
Gather your supplies. Cut out two rectangles from your scraps of fabric. This is the best part, you can make these as big or as small as you want. No specific measurements from me 🙂
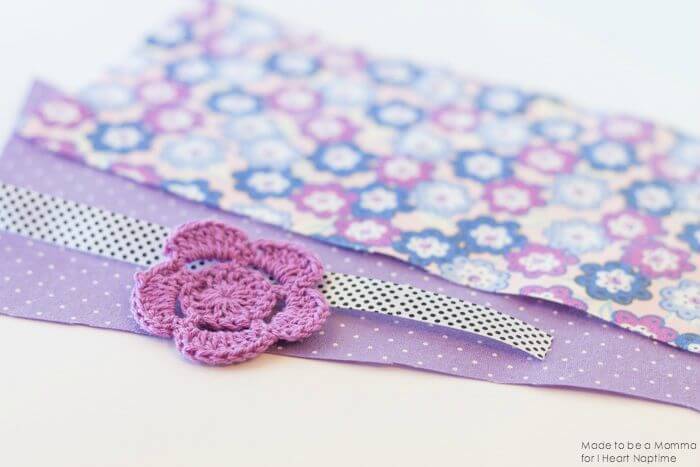
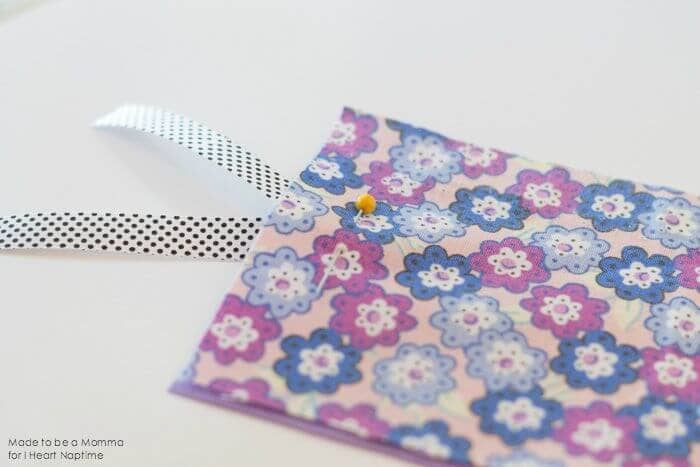
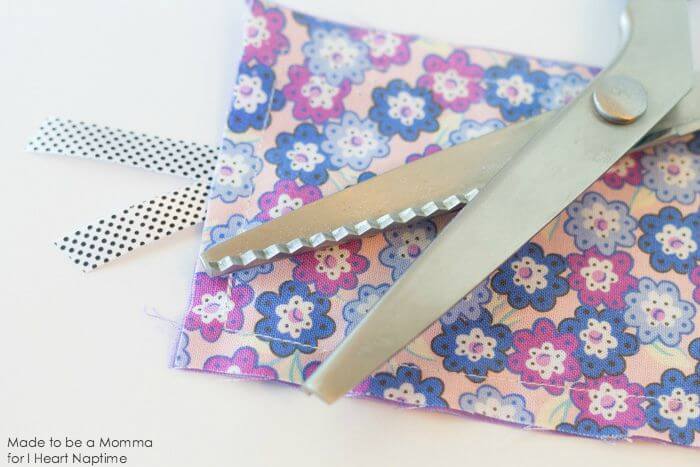
Pin together. Lay your fabric pieces UGLY sides together. Normally we do pretty sides together but since I won’t be flipping this bookmark inside out, we want both pretty sides on the outside. Insert your ribbon in between the fabric sandwich and pin in place.
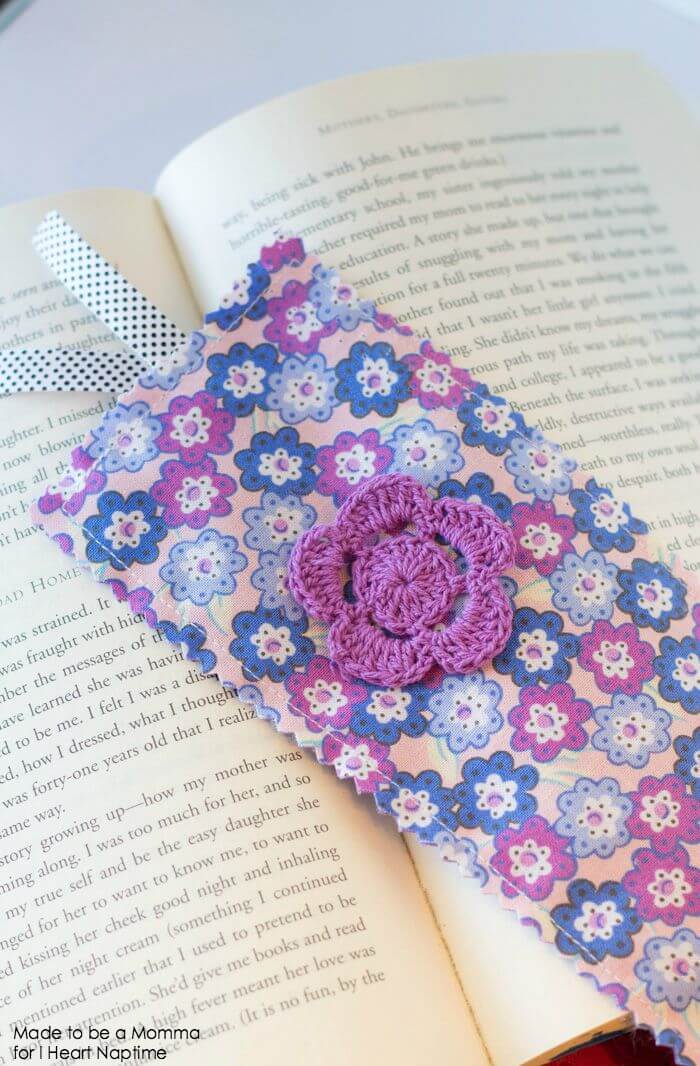
Sew. With a 3/8 inch seam allowance, sew around all four edges of the bookmark making sure you pivot your needle when you get close to the edge rather than going all the way across. (As seen in the picture below)
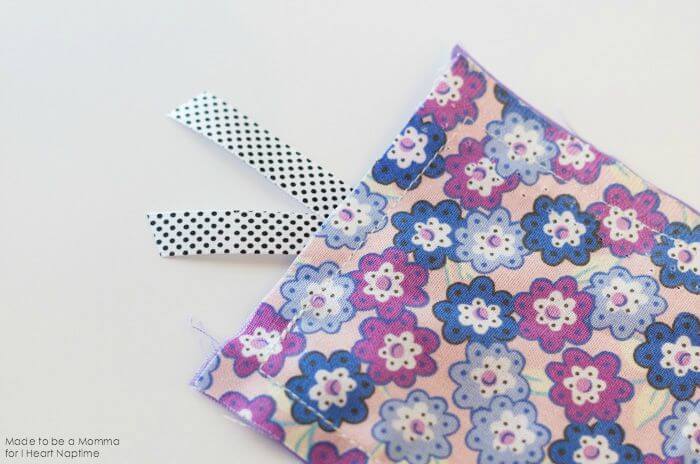
Cut. Using your pinking shears, cut around all four edges.
Decorate. Add any embellishments that you want. I added a fun quilted flower that I had leftover from a previous project.
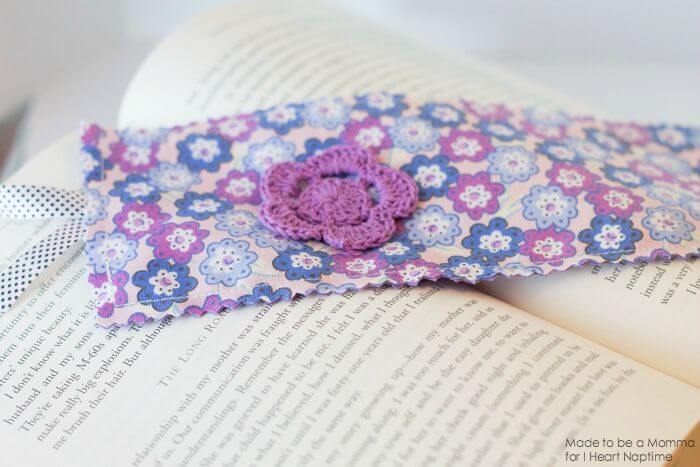
So simple and pretty! I can’t wait to make a few more of these and hand them out as gifts to my friends and family. Enjoy! 🙂
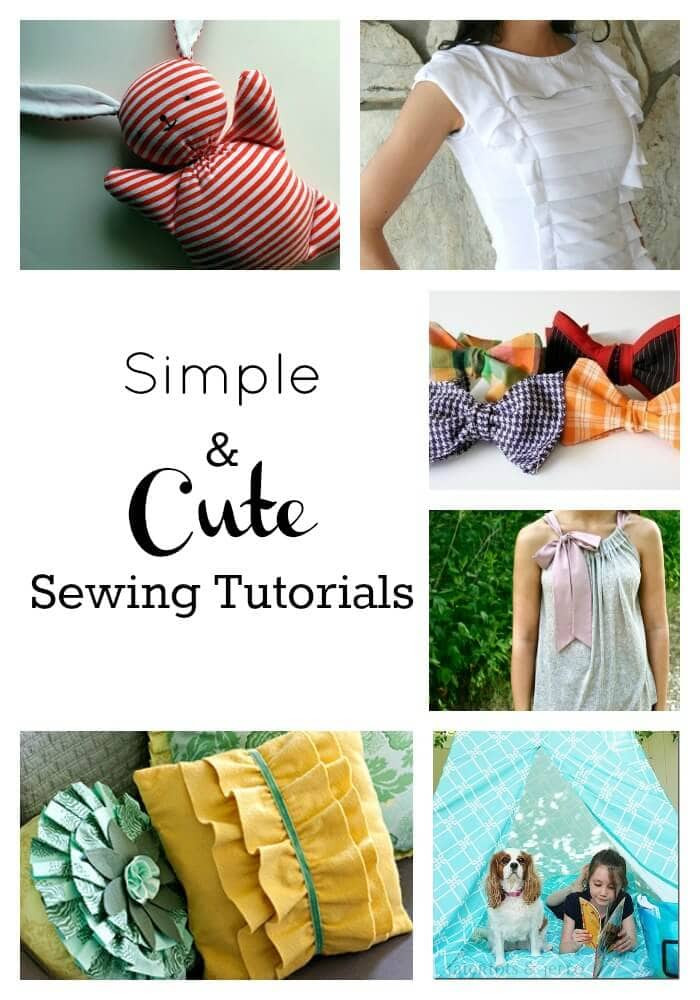
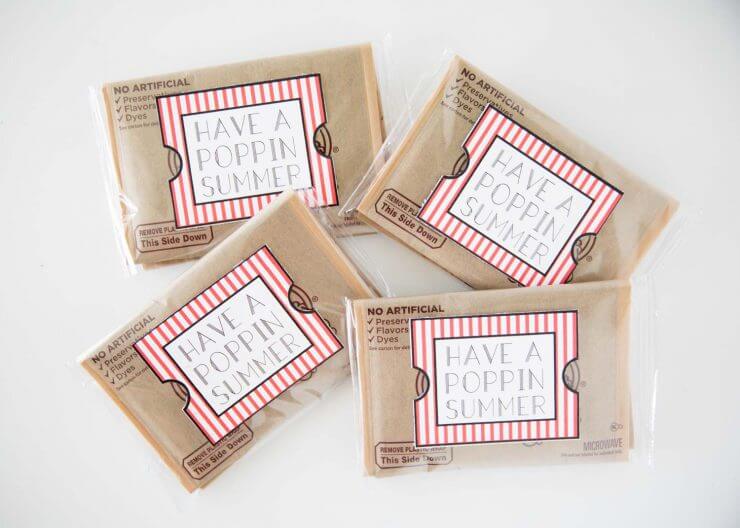
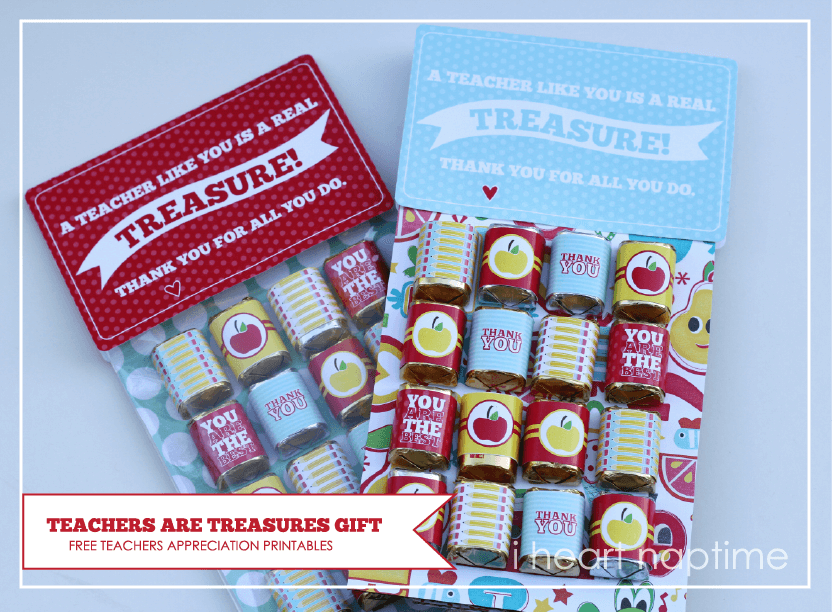
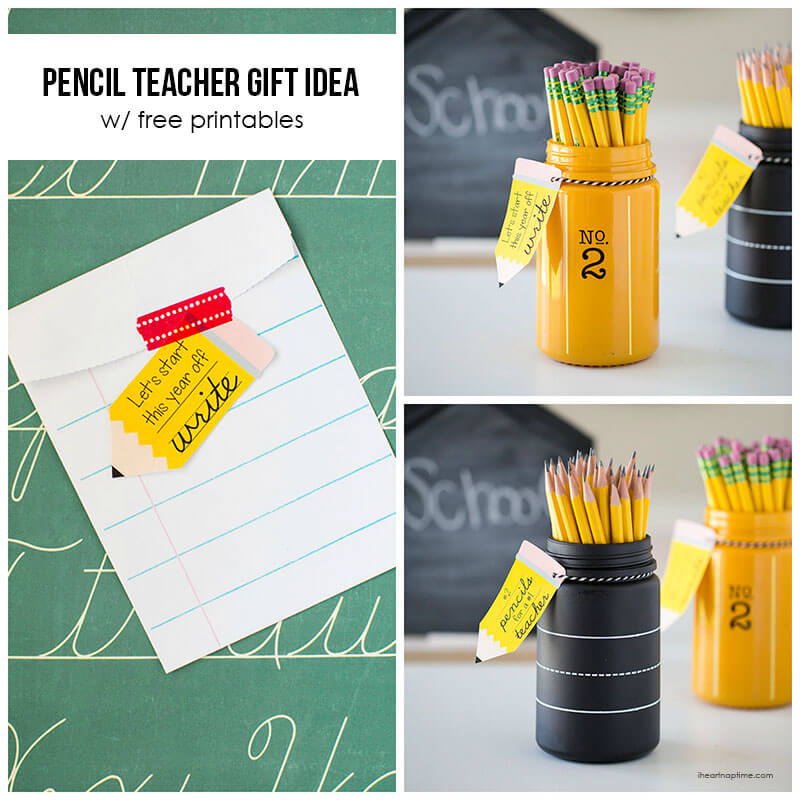
More DIY crafts:
Post originally contributed by Katie from Made to be a Momma.

These bookmarks are so cute! They would be a perfect holiday gift for any book lover in the family!
Paige
http://thehappyflammily.com
Simple and cute tutorial!
Love your bookmark! The colors are so pretty! =)